In June 2025 I got a heat pump installed in my 3 bedroom semi-detached house built in 1900. I thought I’d document the process as it may be of interest to others, particularly some aspects of the heat pump sizing and installation of the underfloor heating, which on discussing with some people they found quite interesting and useful.
I started the discussion with the local installer, Rewneable Heat, about a year before, and it took much back and forth via email with some phone calls and a couple of site visits to get the retrofit all designed. As I’d done the basic heat survey in a spreadsheet myself, they were able to use this as a starting point and saved them having to come out and do all the measurements.
We moved into the property 2 years before the install, and on moving in discovered there was an issue with the thin kitchen radiator leaking at the valves, so had to isolate it quickly as no easy way to fix it properly, combined with knowing we were going to install the heat pump which would require radiator upgrades, so no point installing something to be taken out within a couple of years. There was also no insulation above the kitchen at all, so within the first year I installed some sheep’s wool insulation called Thermafleece from Celtic Renewables, which made a noticeable improvement to the warmth in the kitchen.
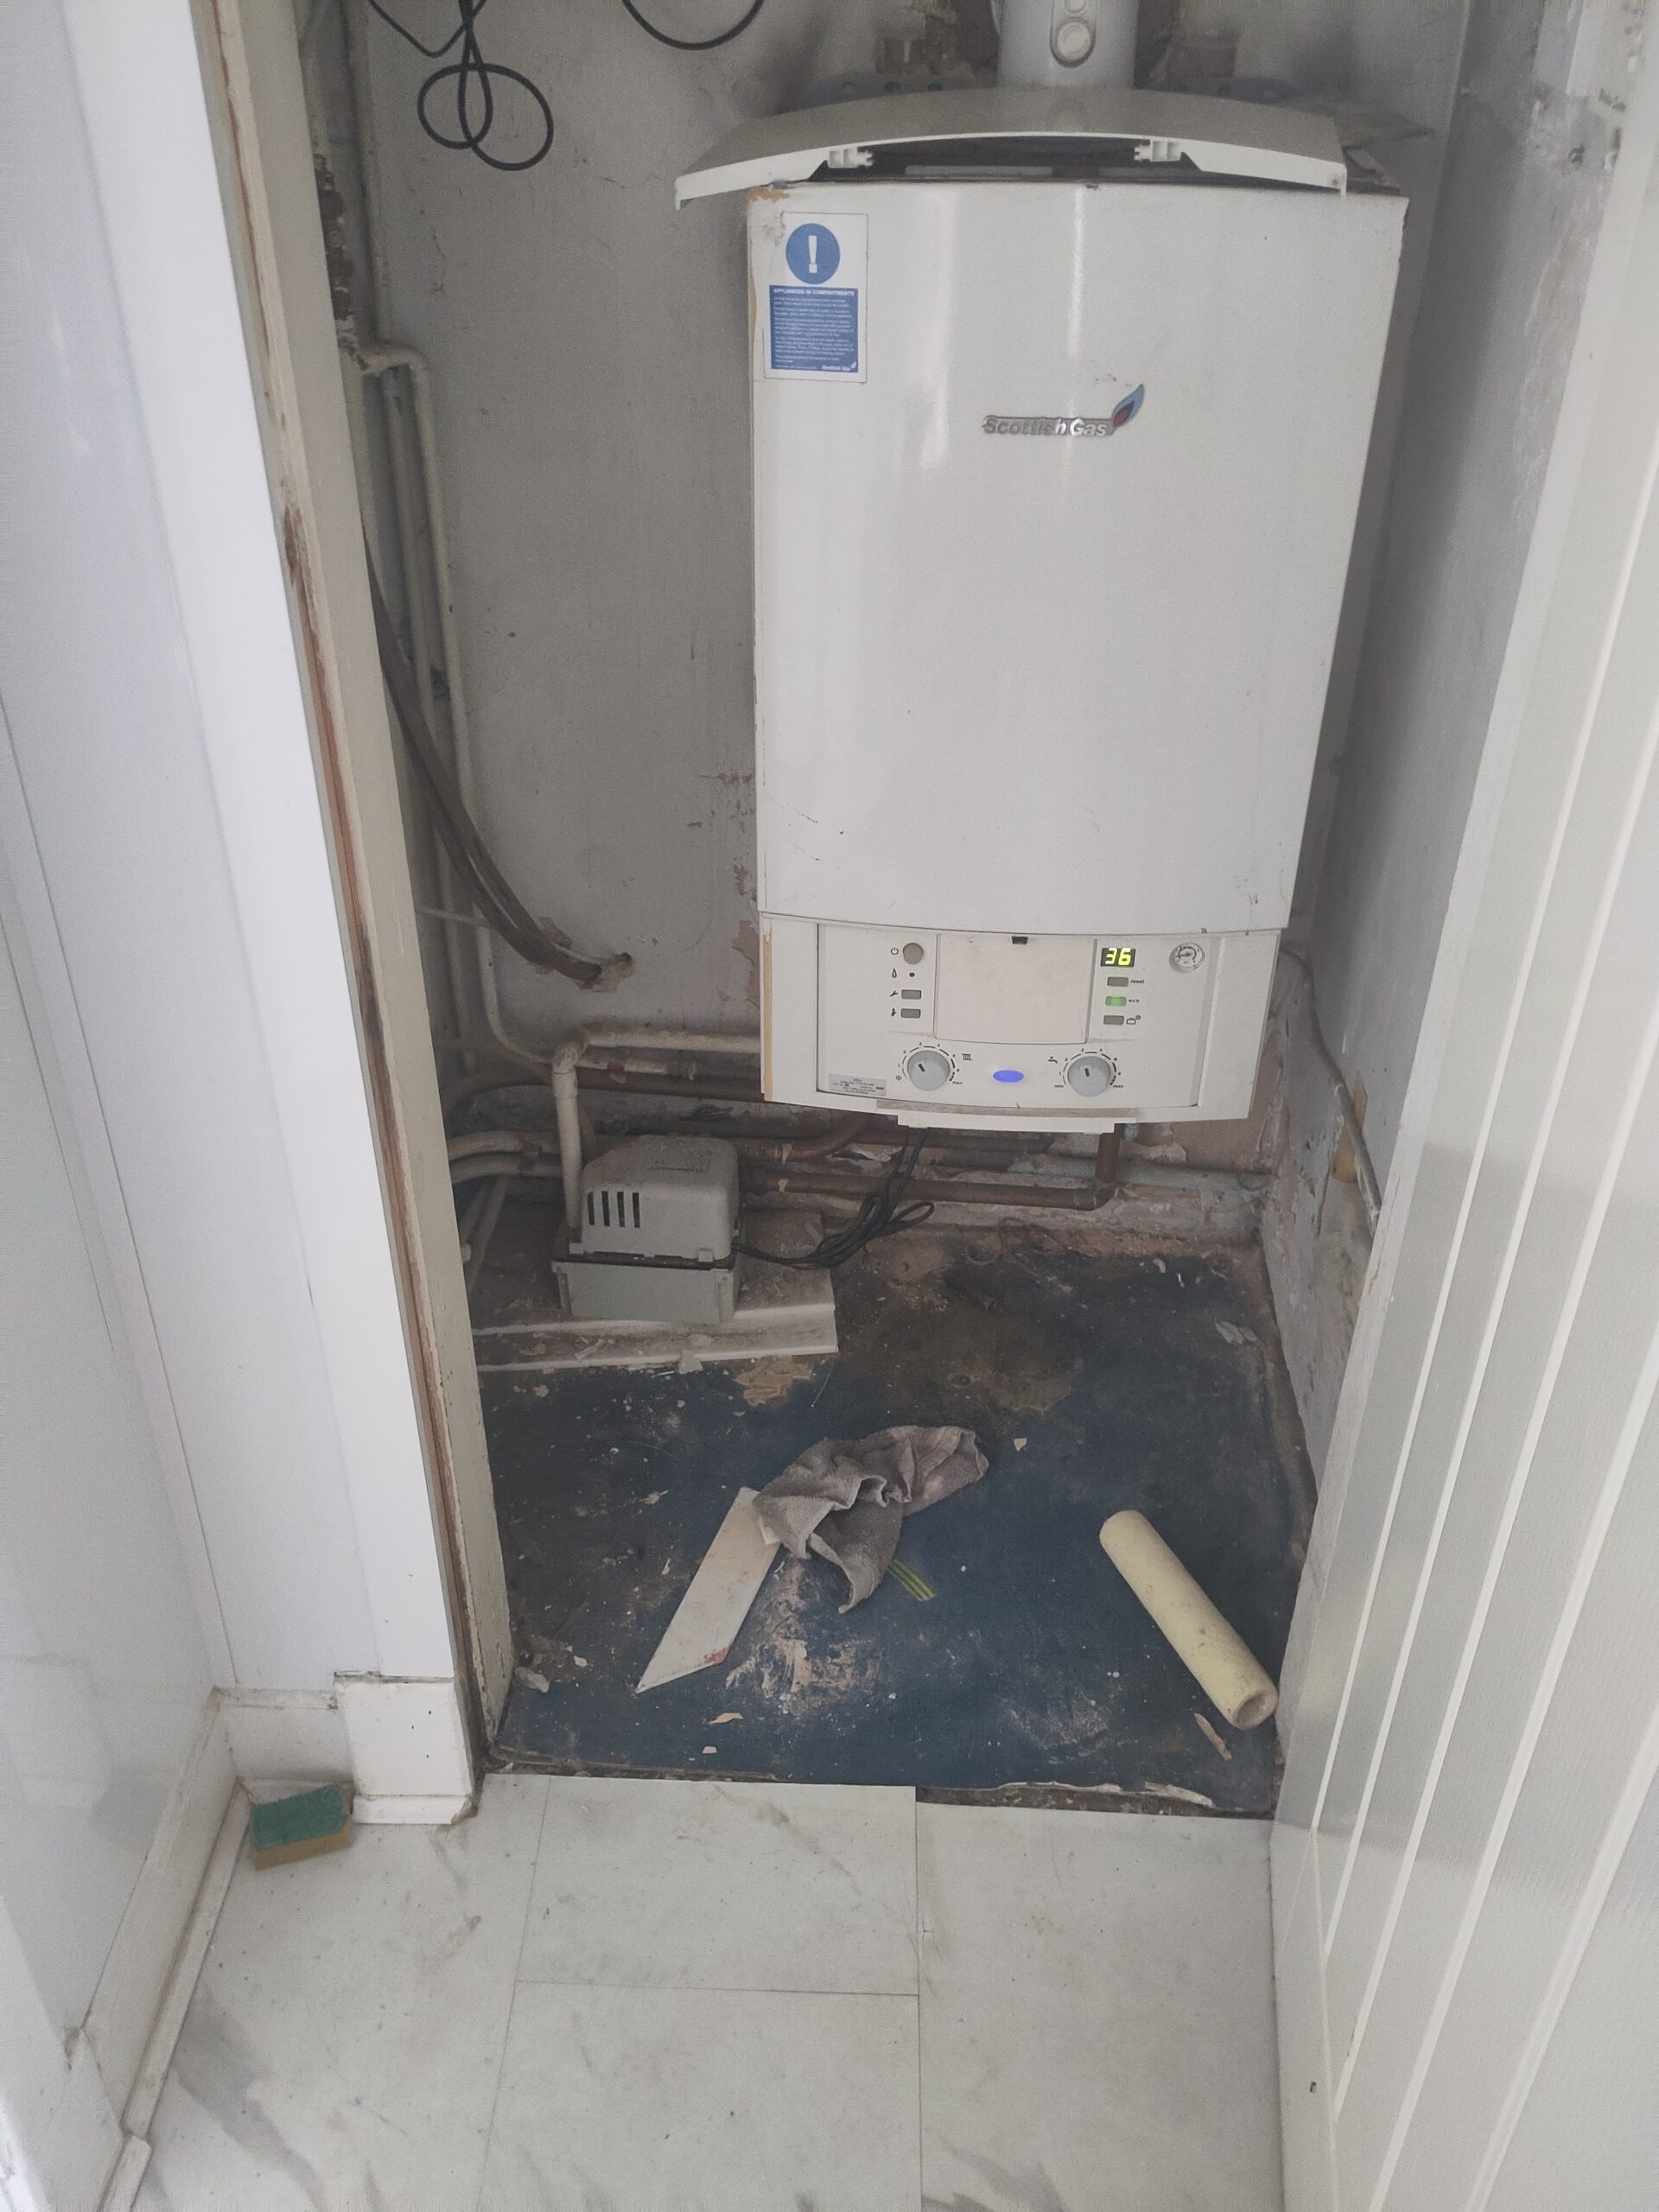
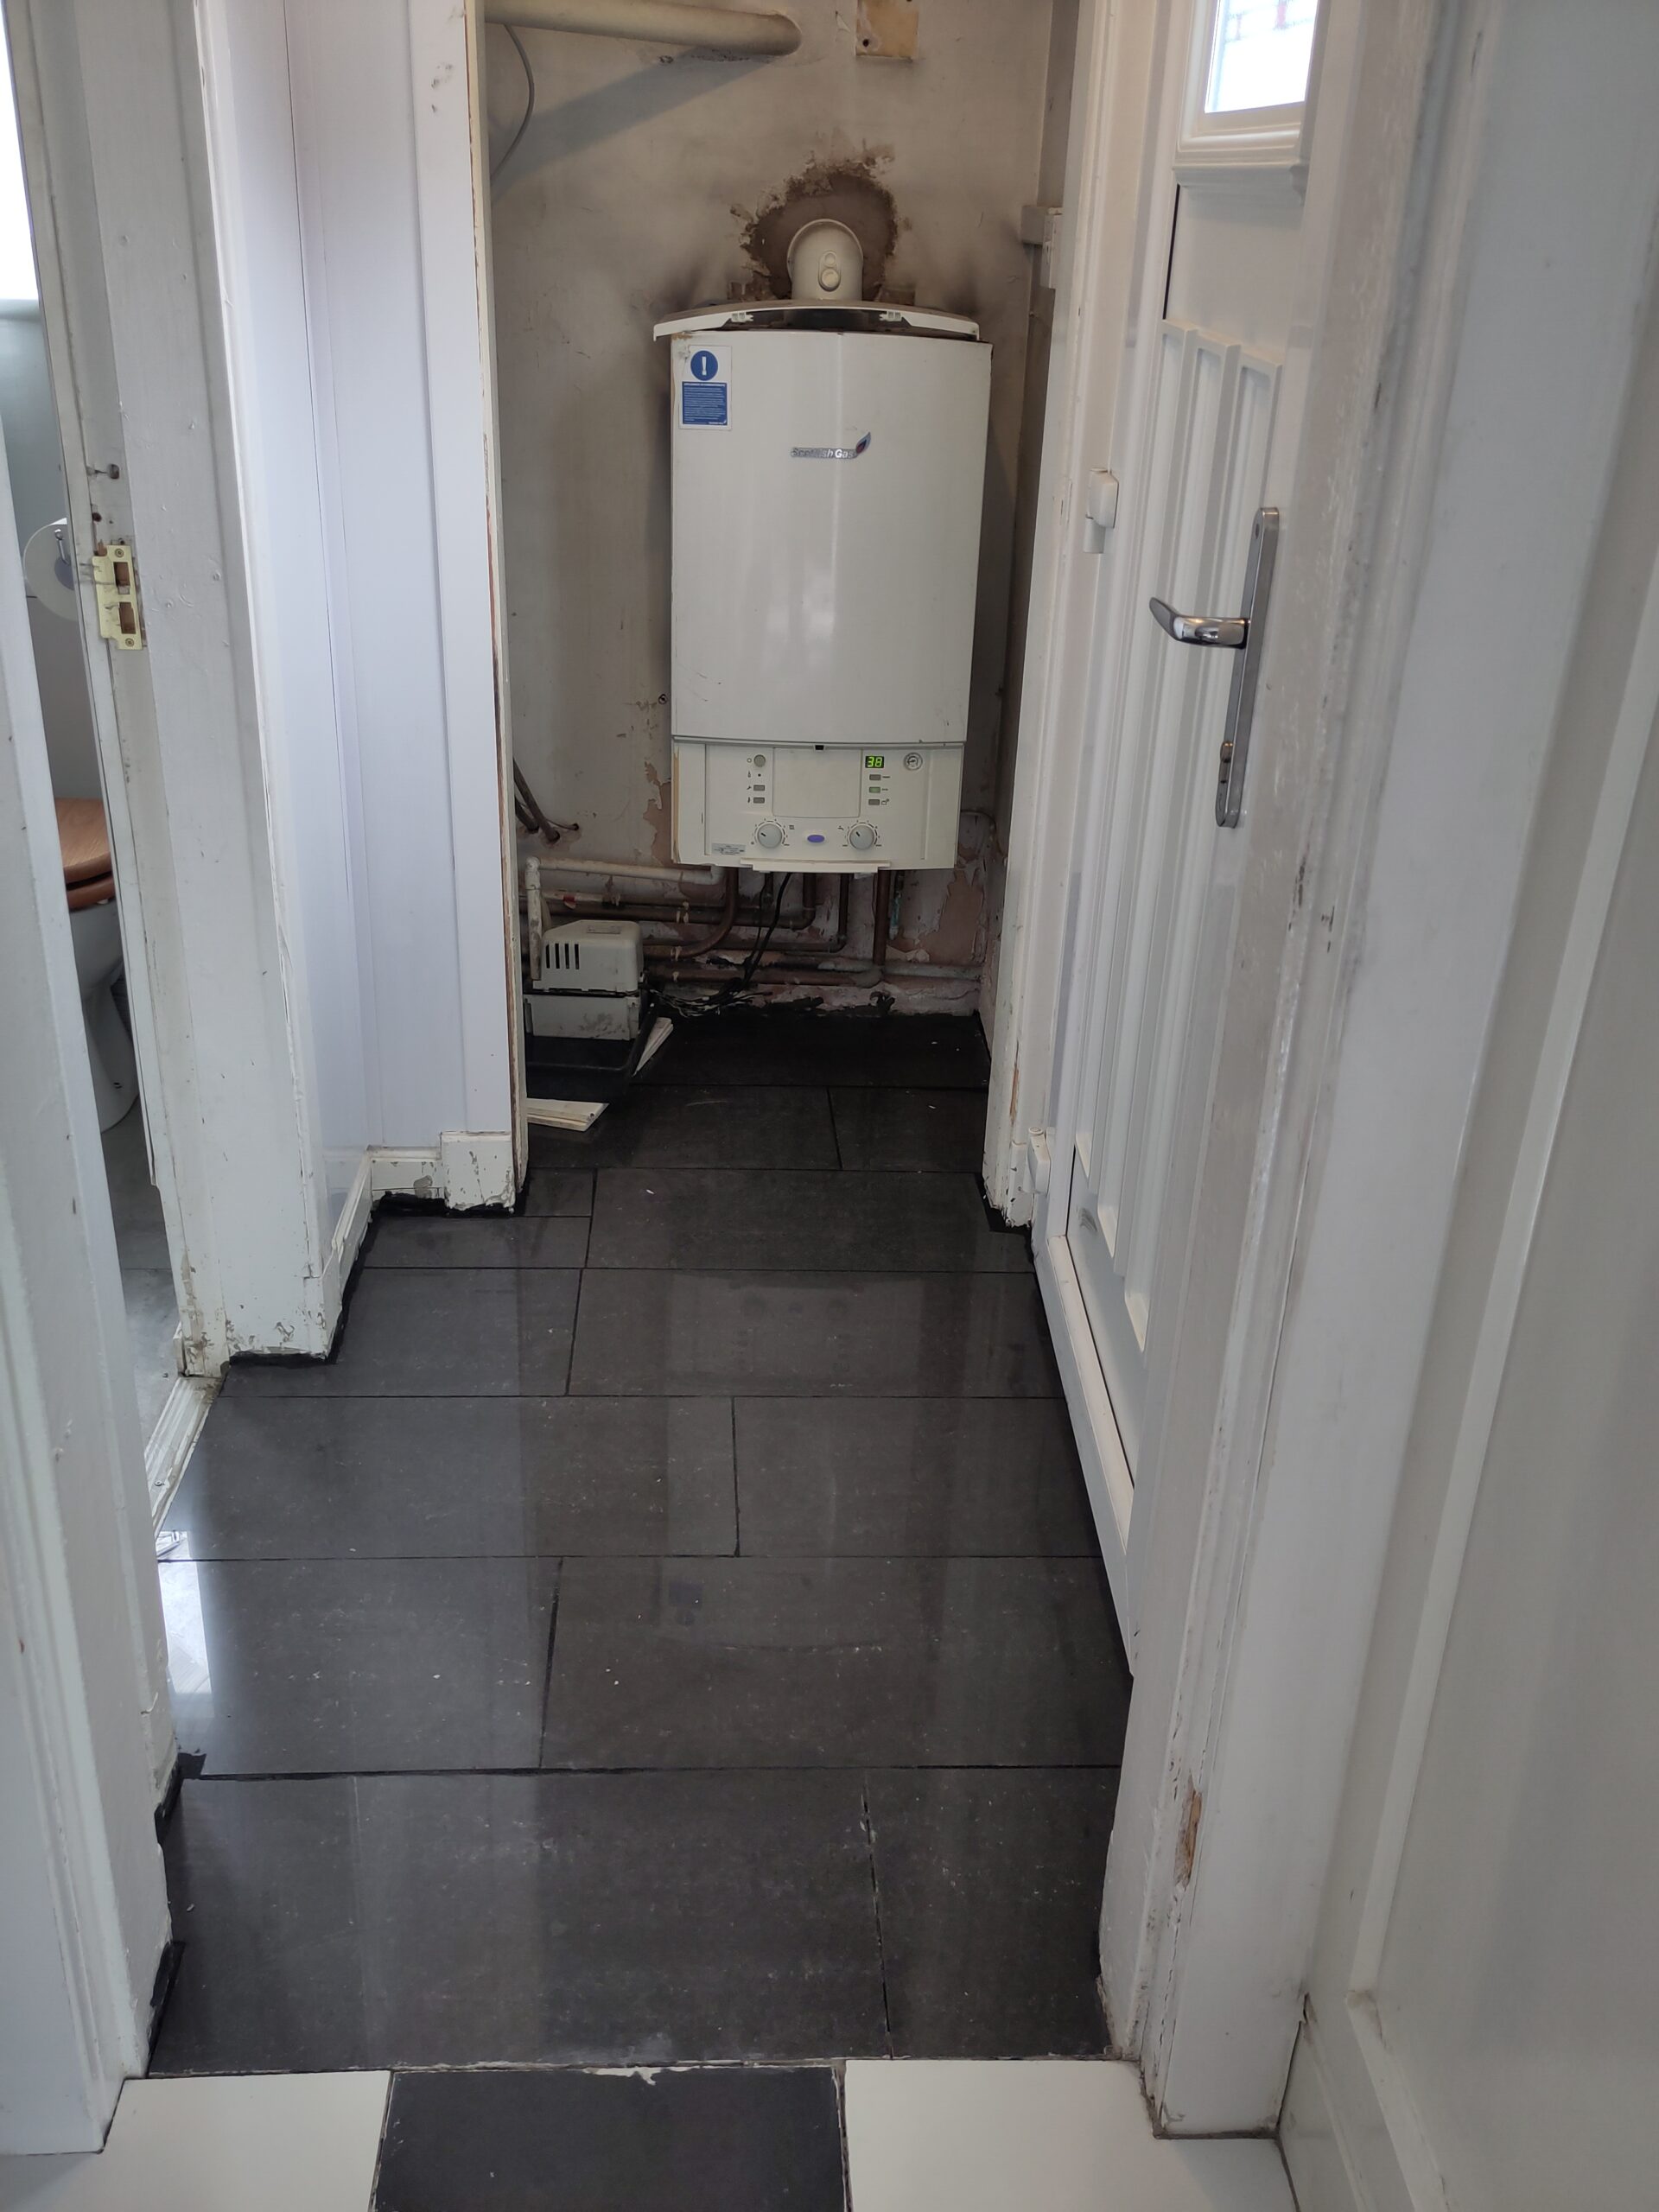
The gas combi-boiler was over a decade old. By the time it came to install time of the heat pump we were starting to have reliability issues with the boiler. For example it had an odd setup for taking the condensate away, where there was a small container with a water level activated pump, which would pump the water to the drain. This pump was starting to run constantly in some cases. The system was also losing pressure, which meant that I frequently needed to top up the pressure but couldn’t see where the leak was.
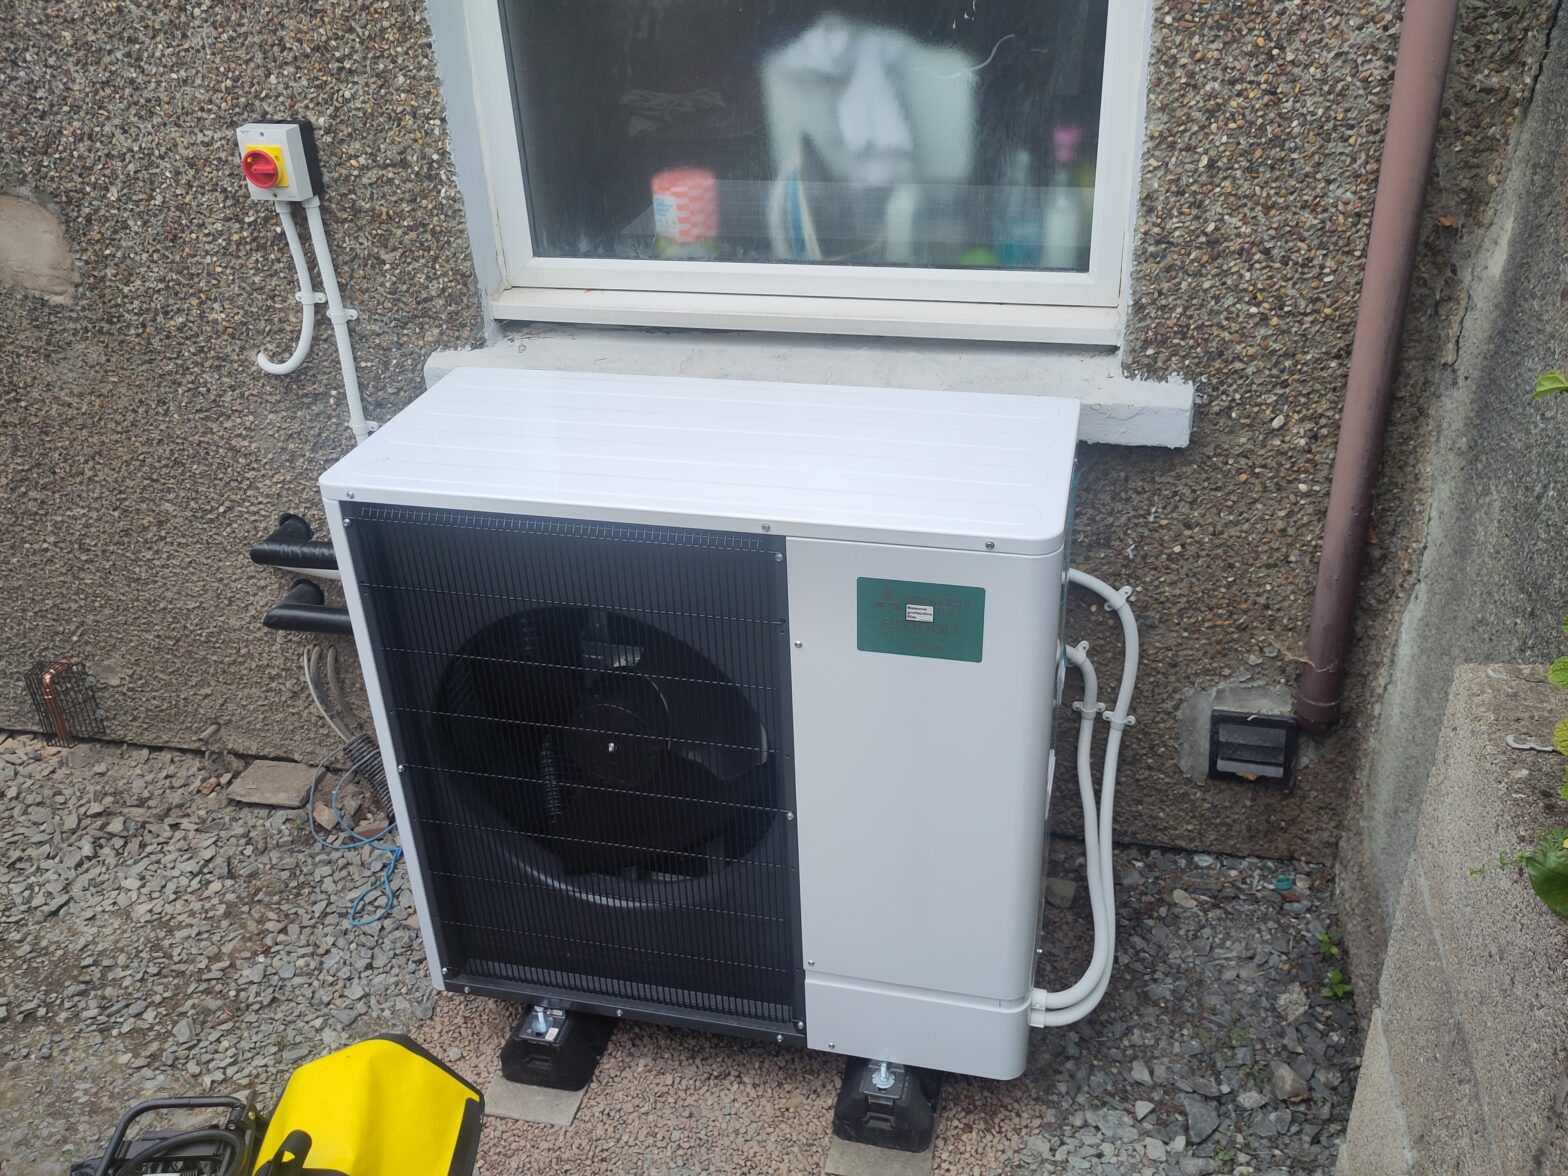
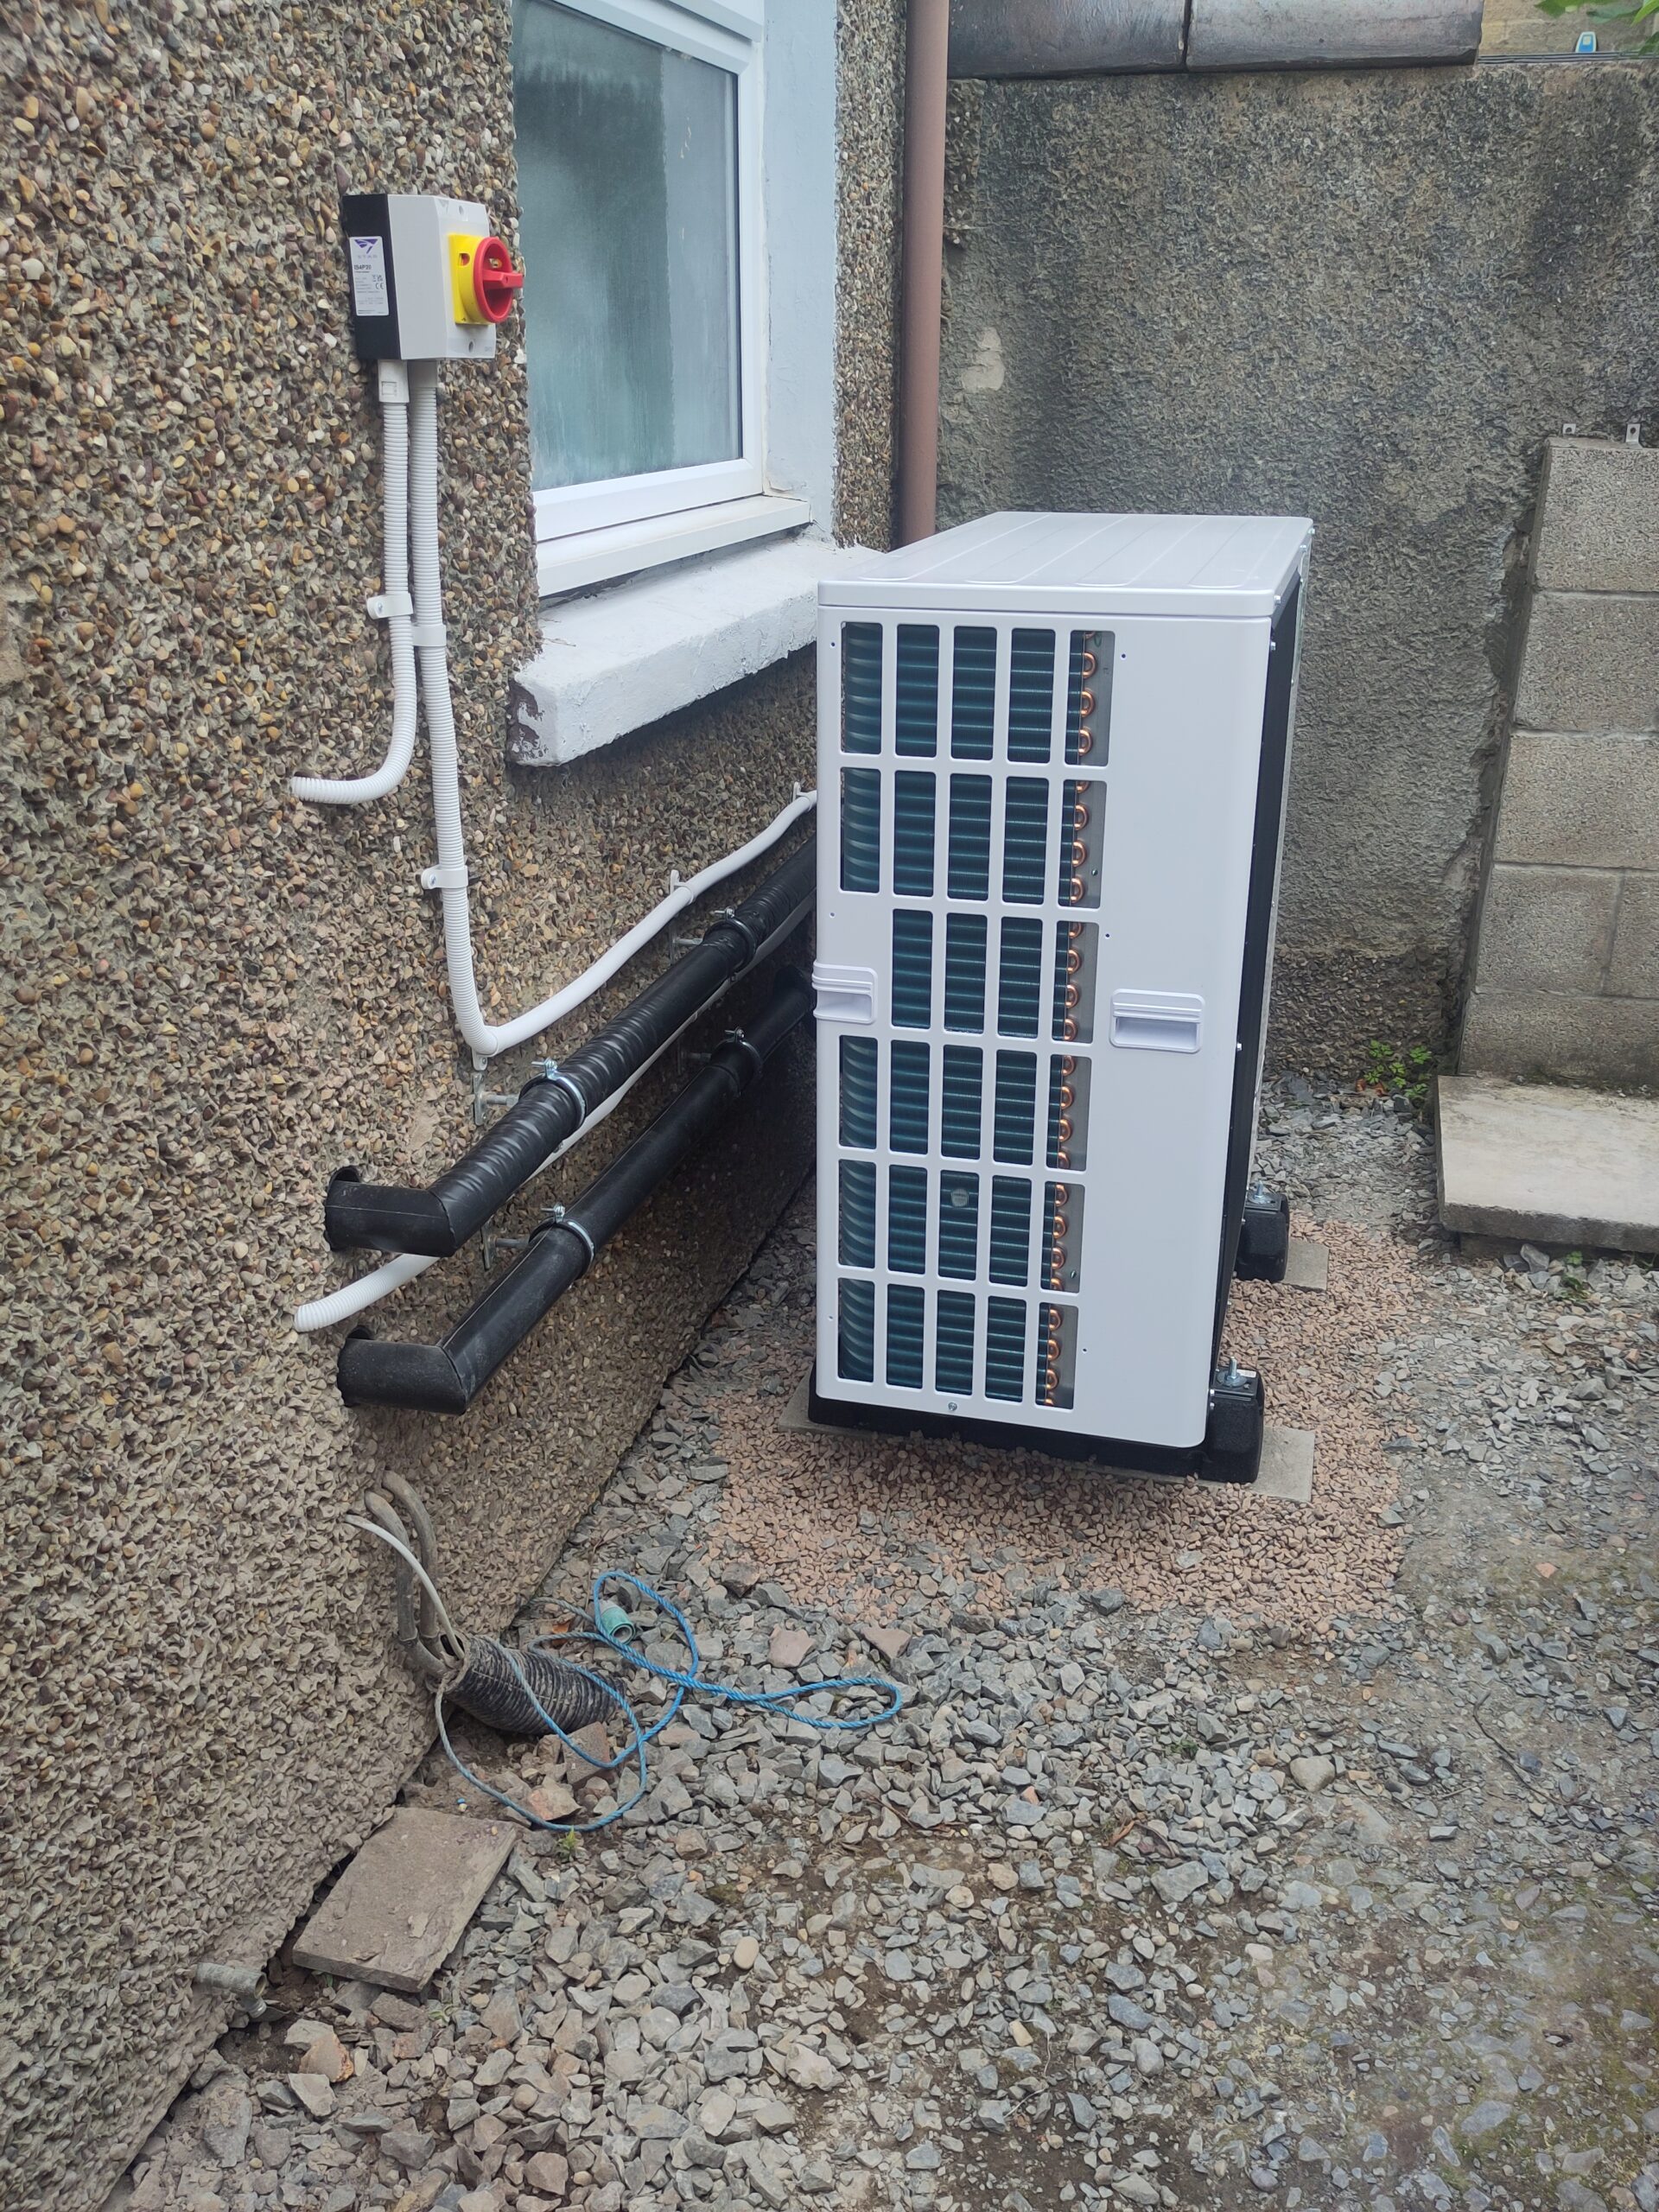
A family member works for Mitsibushi in the heat pump department in Livingston (where they make the heat pumps), so going for a Mitsibushi seemed a no brainer. The local installer we chose didn’t normally use that brand, but were happy to go with it.
The heat loss survey suggested that we needed 6.9 kW, however looking at historical gas smart meter data for the coldest day over the previous couple of years suggested the maximum gas used over any hour was less than 6kWh, typically just over 5kWh, thus the heat loss survey was potentially over estimating the heat power we needed. Heat loss surveys over estimating the power needed is a known issue, as they take a bit of a worst case scenario with the amount of heat loss, and are unable to take account of some of the characteristics of the building which could mean there’s less heat loss compared to the calculation. There’s also some additional fabric or insulation improvements we can do to help reduce the heat loss, thus reducing the heat demand required. For example, we’ve recently had a water leak, which turned out to be the flat roofs about the bedrooms being end of life and needing replacing, with the replacement also including insulation (none before).
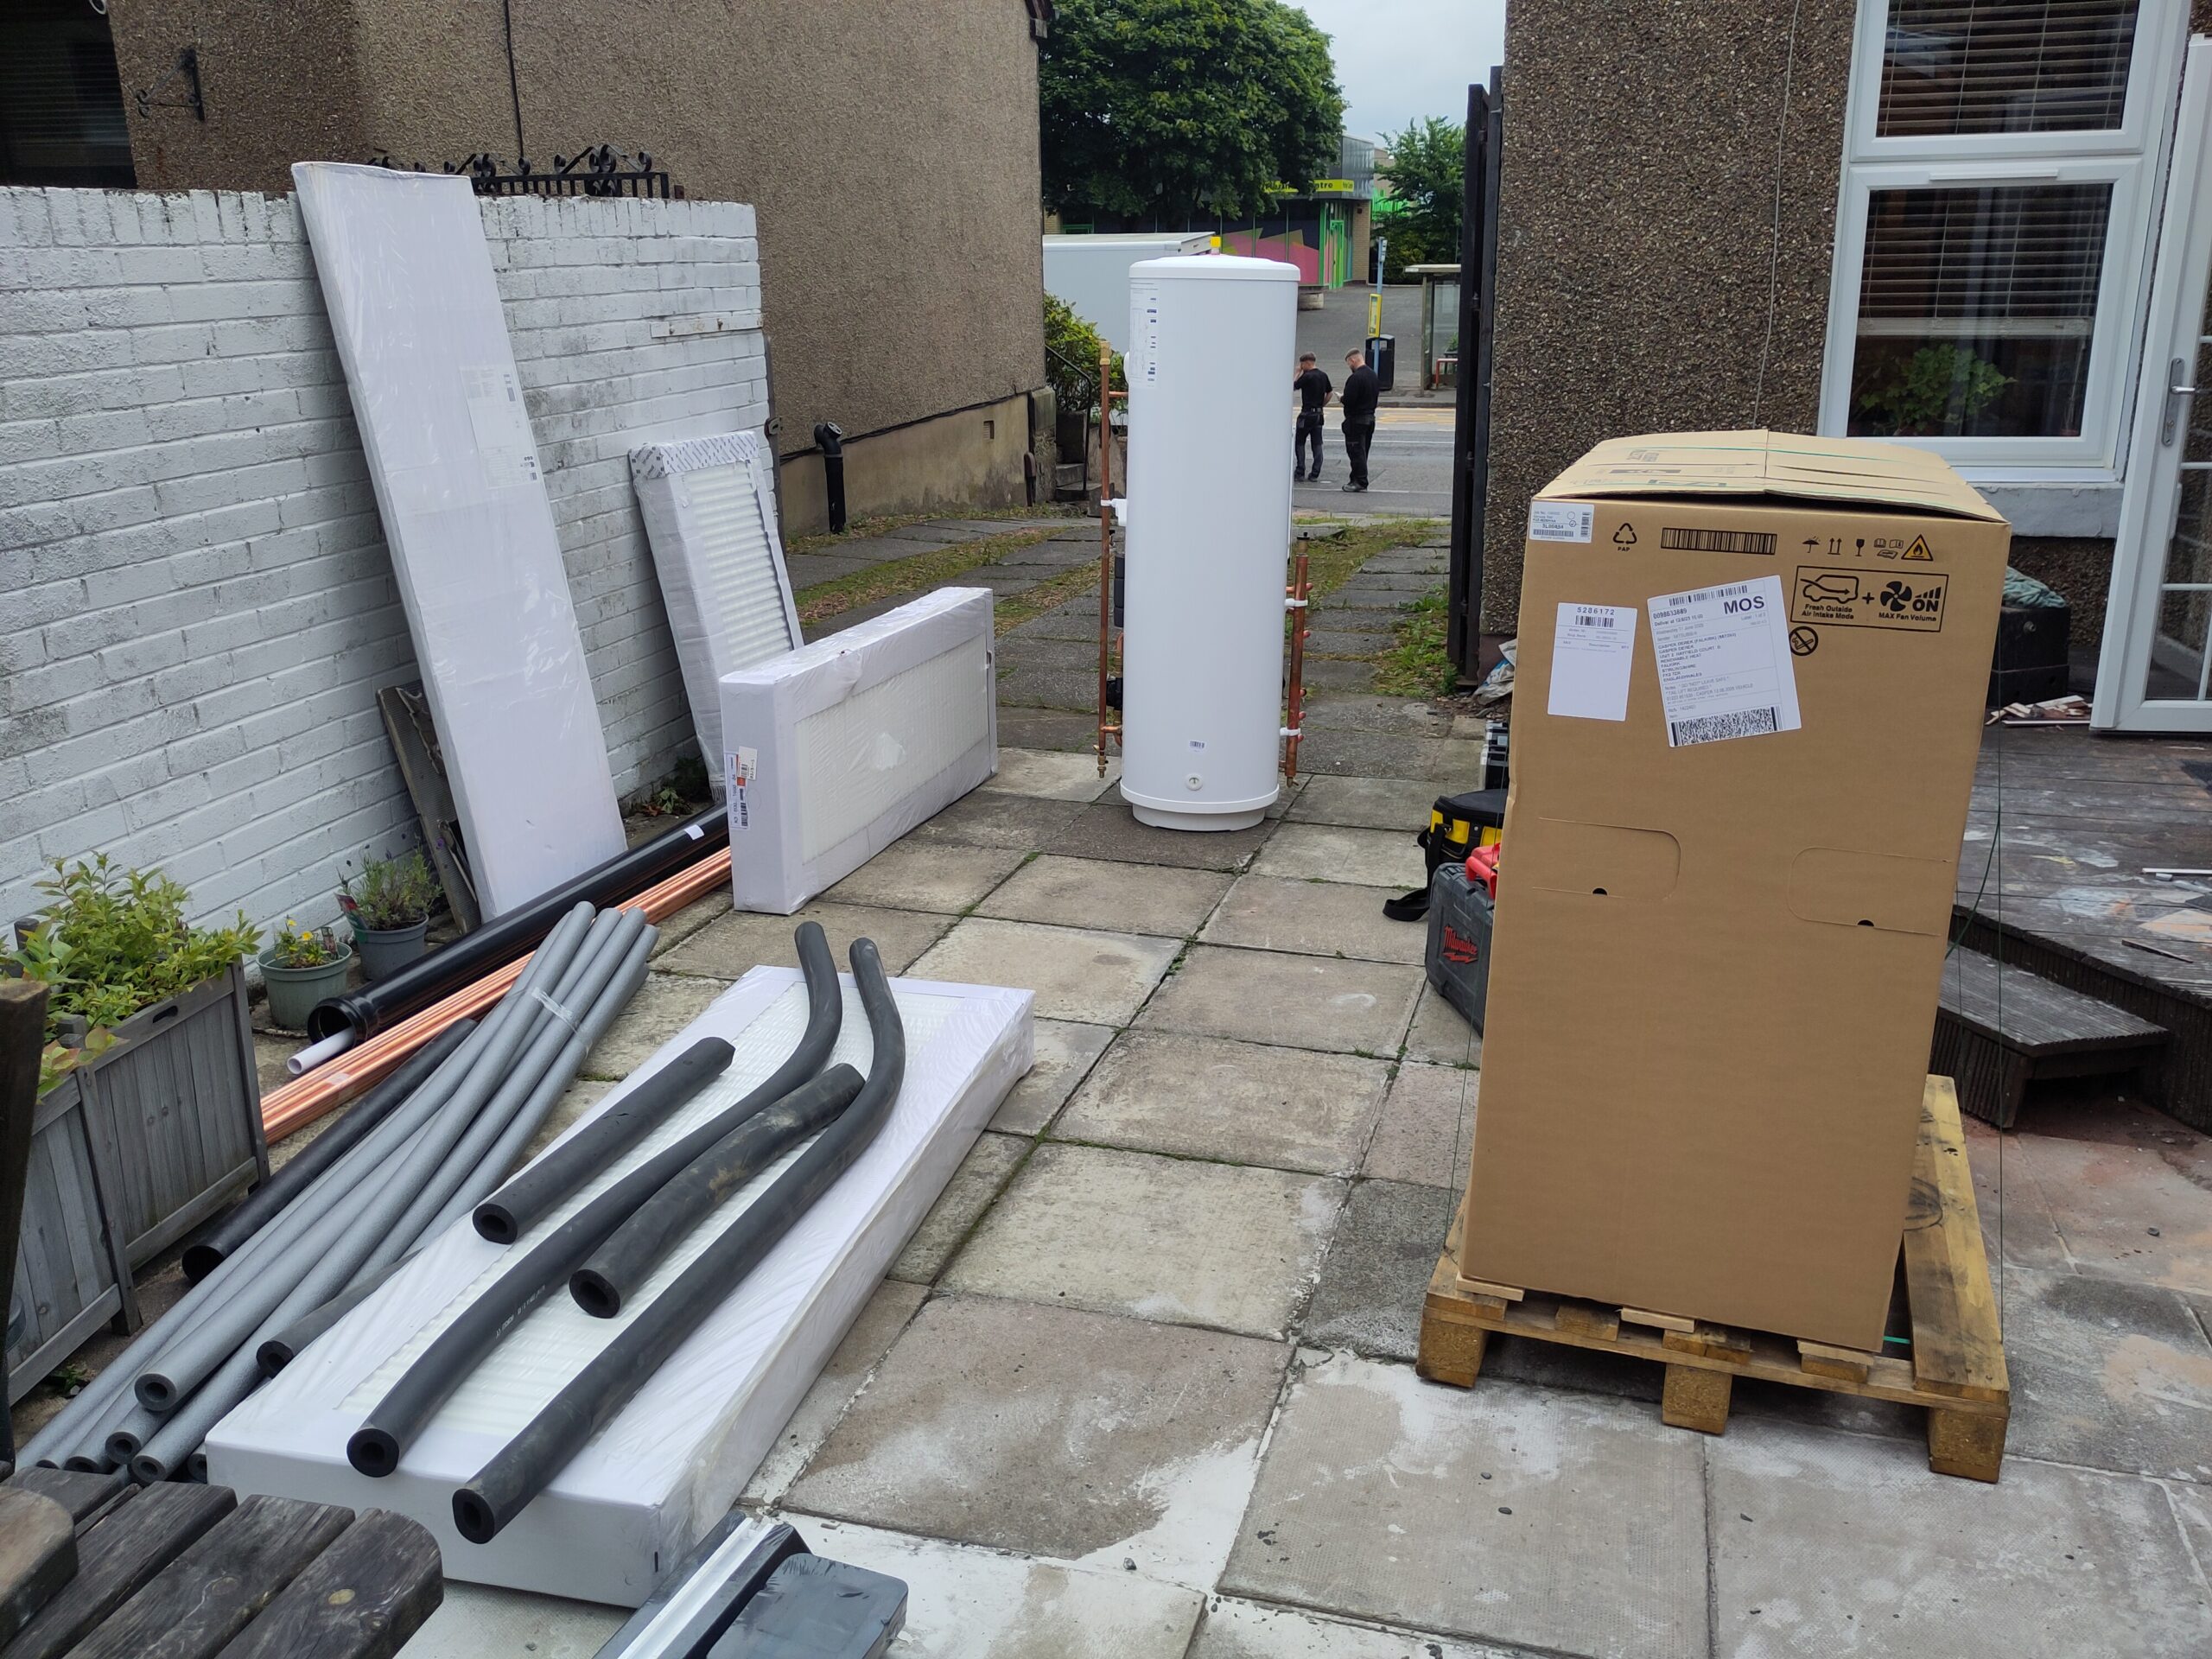
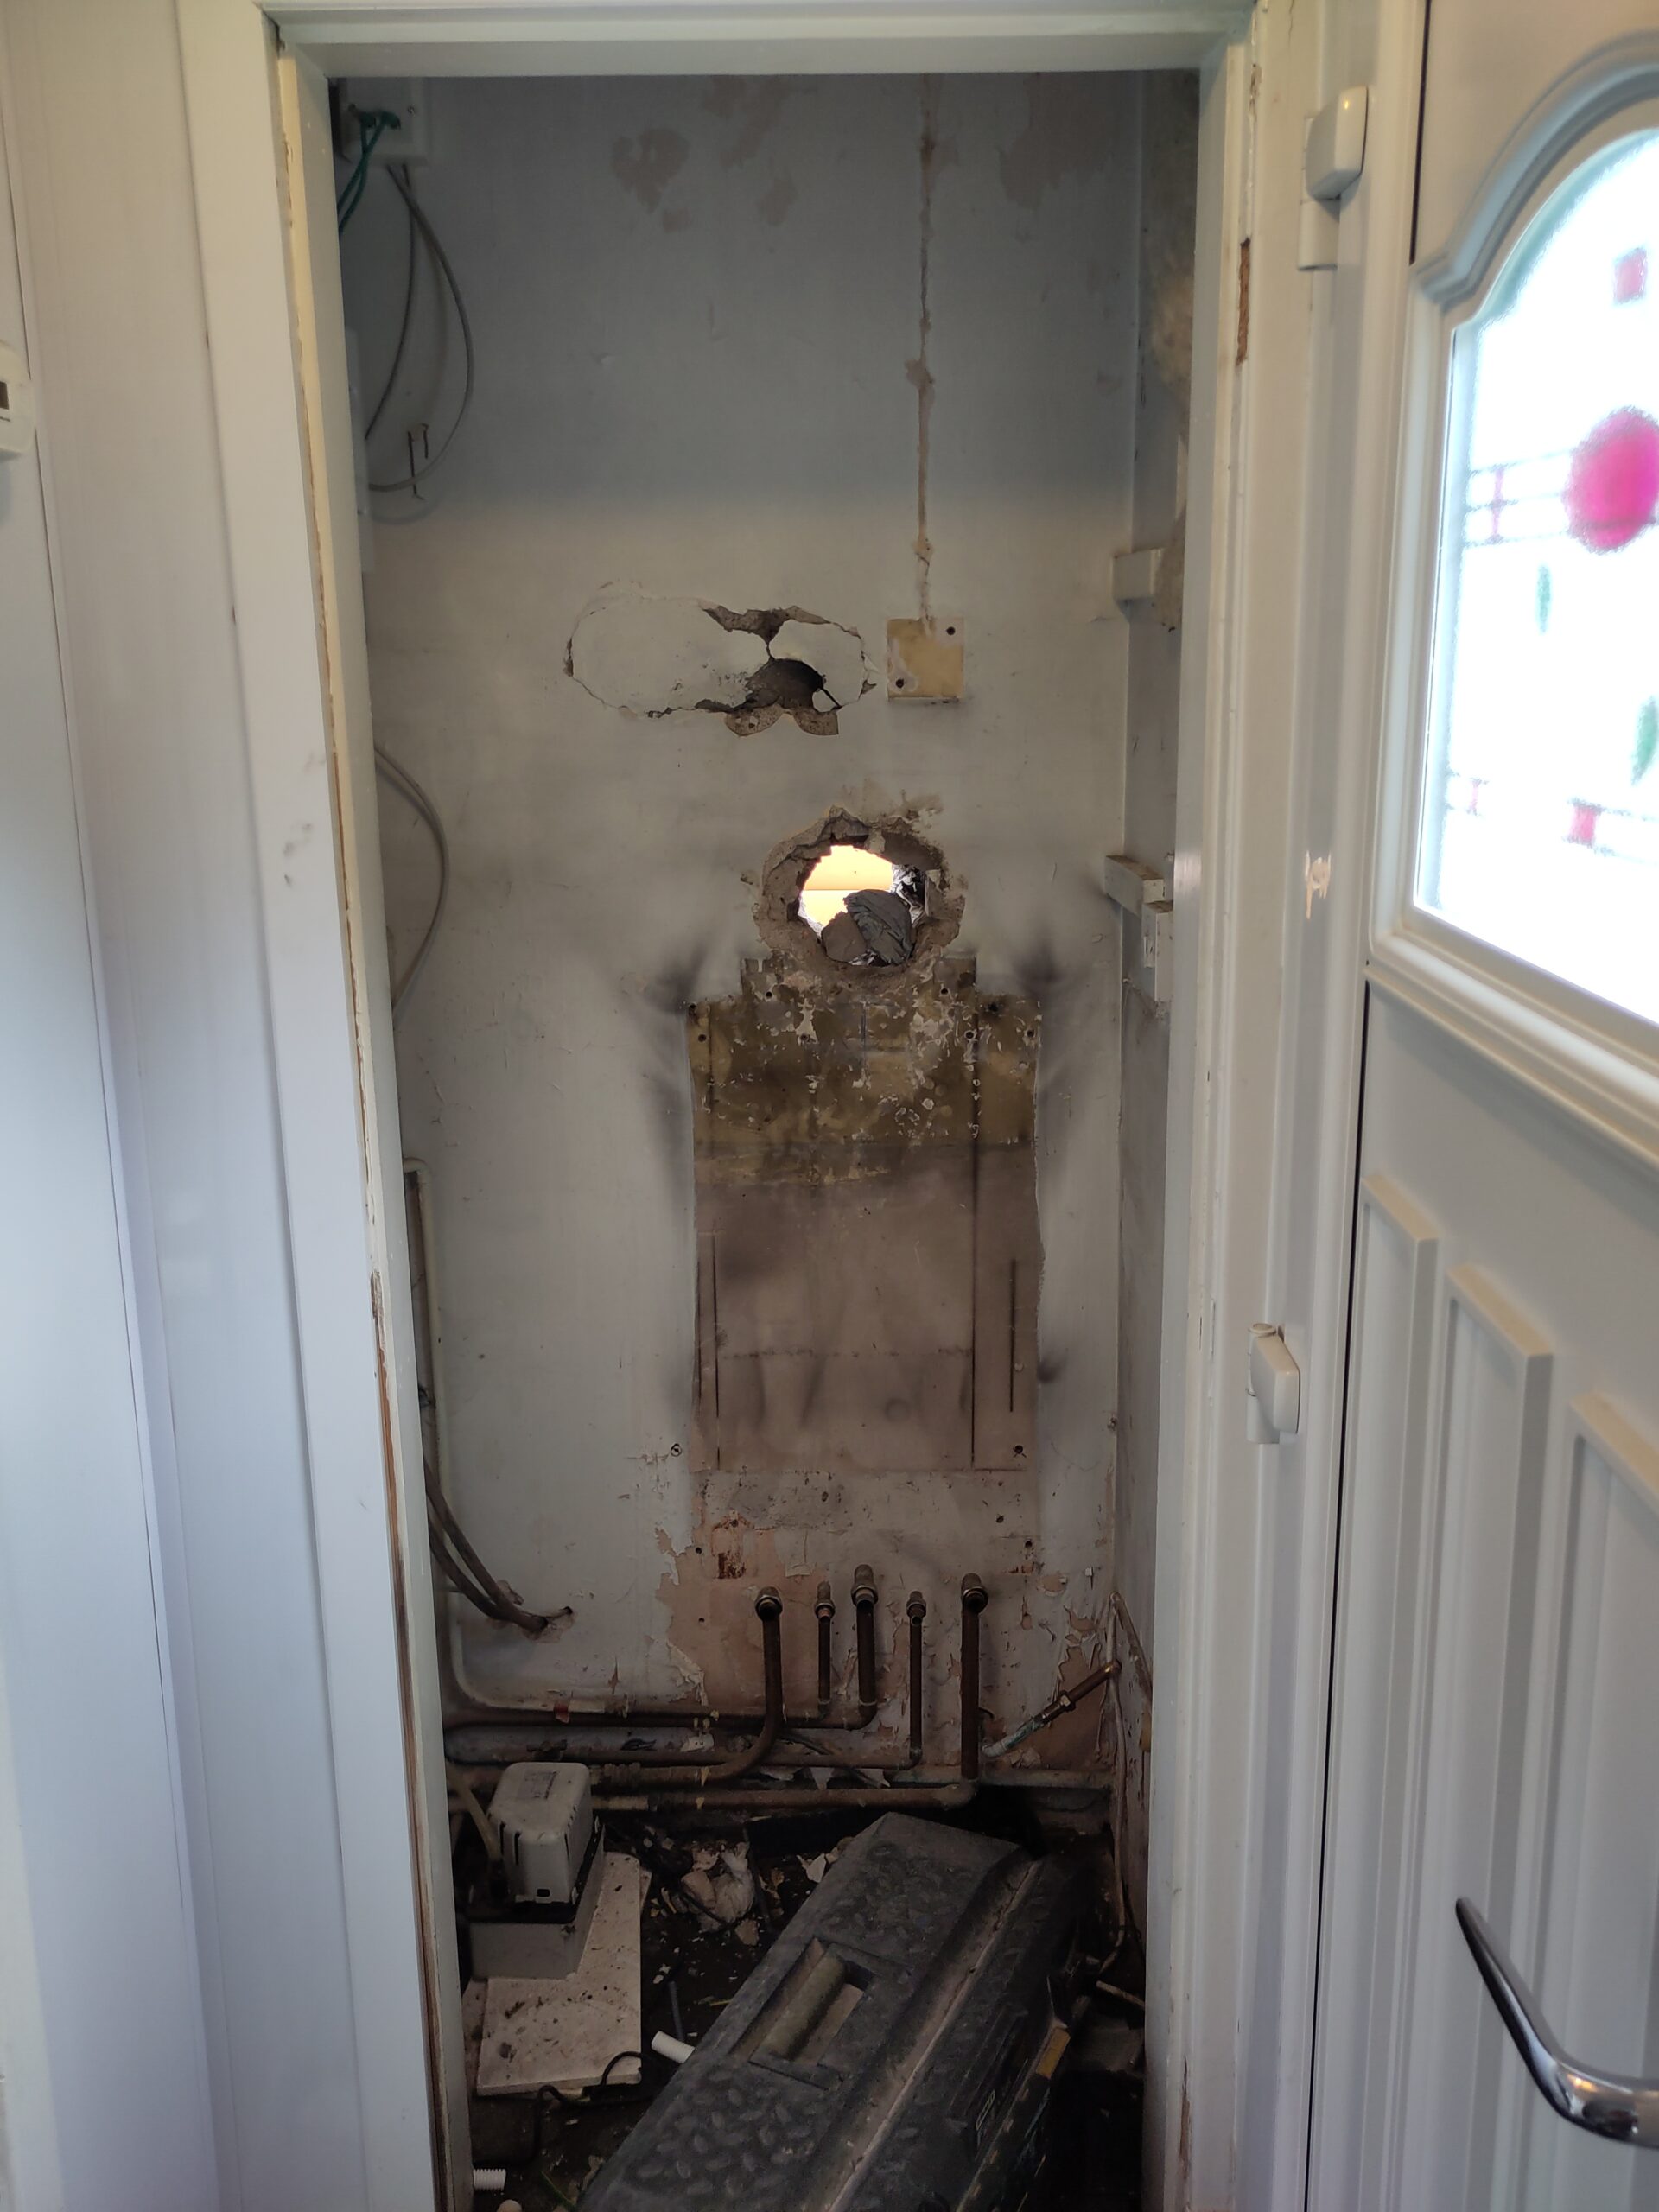
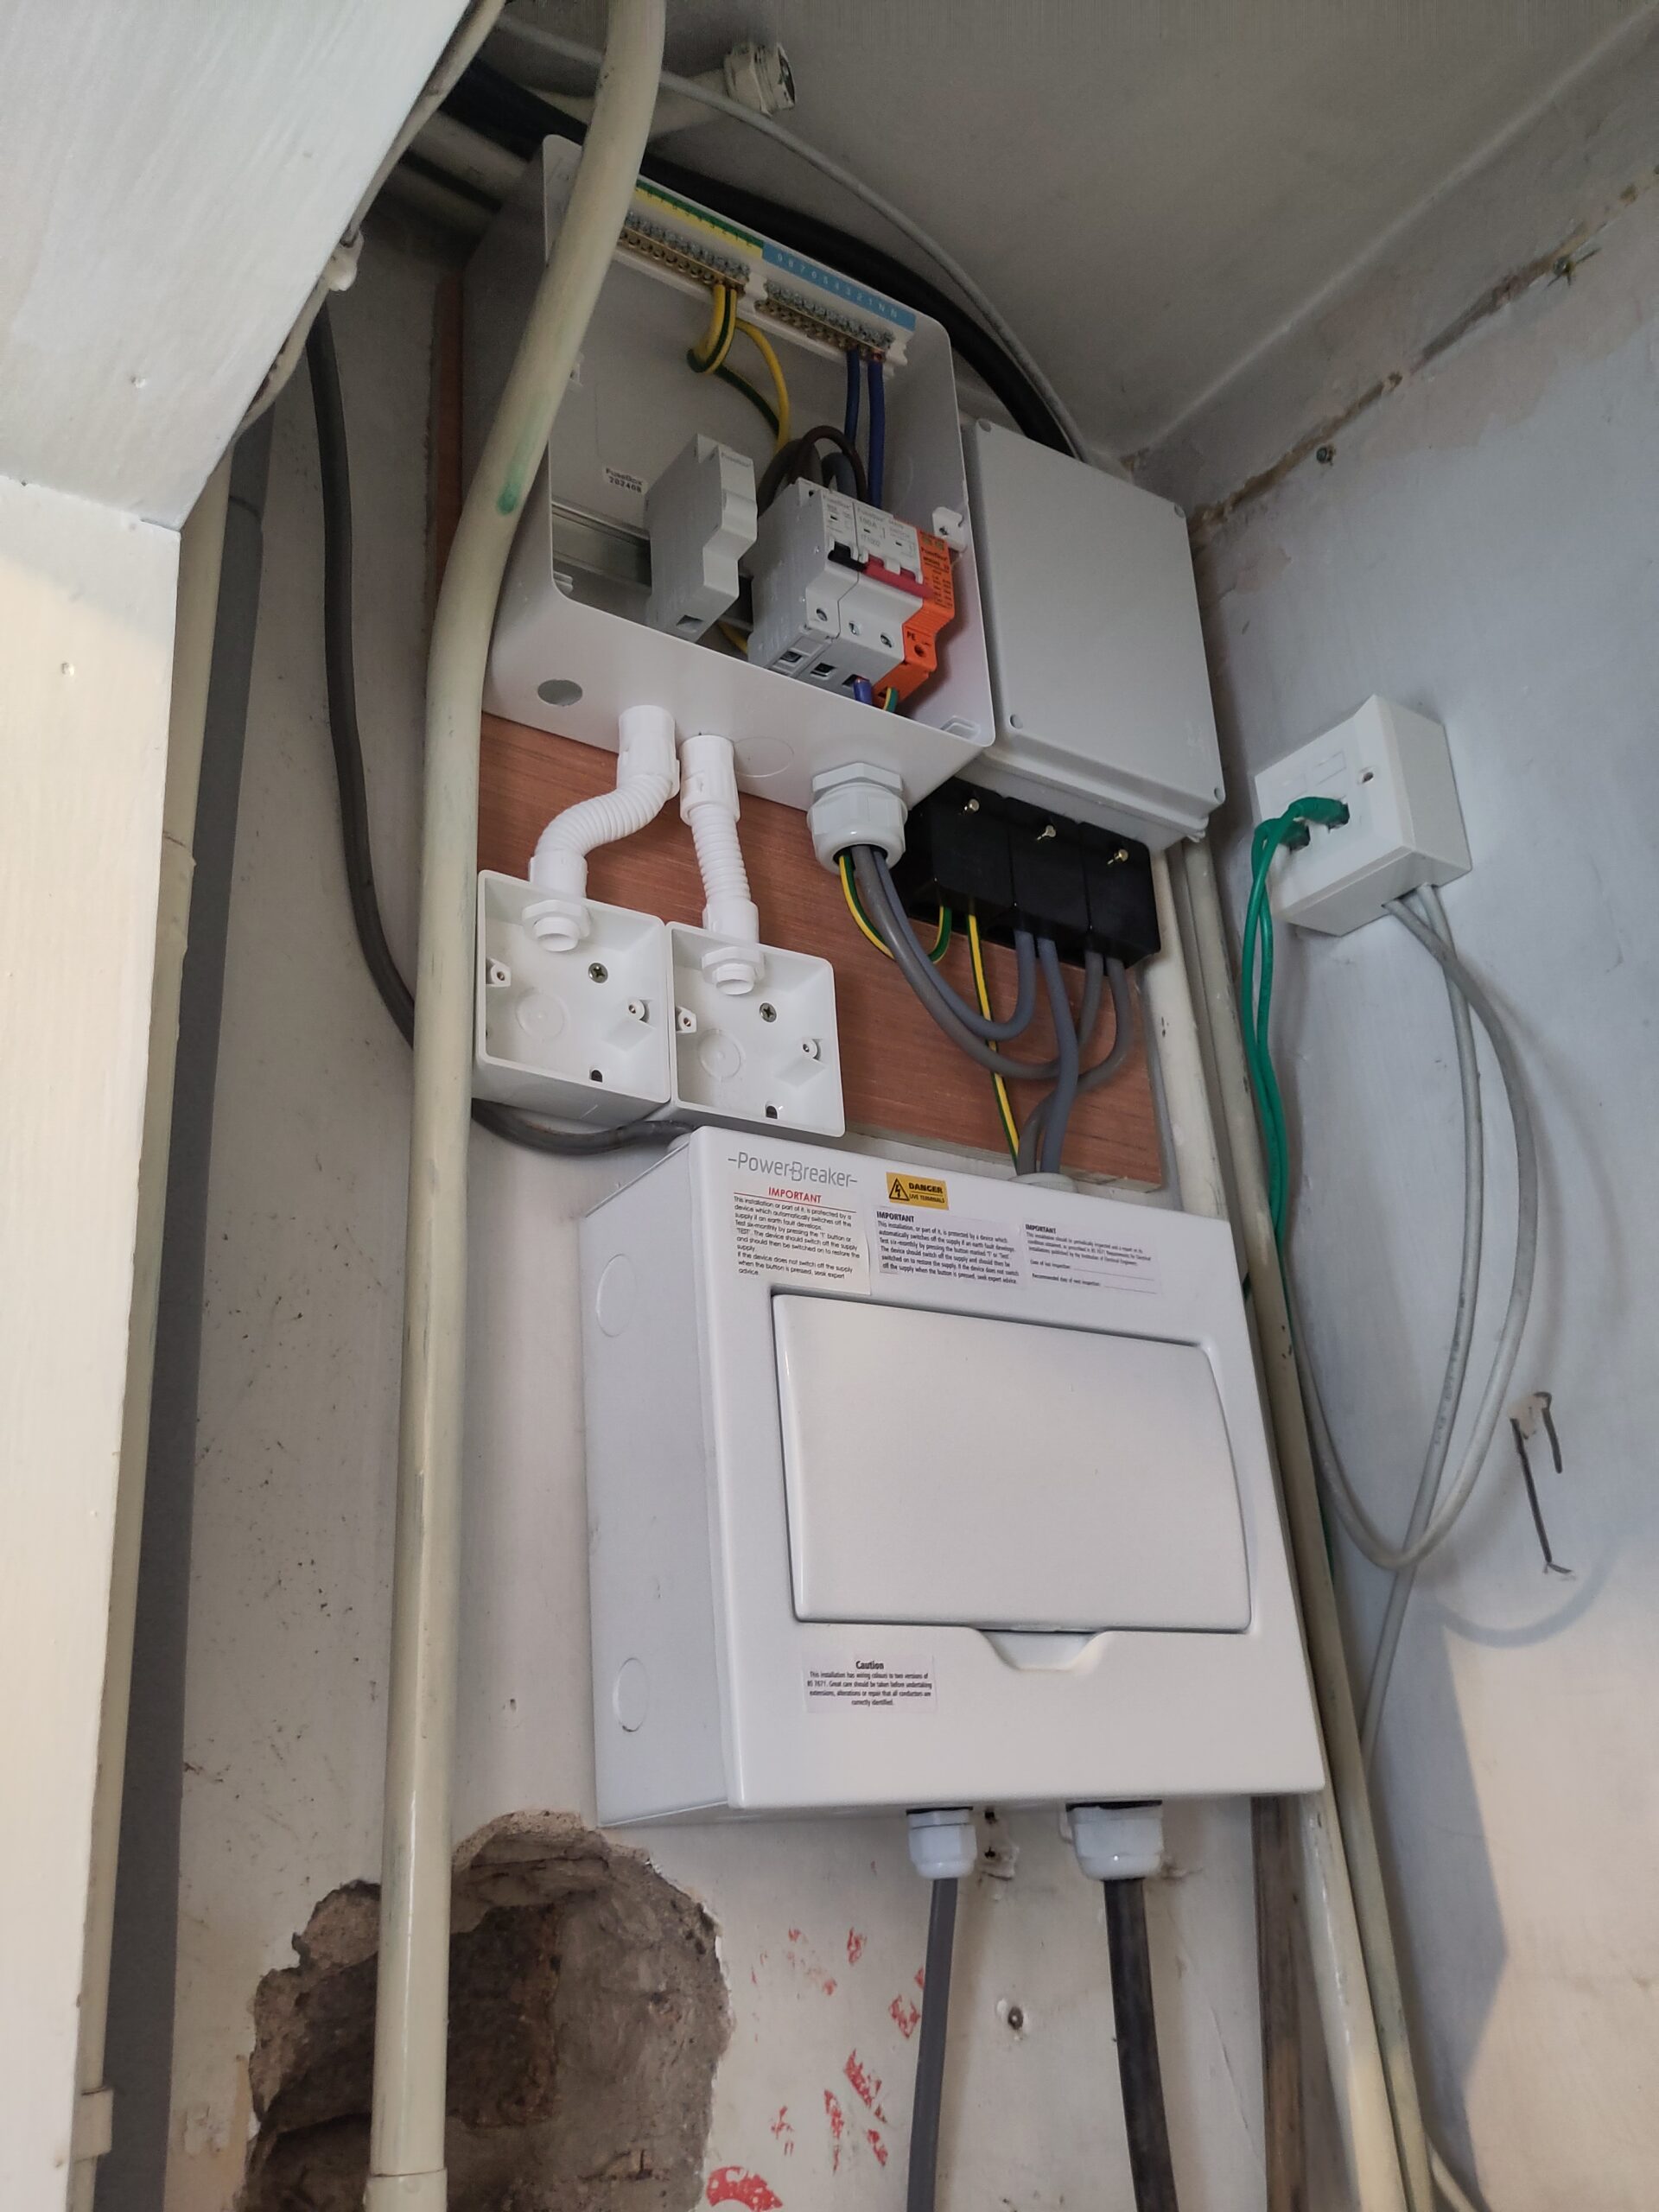
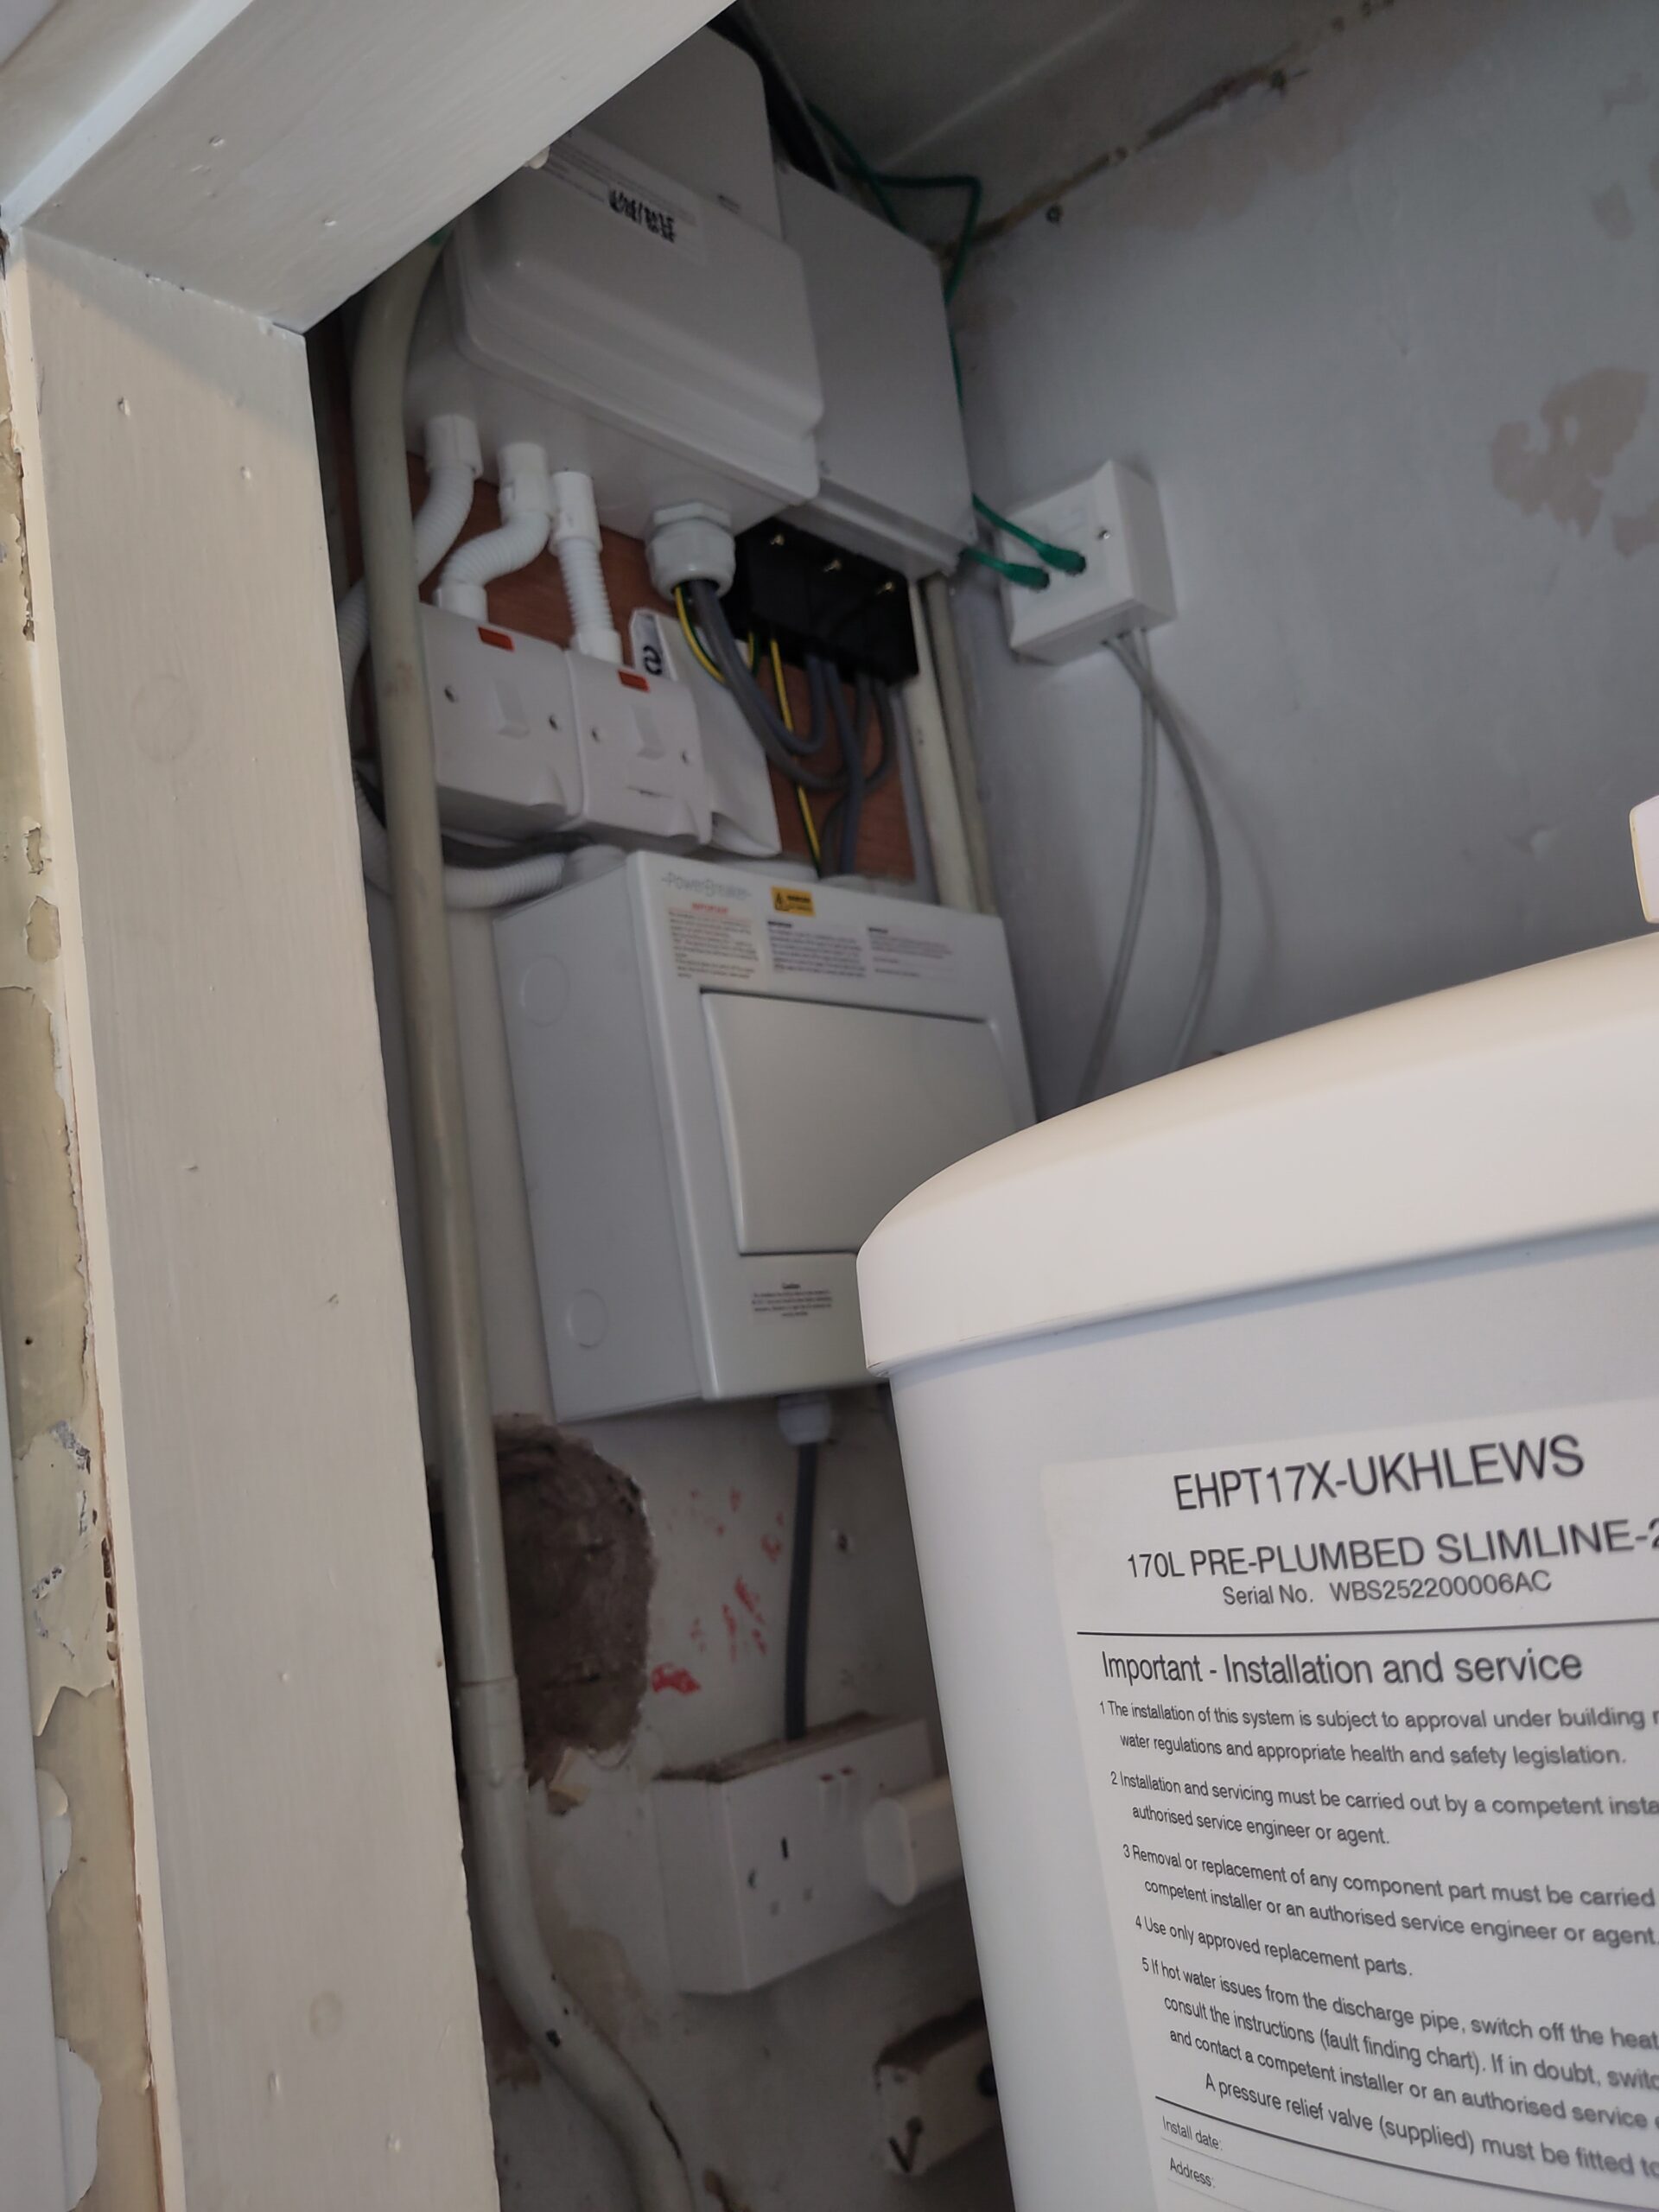
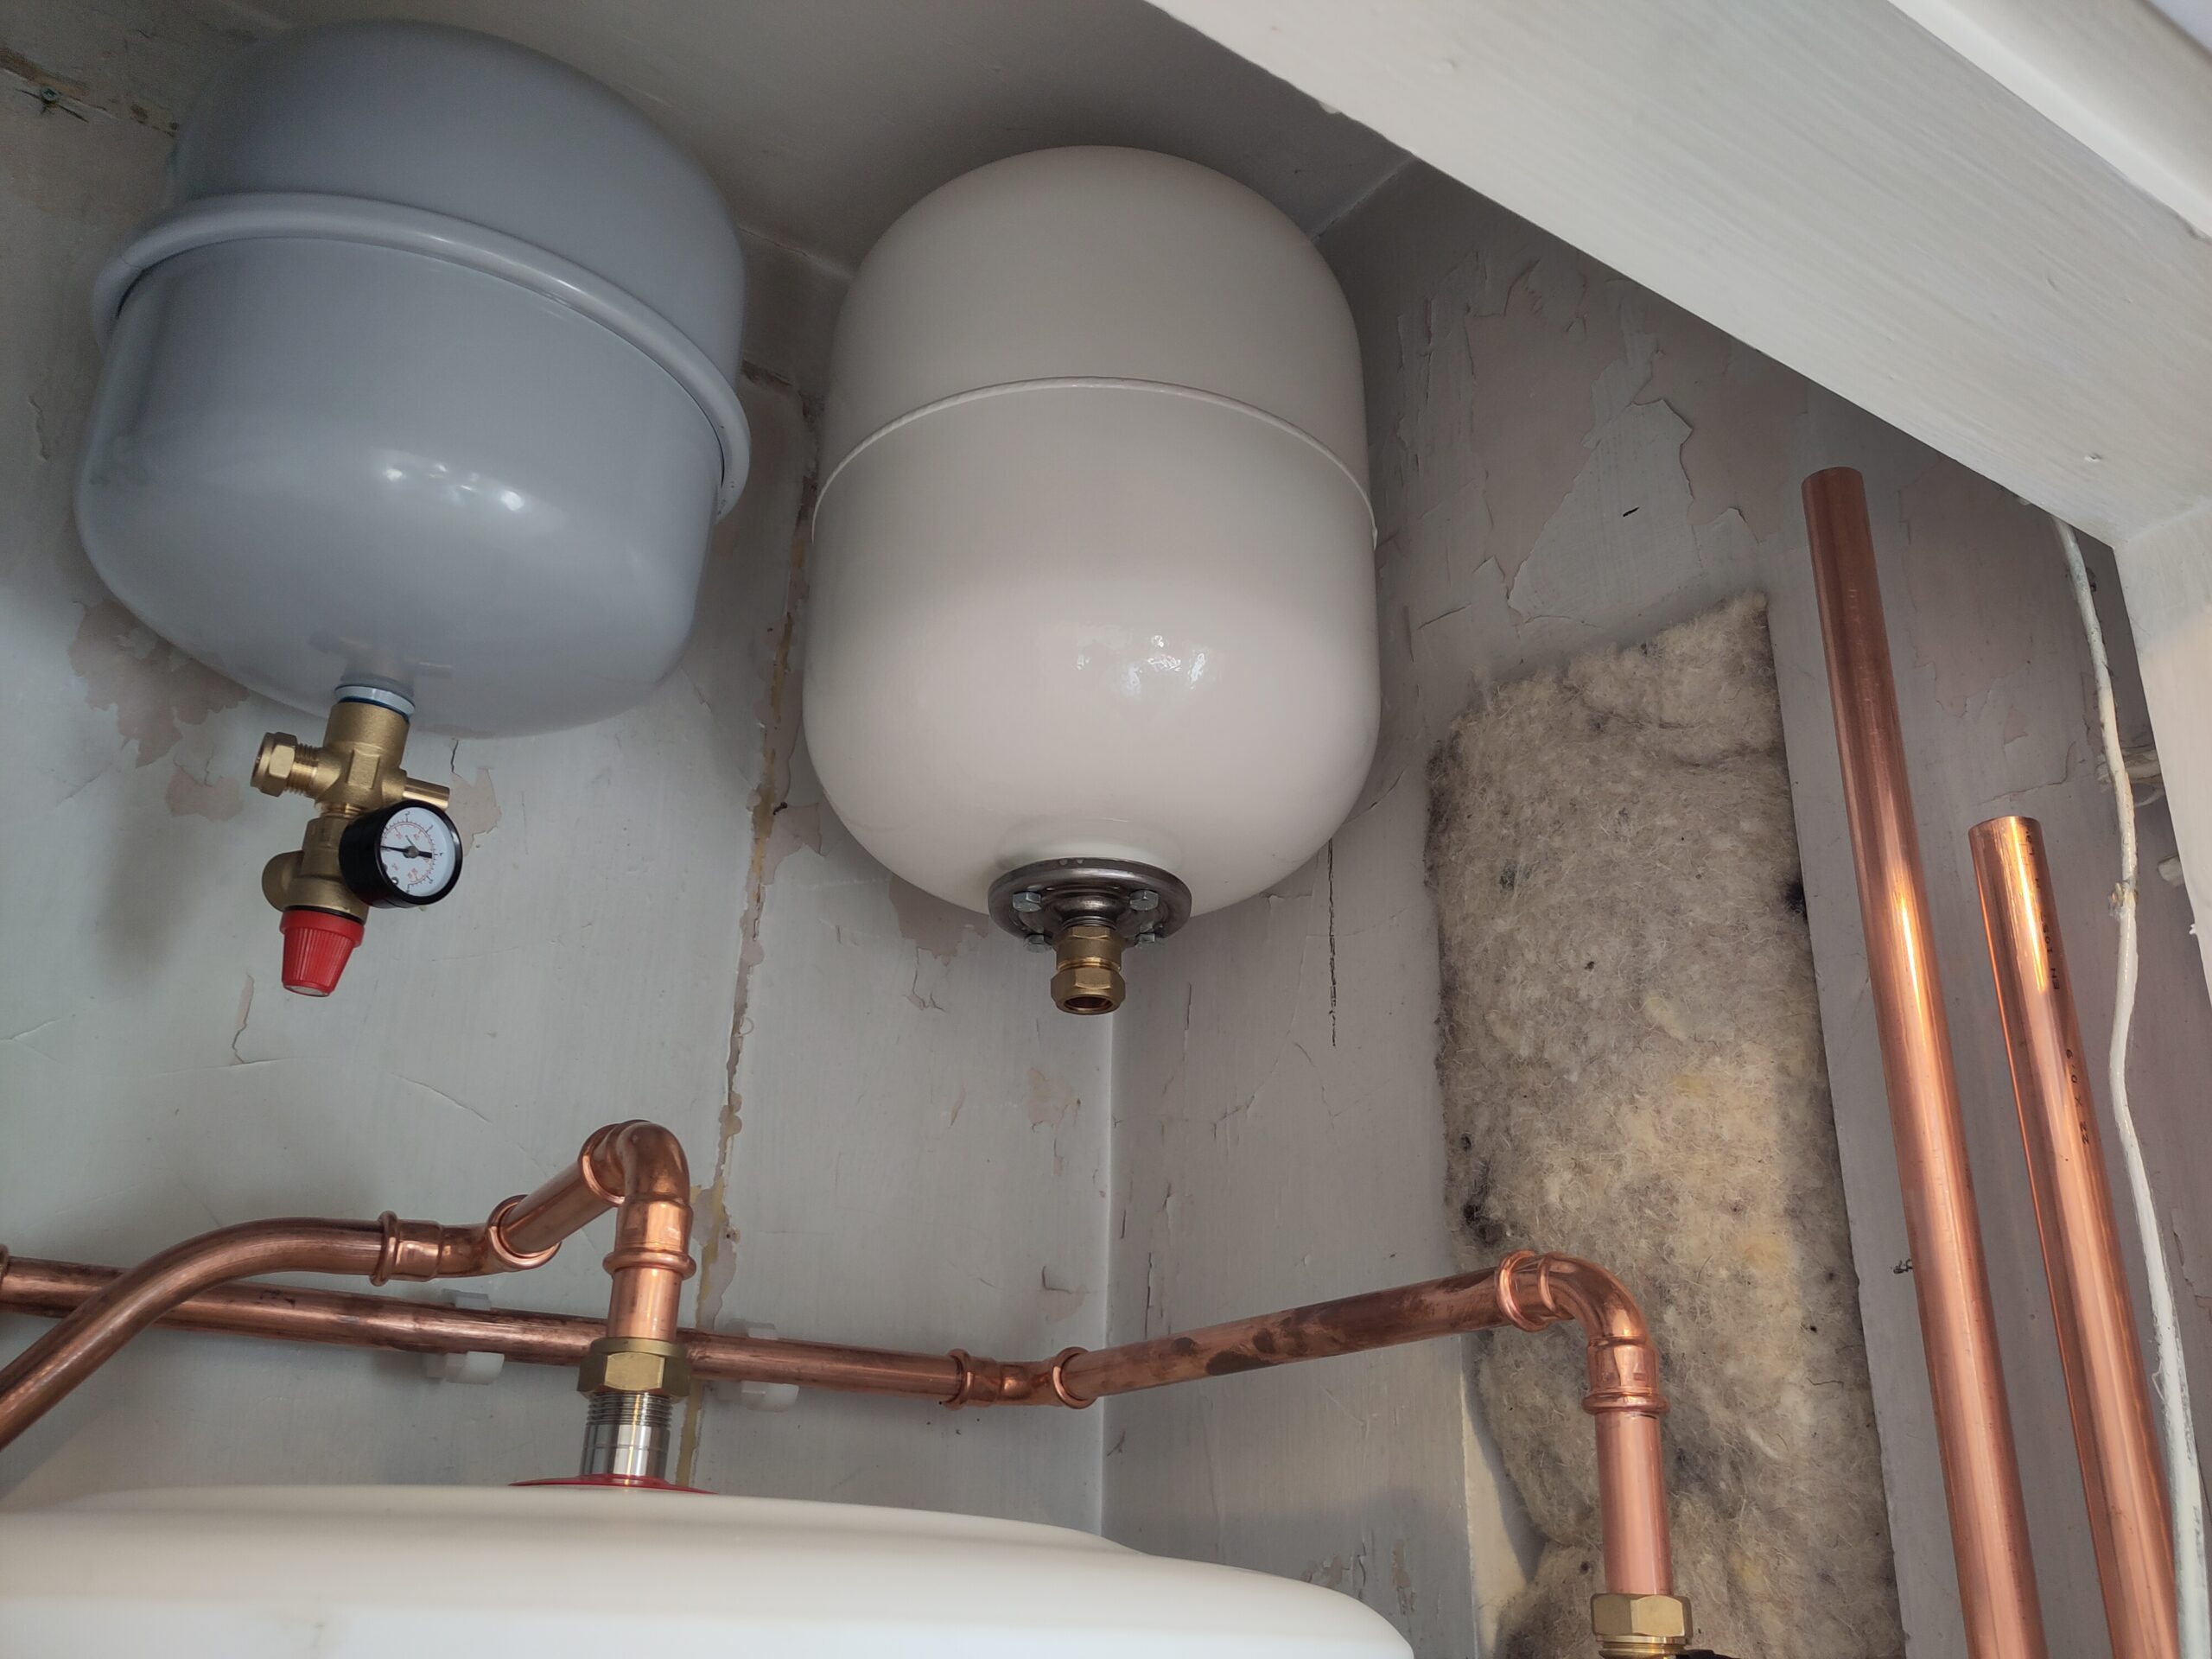
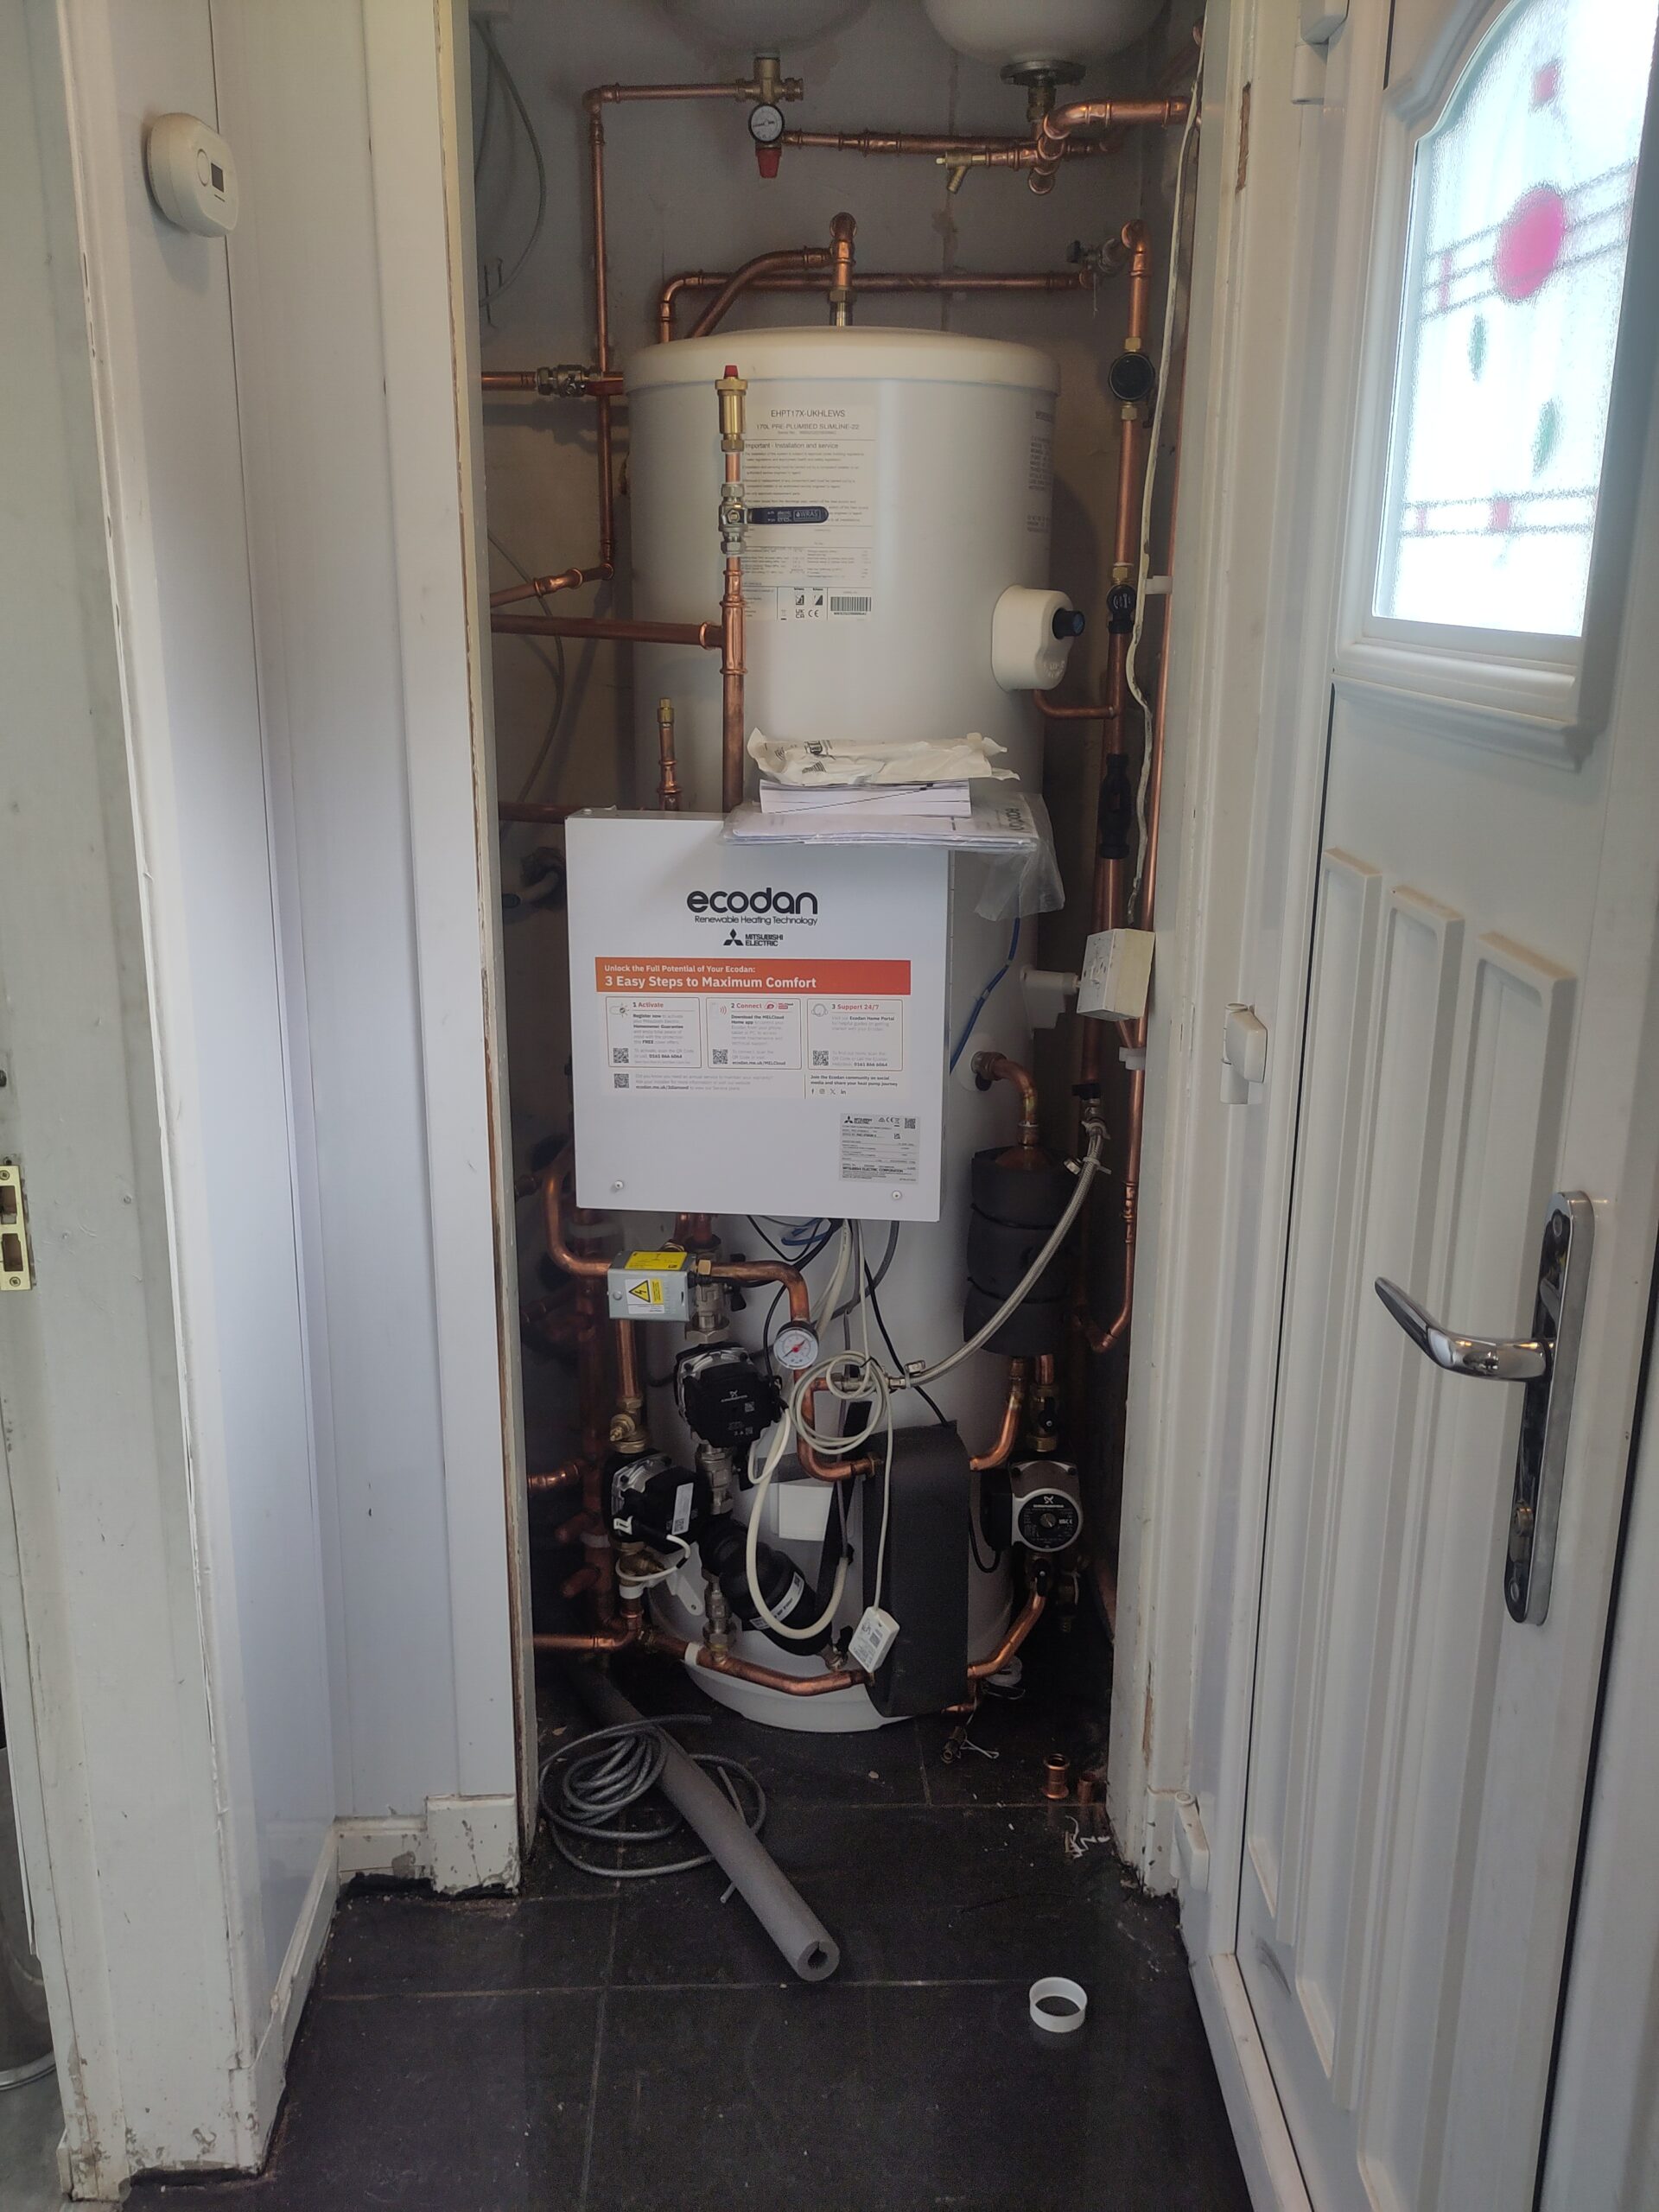
The cupboard that had the gas boiler is where the new hot water tank plus electrical sub board got installed. The Mitsubishi 170 litre slimline pre-plumbed cylinder just fitted in, and was likely the largest Mitsubishi hot water tank that would fit. It was a tight fit, and the installers did a neat job getting it all fitted in.
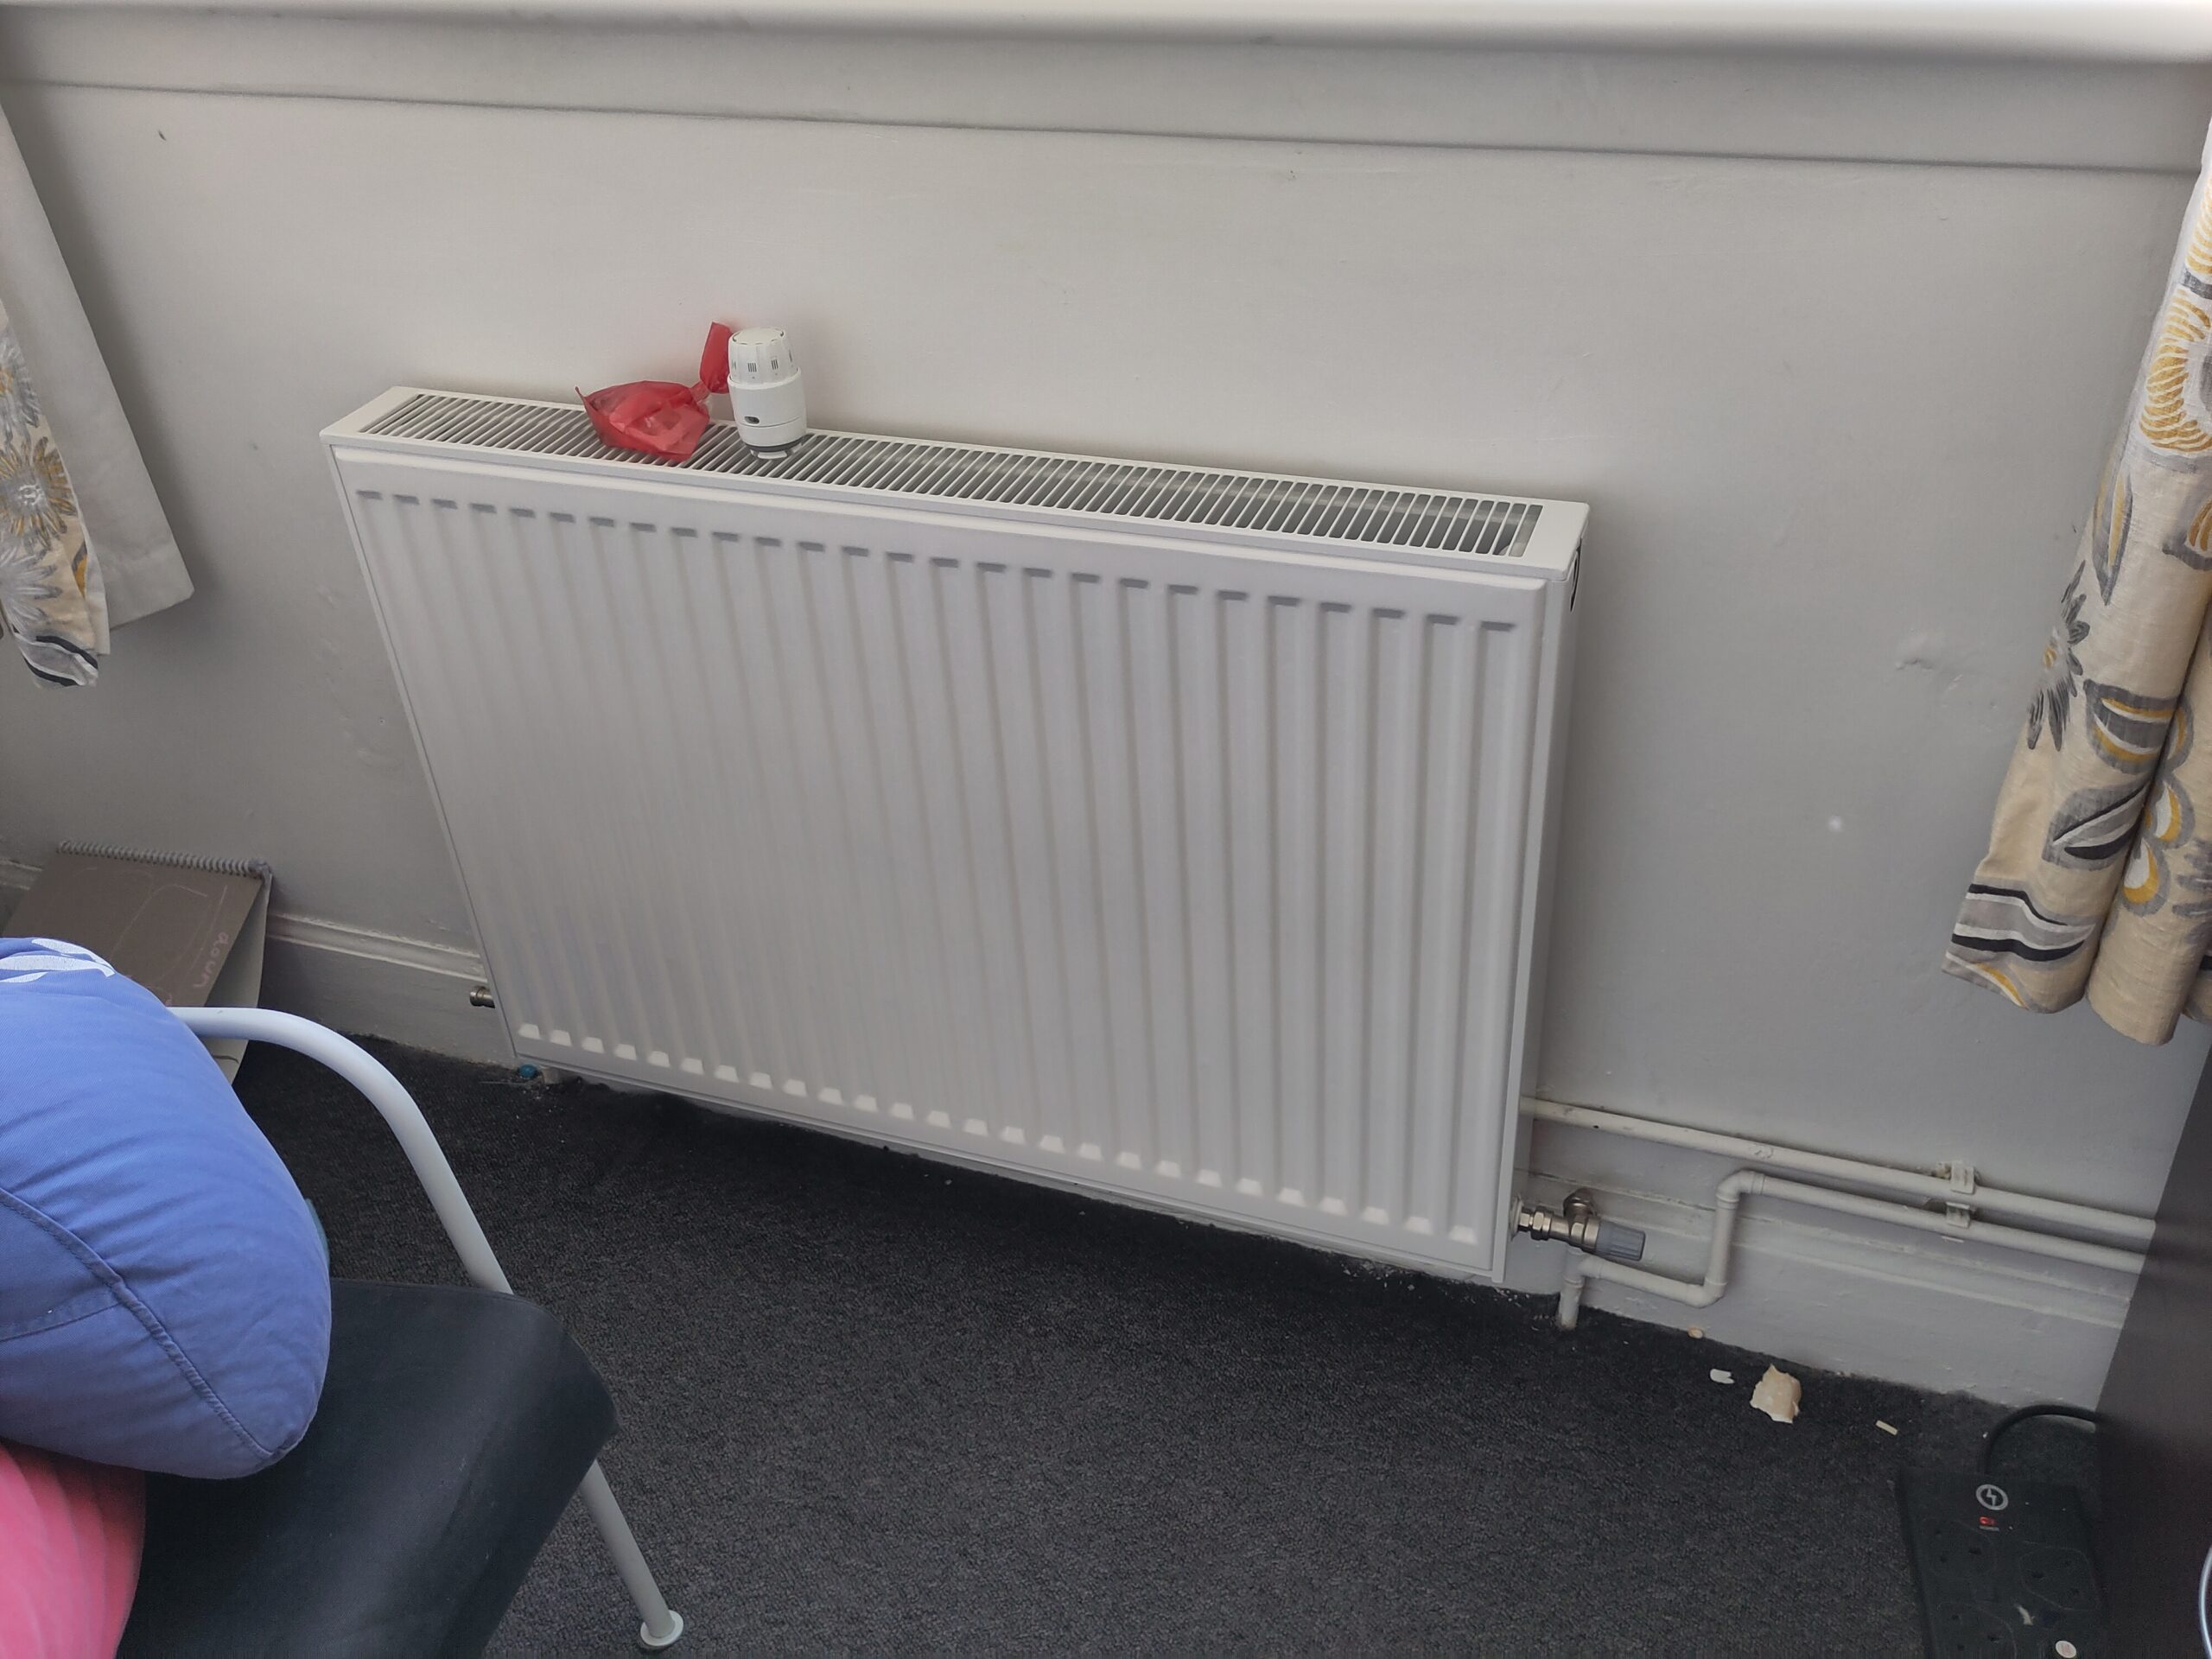
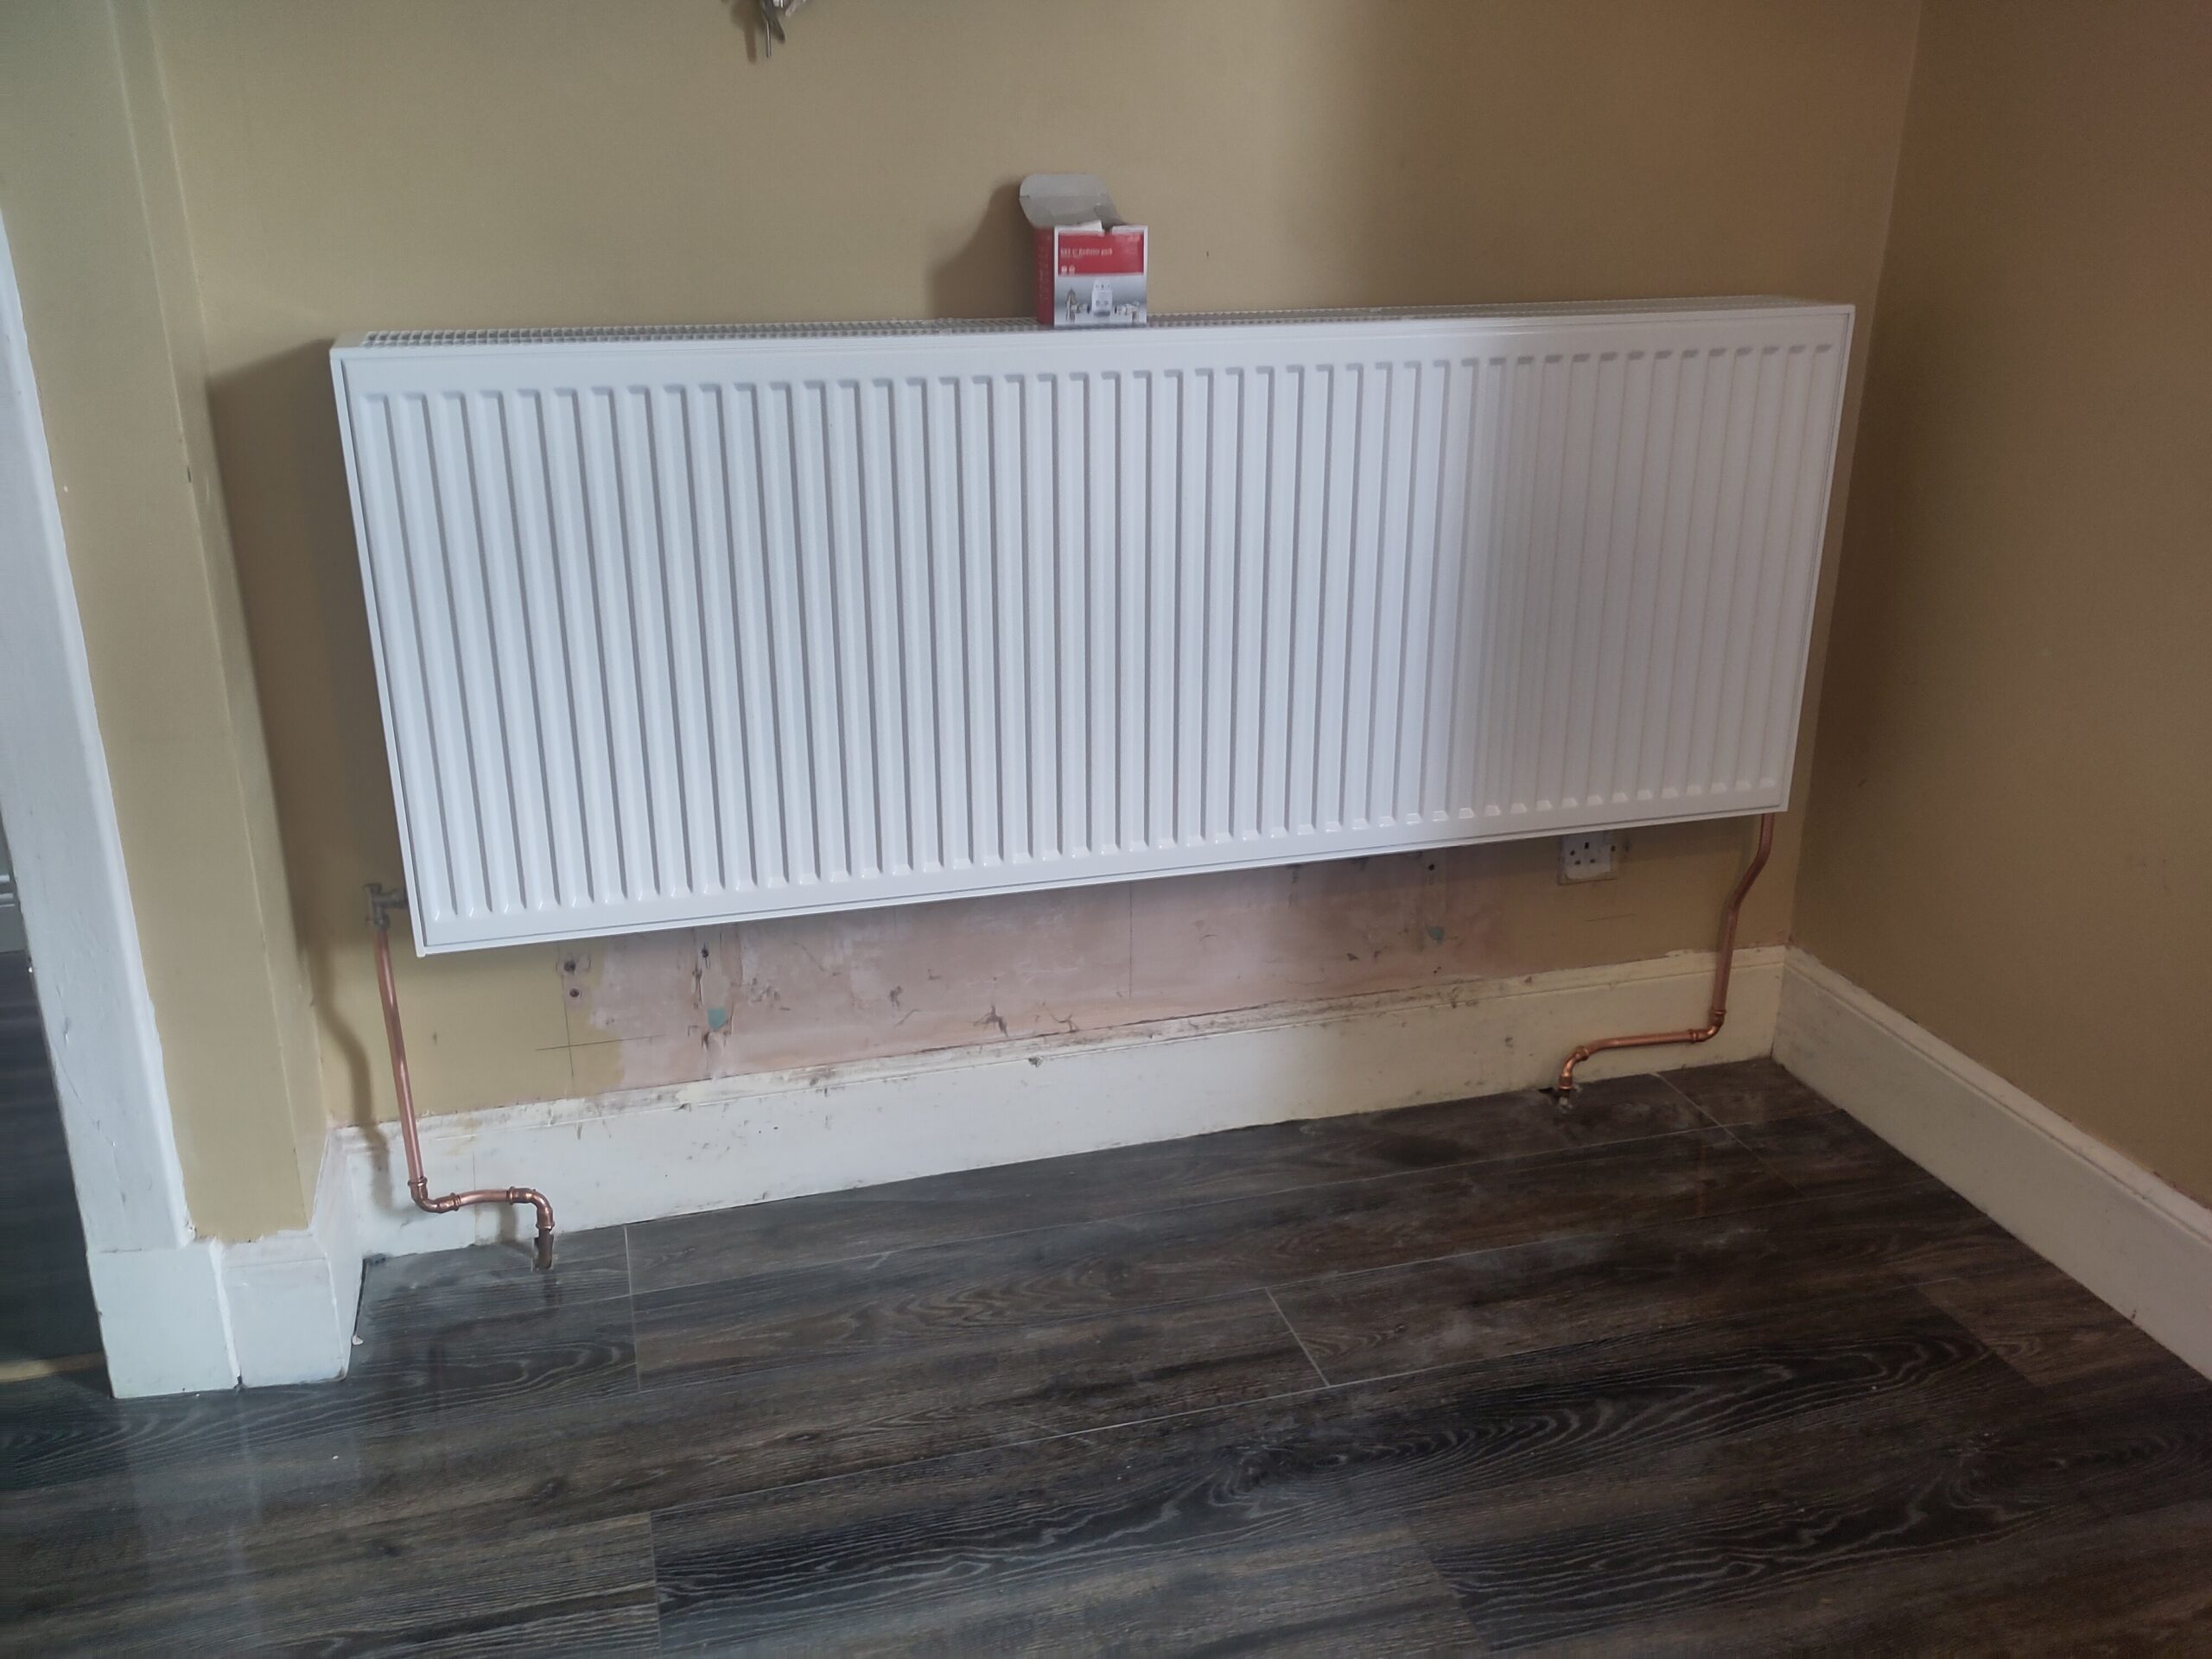
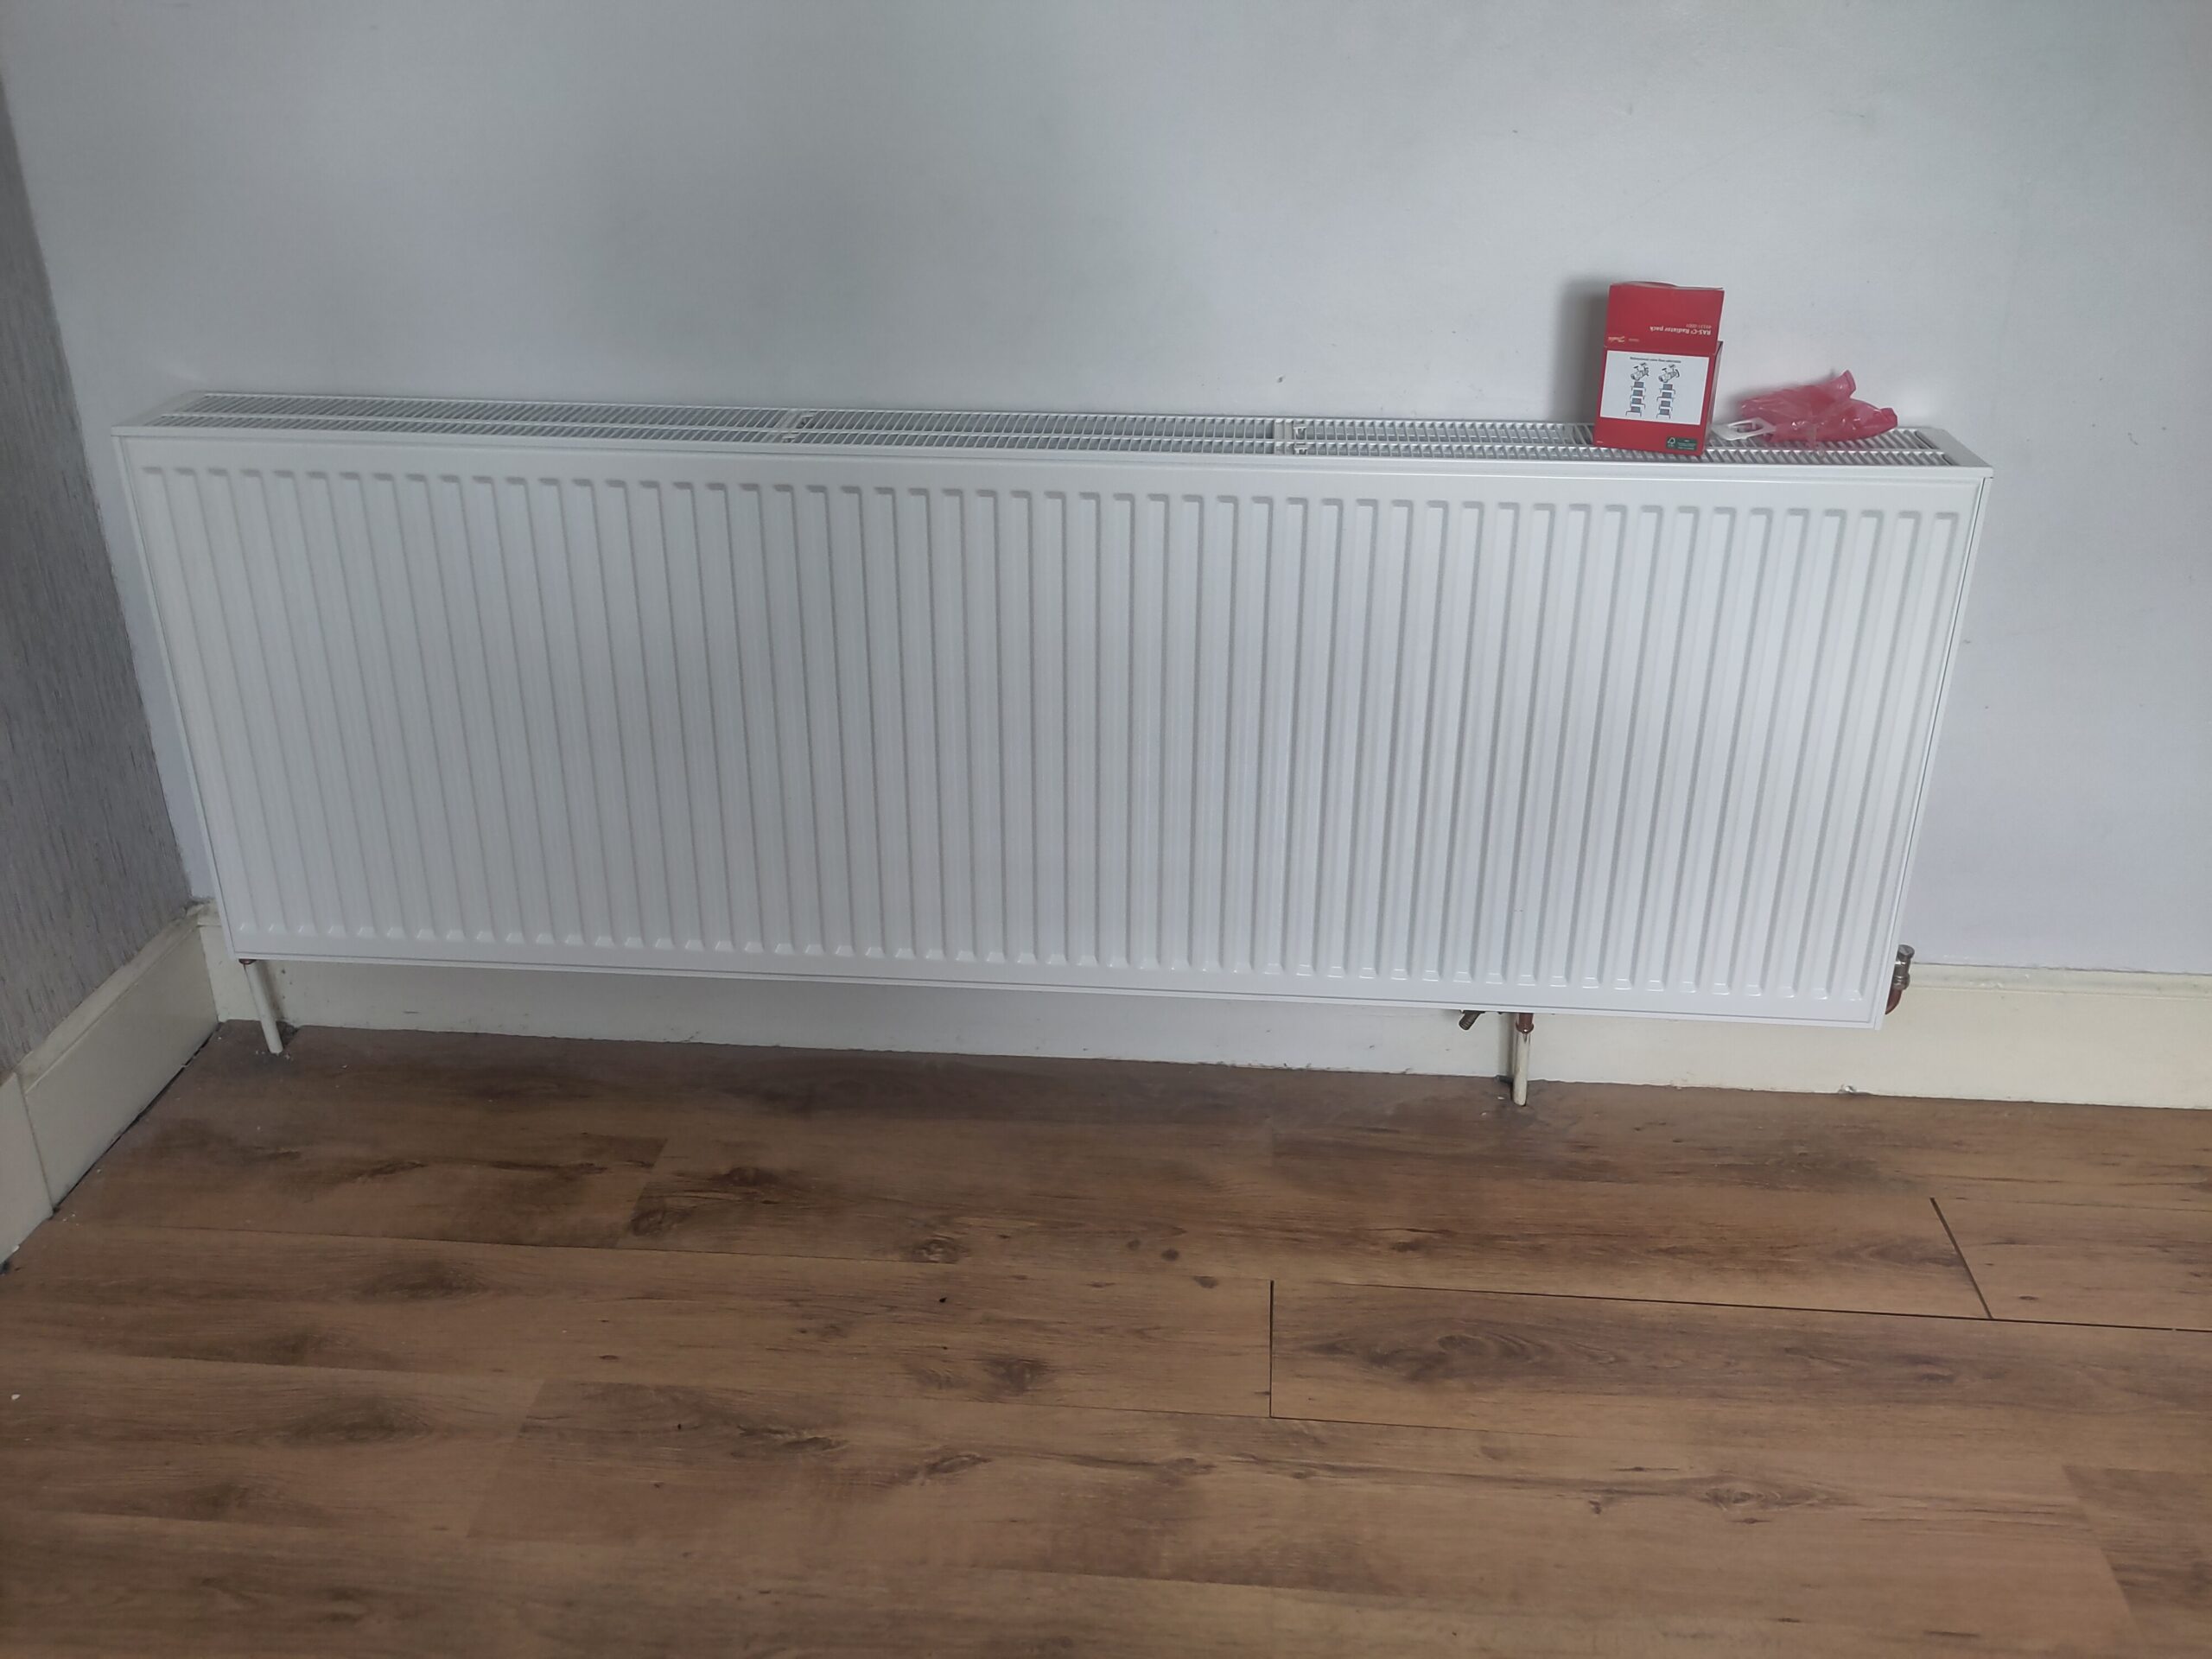
Most radiators were upgraded to larger radiators to allow a low flow temperature, and therefore more efficient system. Two of the radiators that weren’t upgraded were borderline needing upgraded to a larger size, however were difficult to do so due to the position and space available. We may come back and change them in the future, but thought we’d see how we get on first. With one of them, insulating the flat roof above should help (still to do), and would probably be the priority, which should reduce the heat loss and therefore heat requirements in that room. It’s also got the washing machine and tumble dryer, so when it’s cold there are other heat sources likely on too, reducing some of the need for a larger radiator.
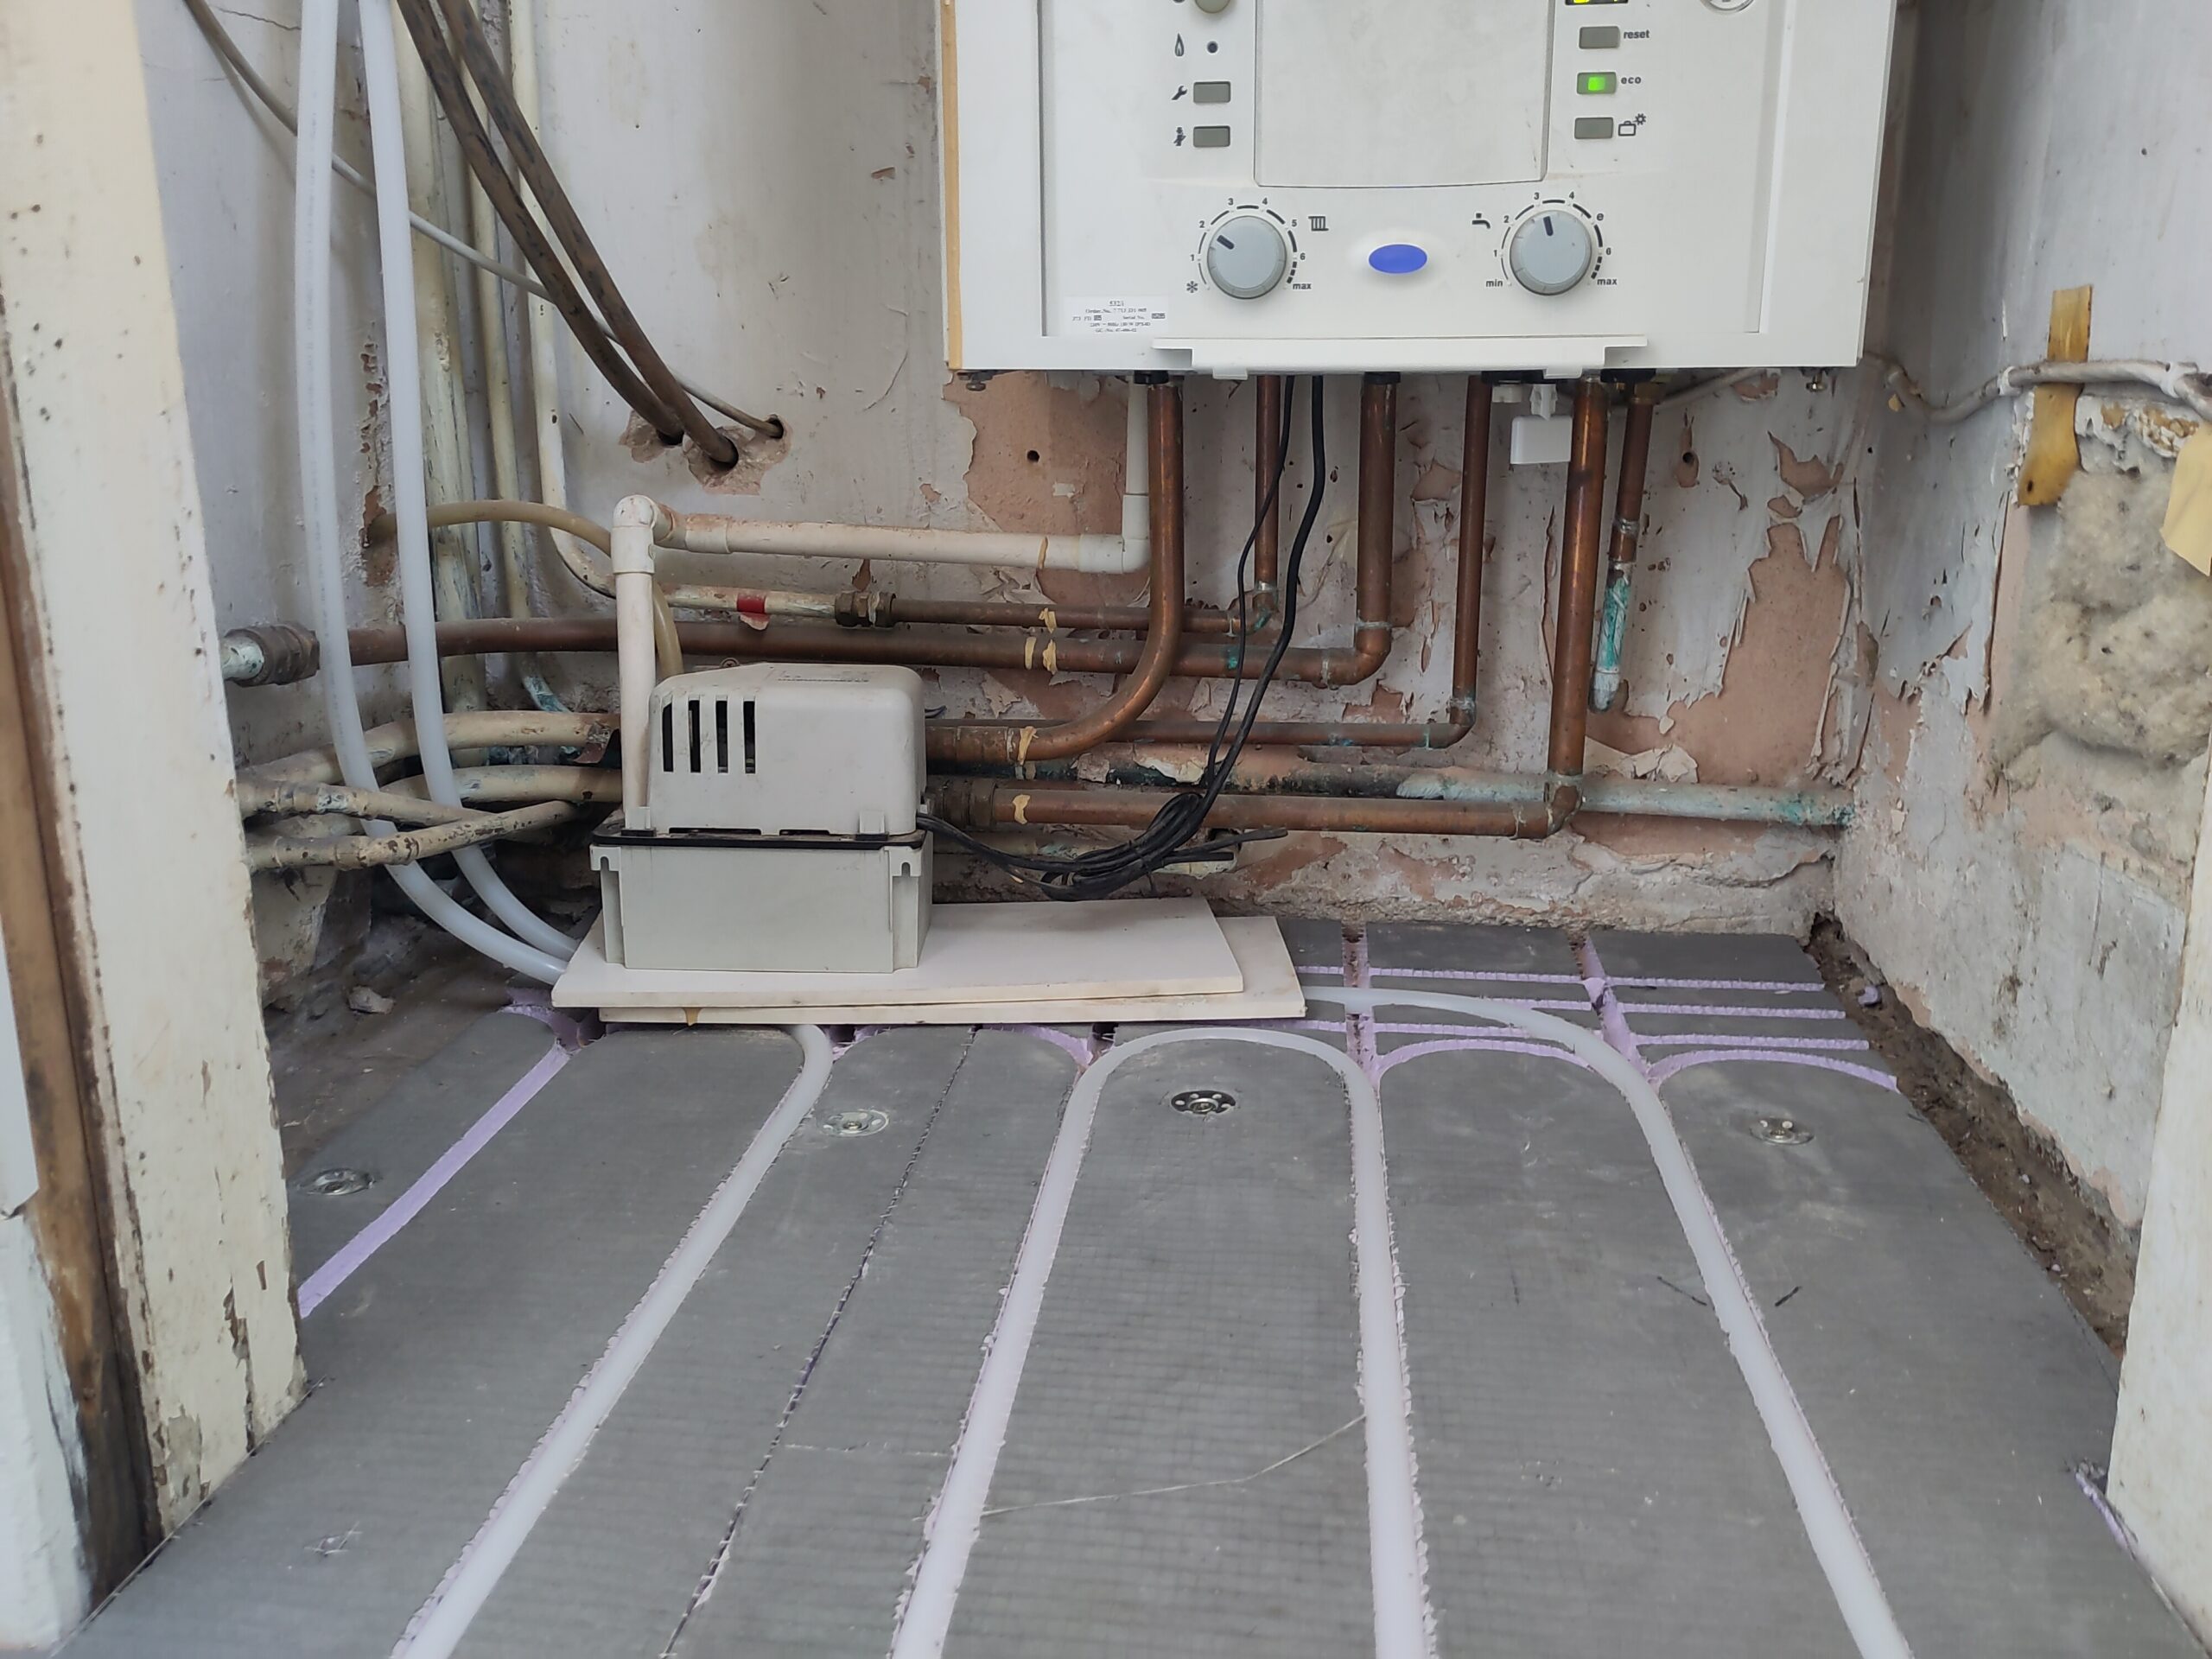
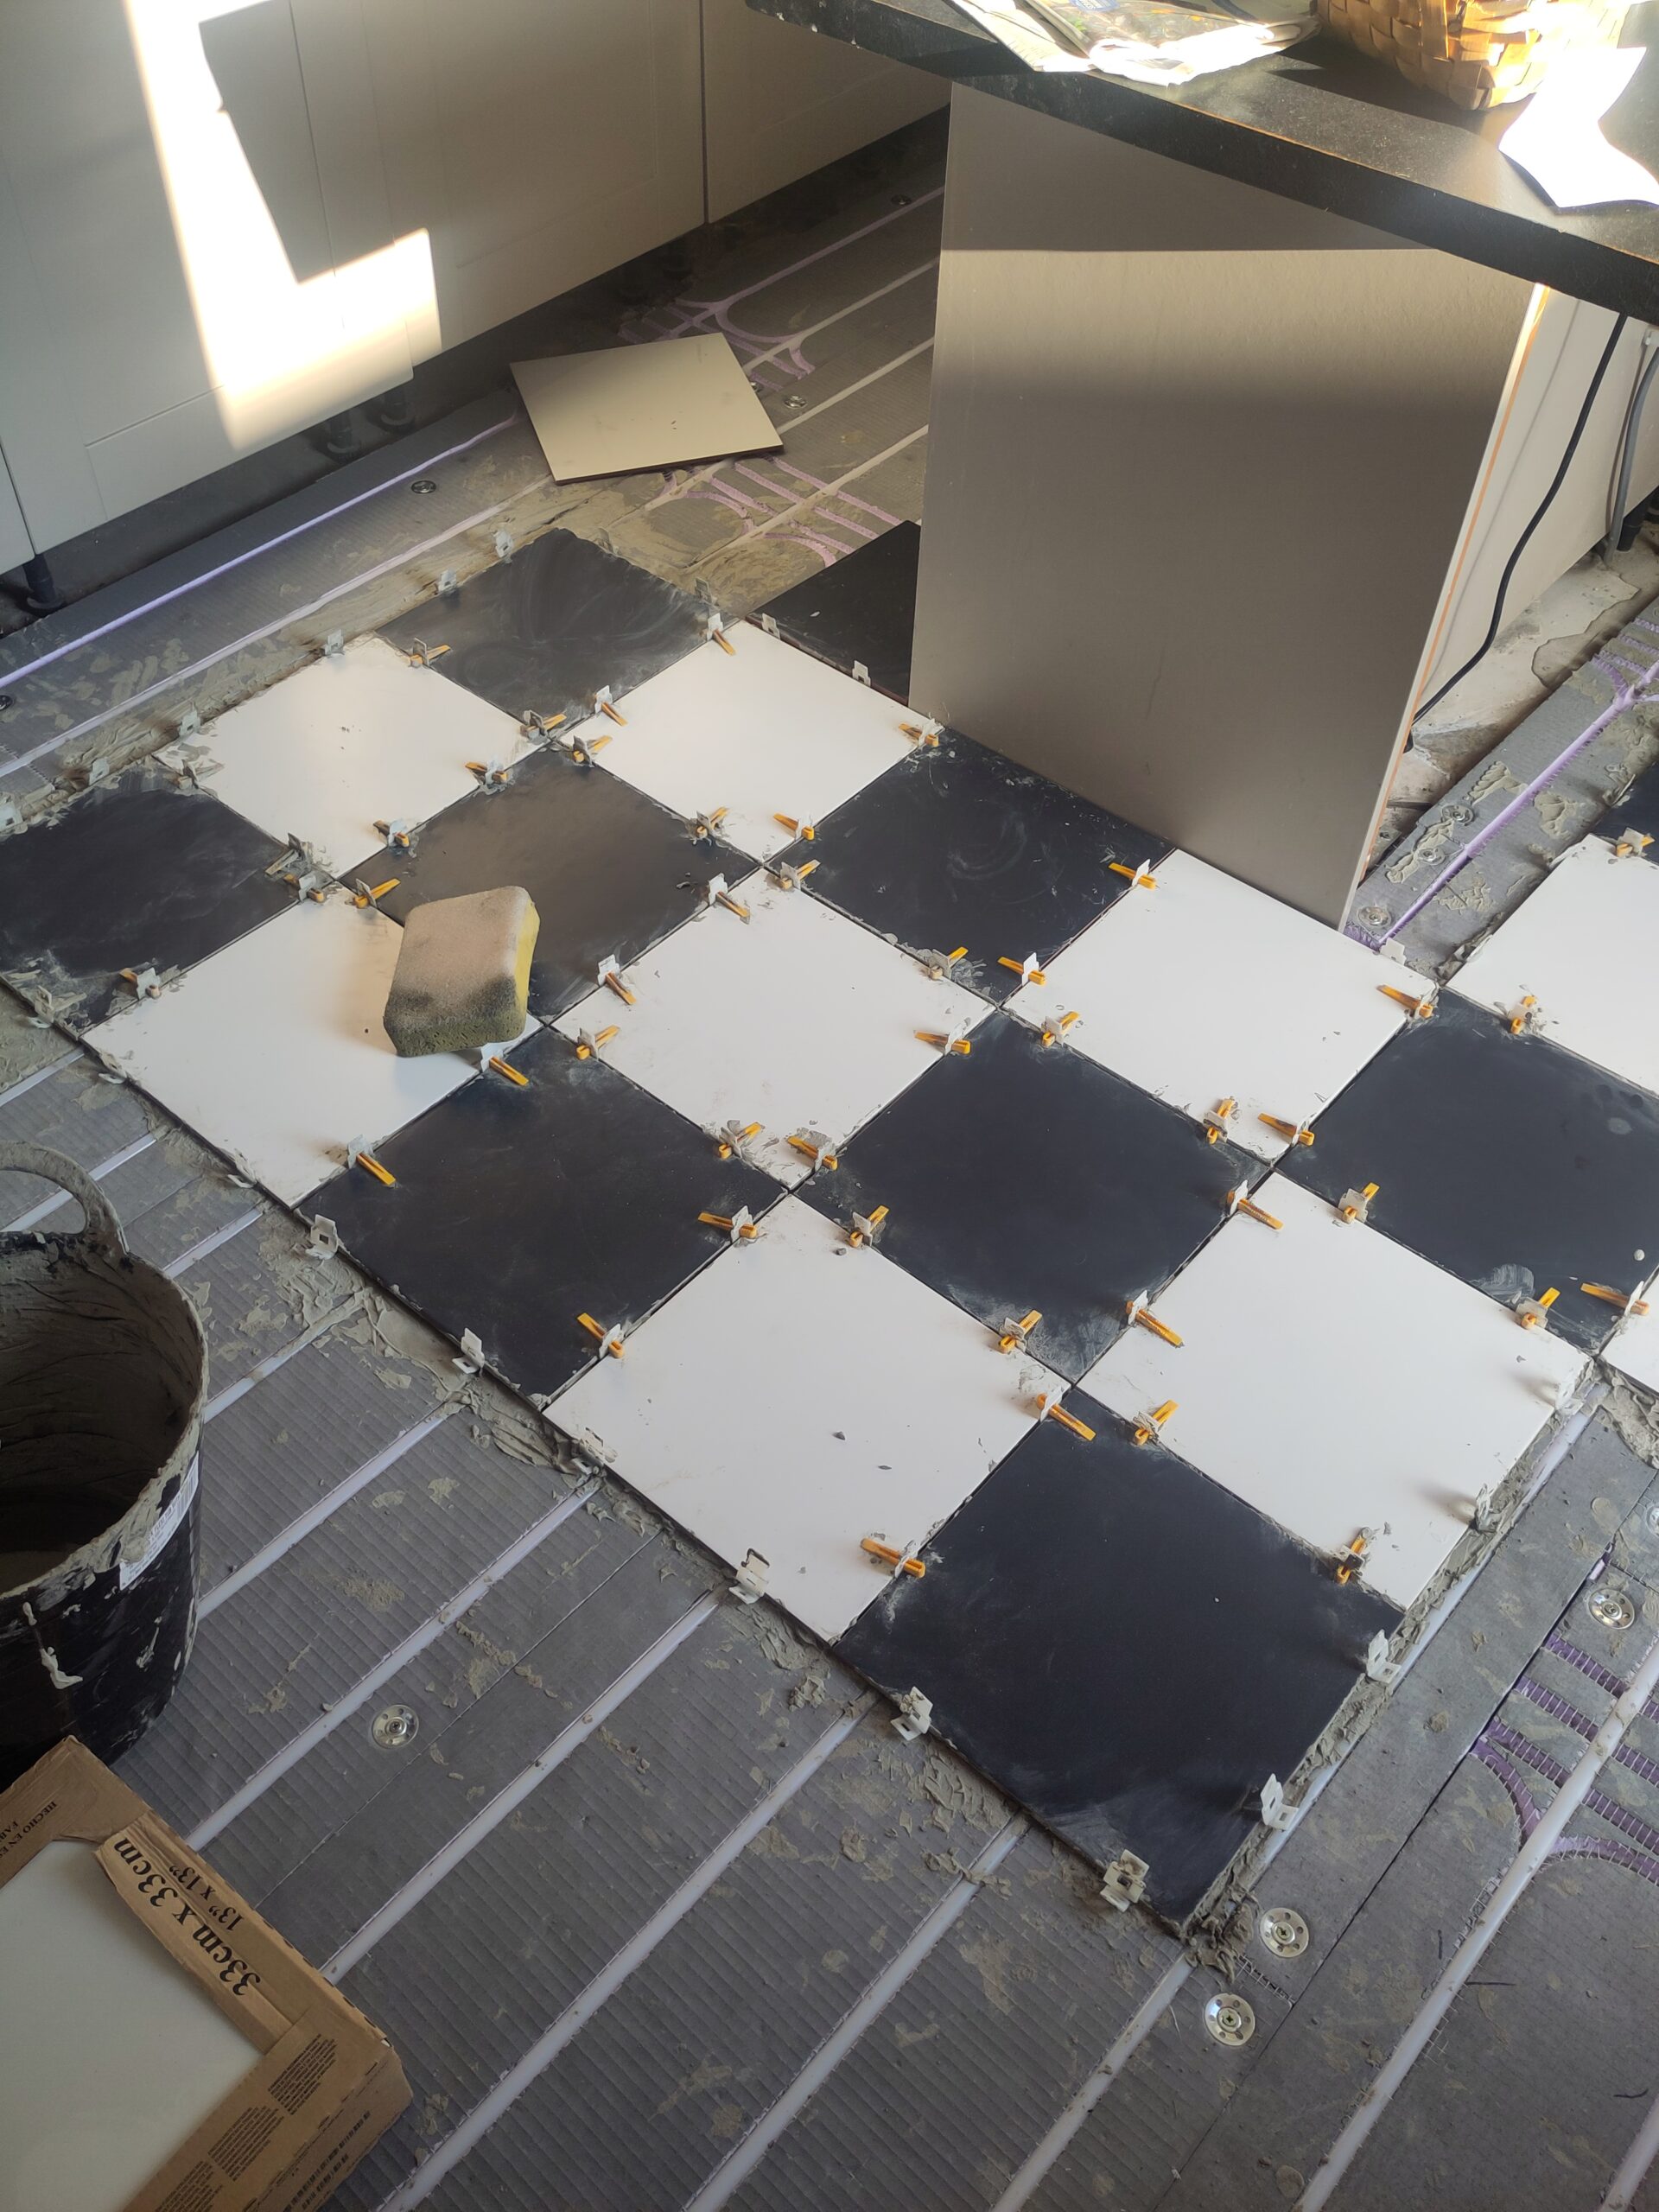
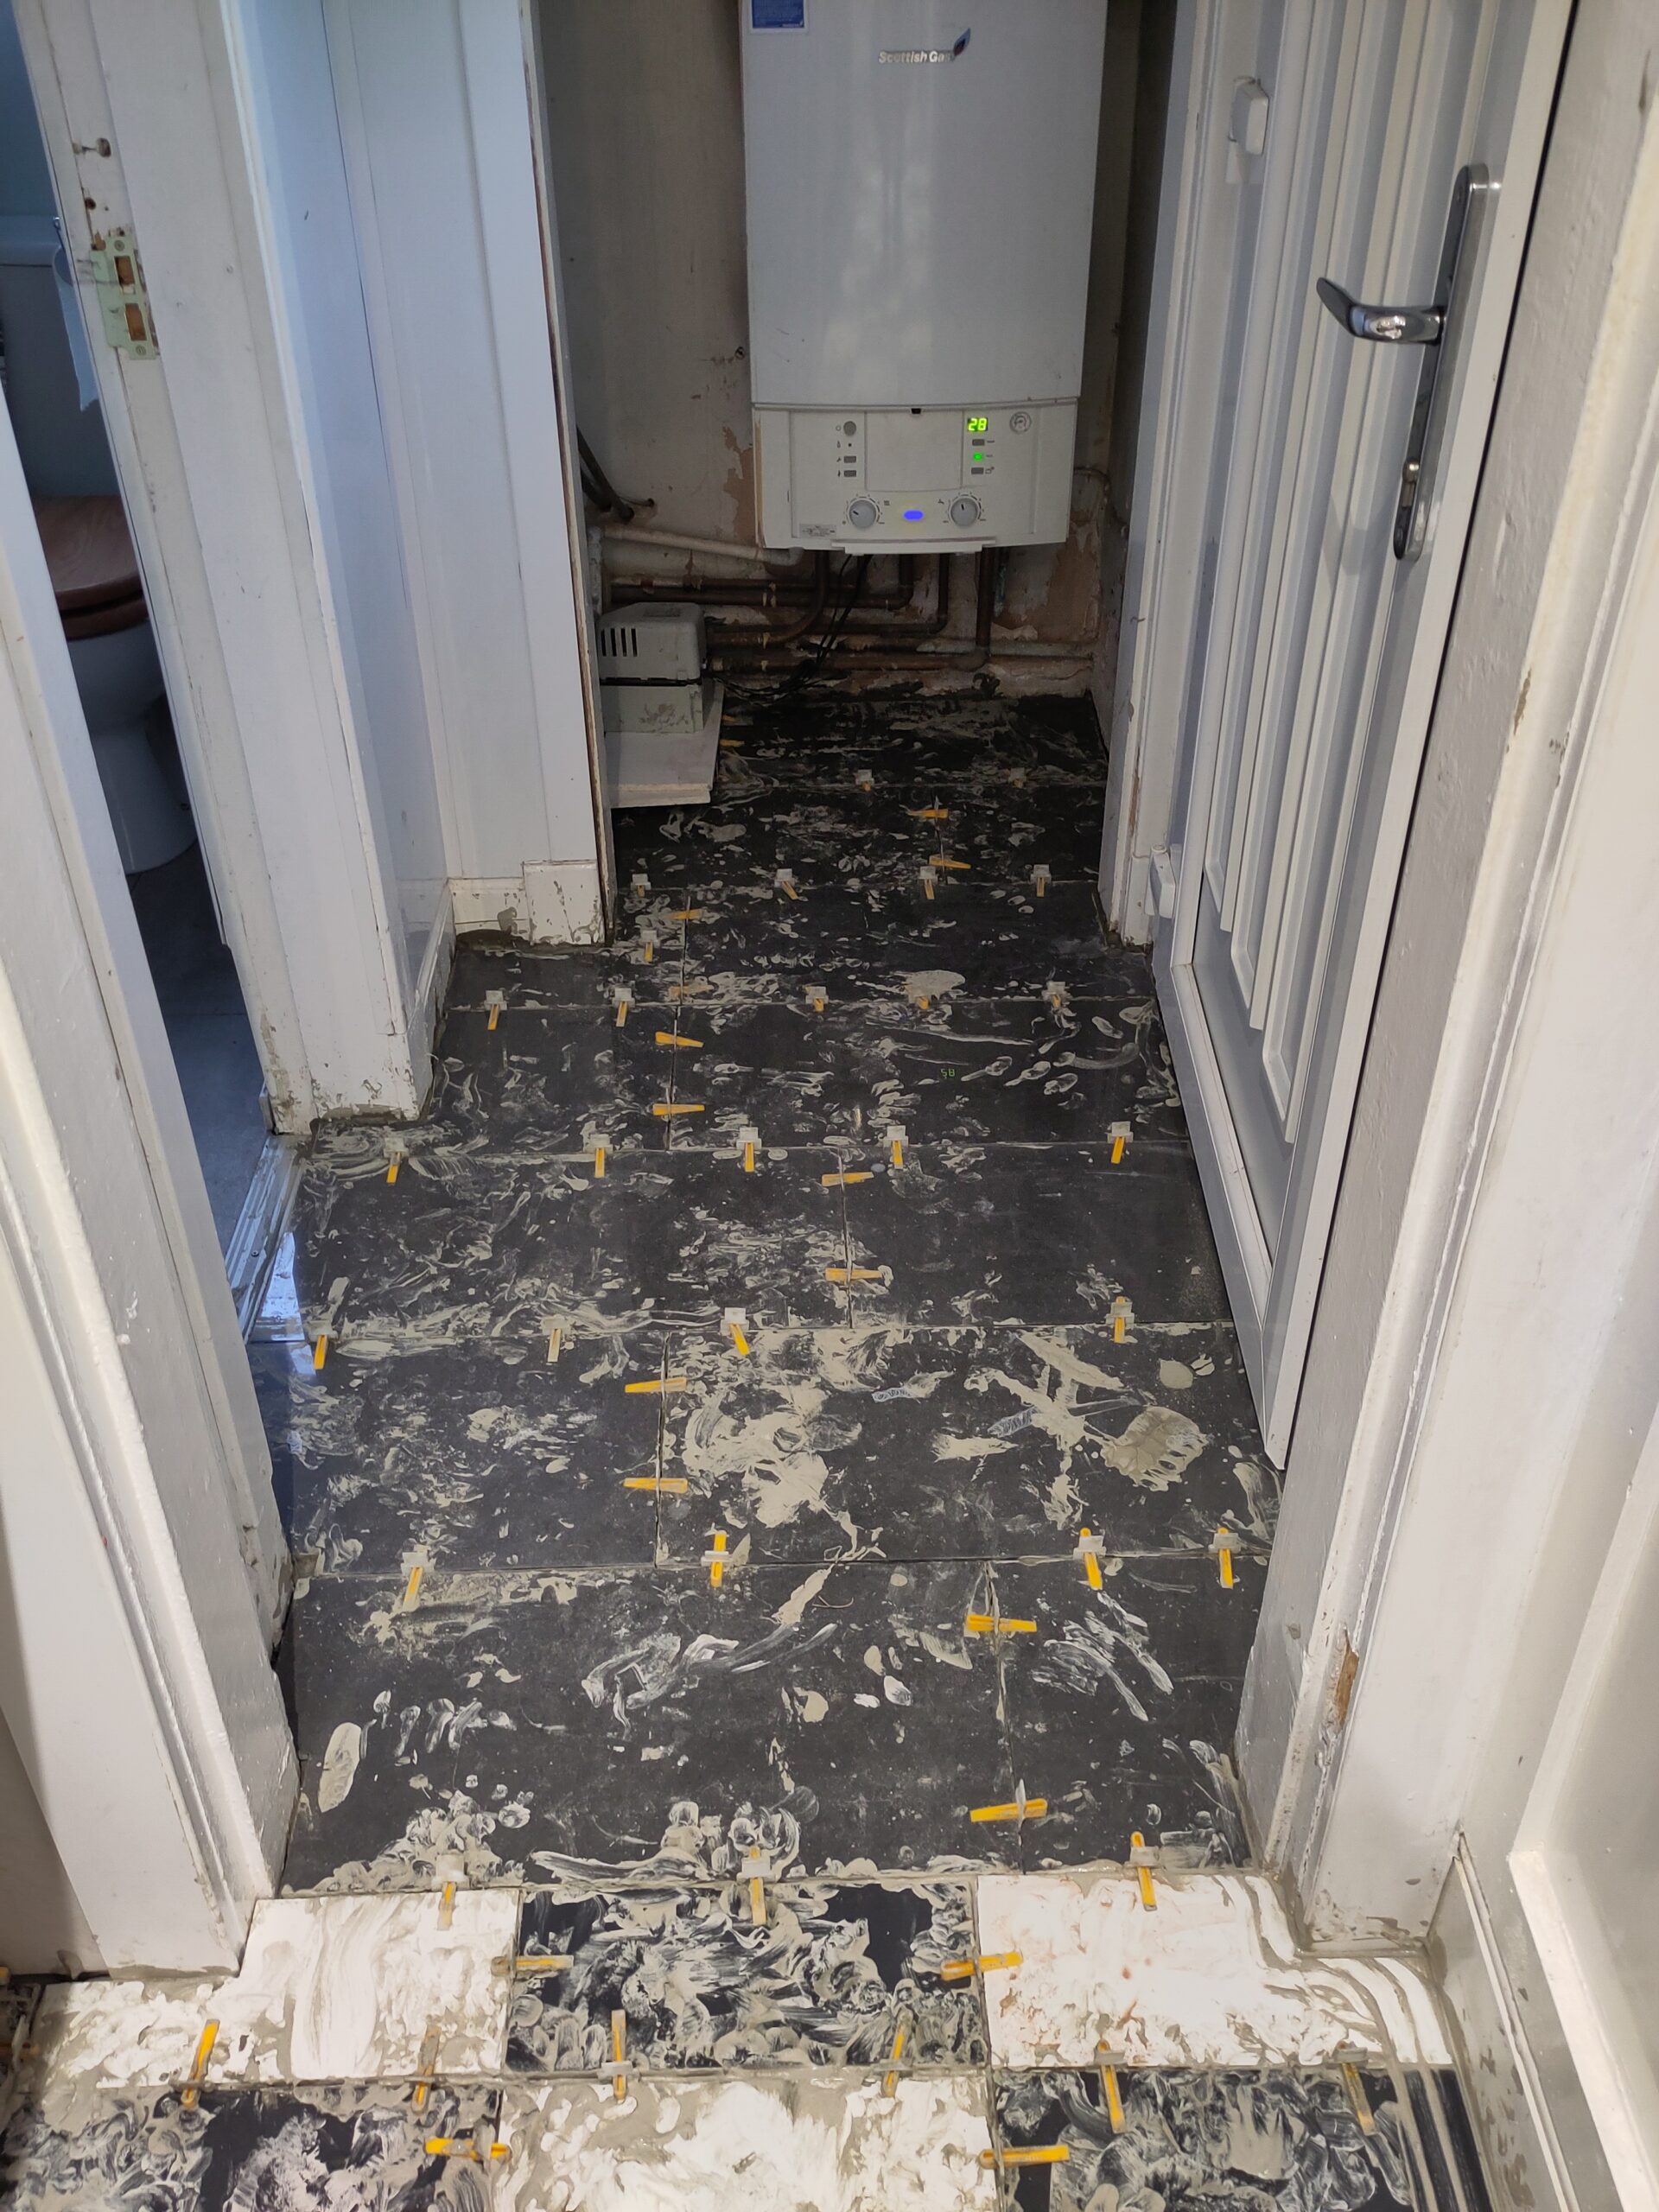
In the kitchen we got the installer to remove the thin leaking radiator, capping the pipes in the ceiling. This was replaced with underfloor heating. The heating installer came in early week 1 to install the underlay and underfloor heating pipes. We then had just under a week to get most of the tiles stuck down, particularly in the cupboard that the new hot water cylinder would be installed. The installer used an insulated board with pre-cut grooves for the underfloor heating pipes. We then used the tile adhesive directly on the boards and pipes with the tiles on top, making it an easy process. The hardest part was trying to get the tiles level everywhere.
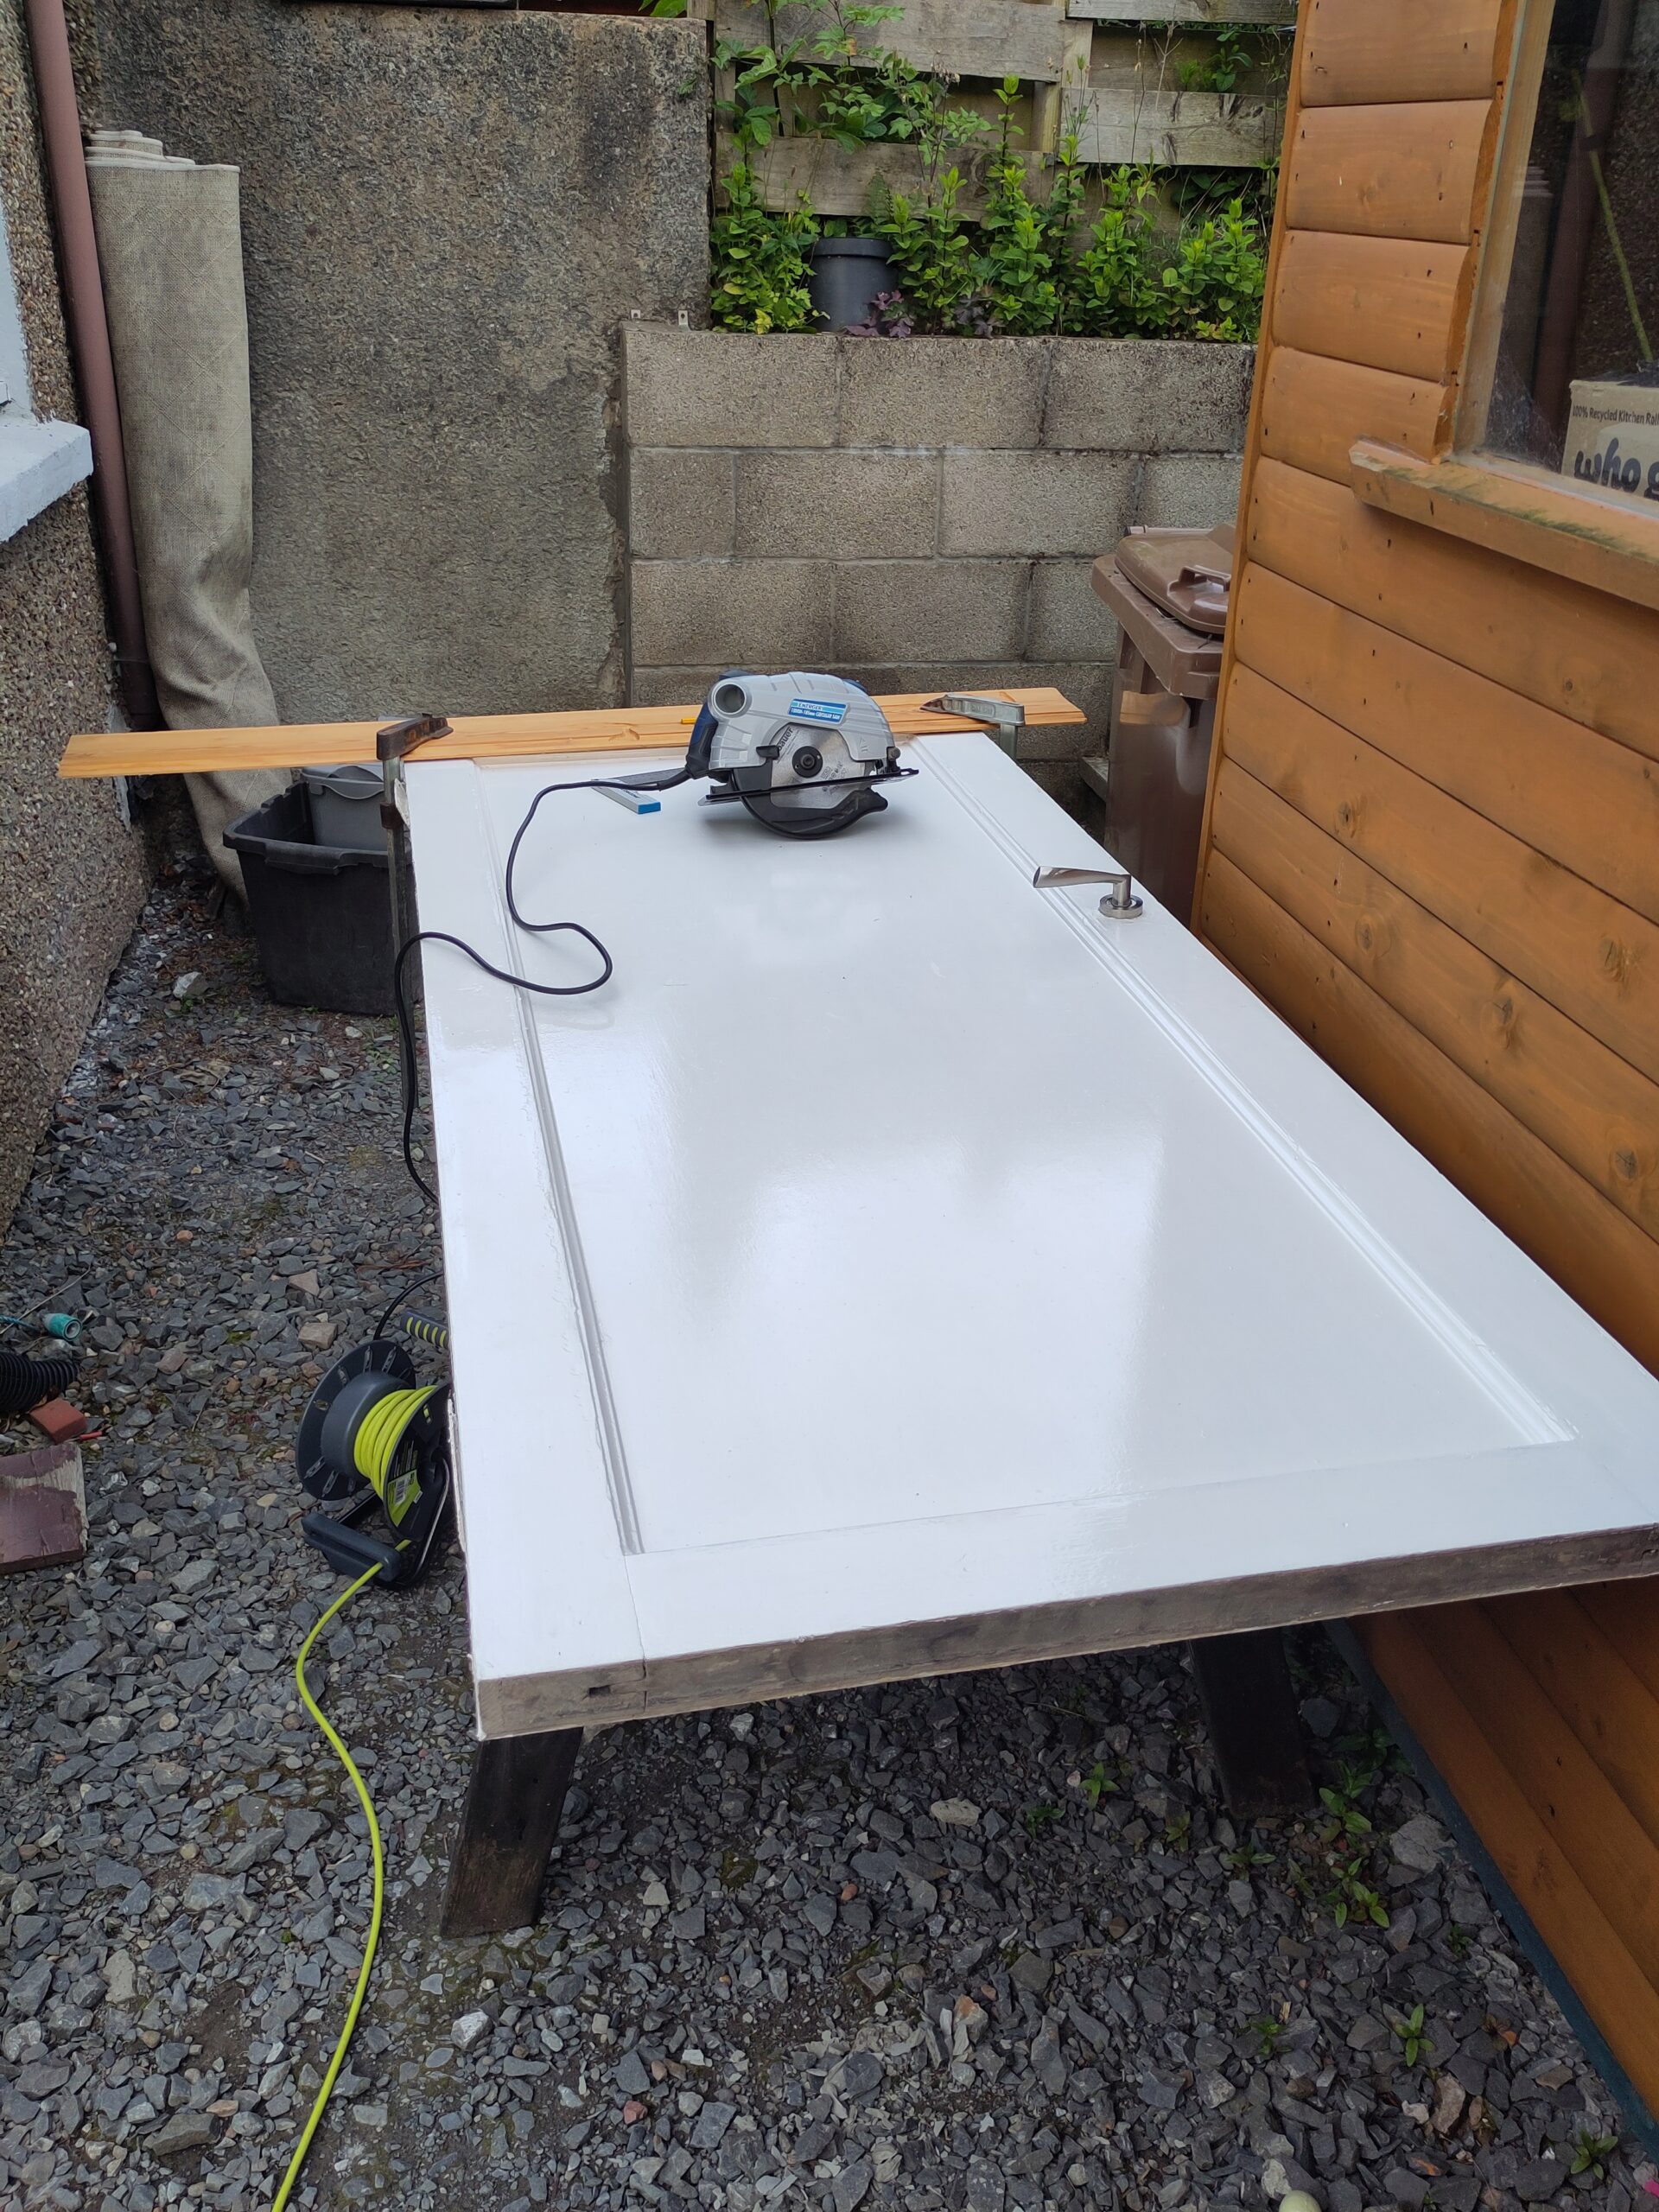
3 doors needed to have the bottom trimmed off due to the extra floor height. Easy enough done with the circular saw.
No concrete screed was needed, which puts the room completely out of use until it’s dry. It’s also quite costly and time consuming to install the concrete screed. With this backer board solution we could strategically lay the tiles to keep use of the kitchen whilst being careful where we stepped and leaning over at times.


Week 2 the main part of the install took 5 days, starting on the Monday.
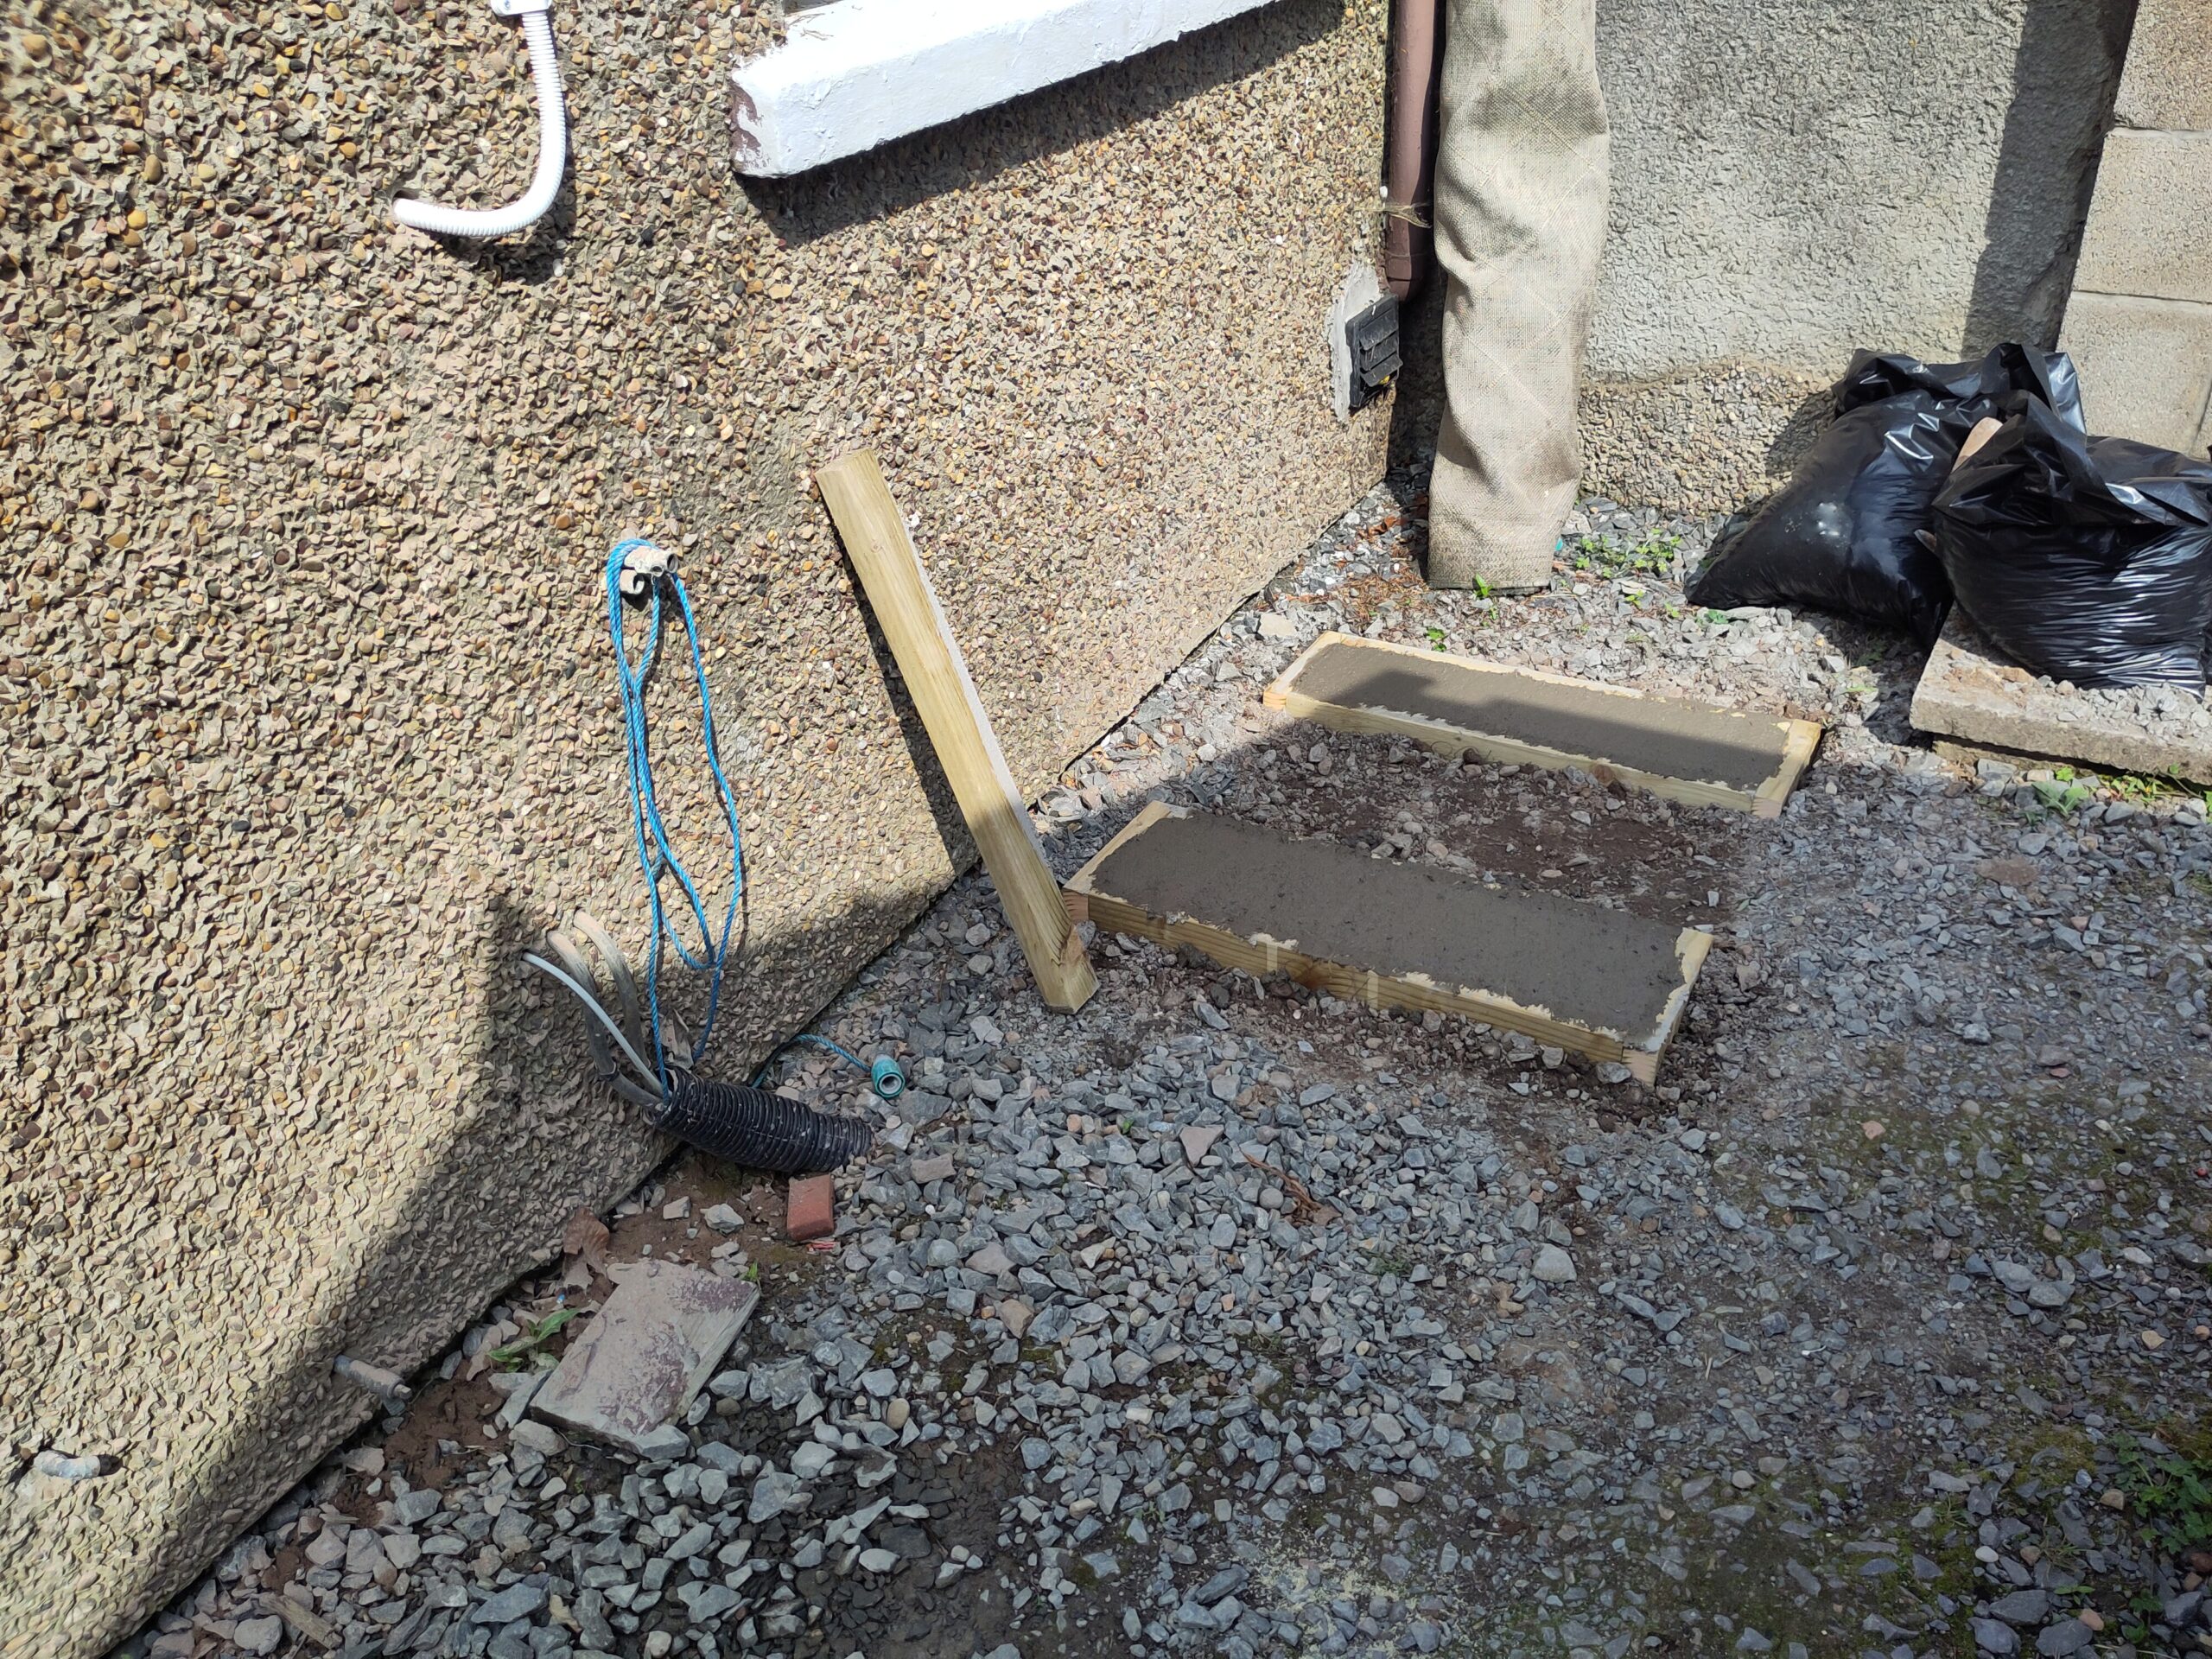
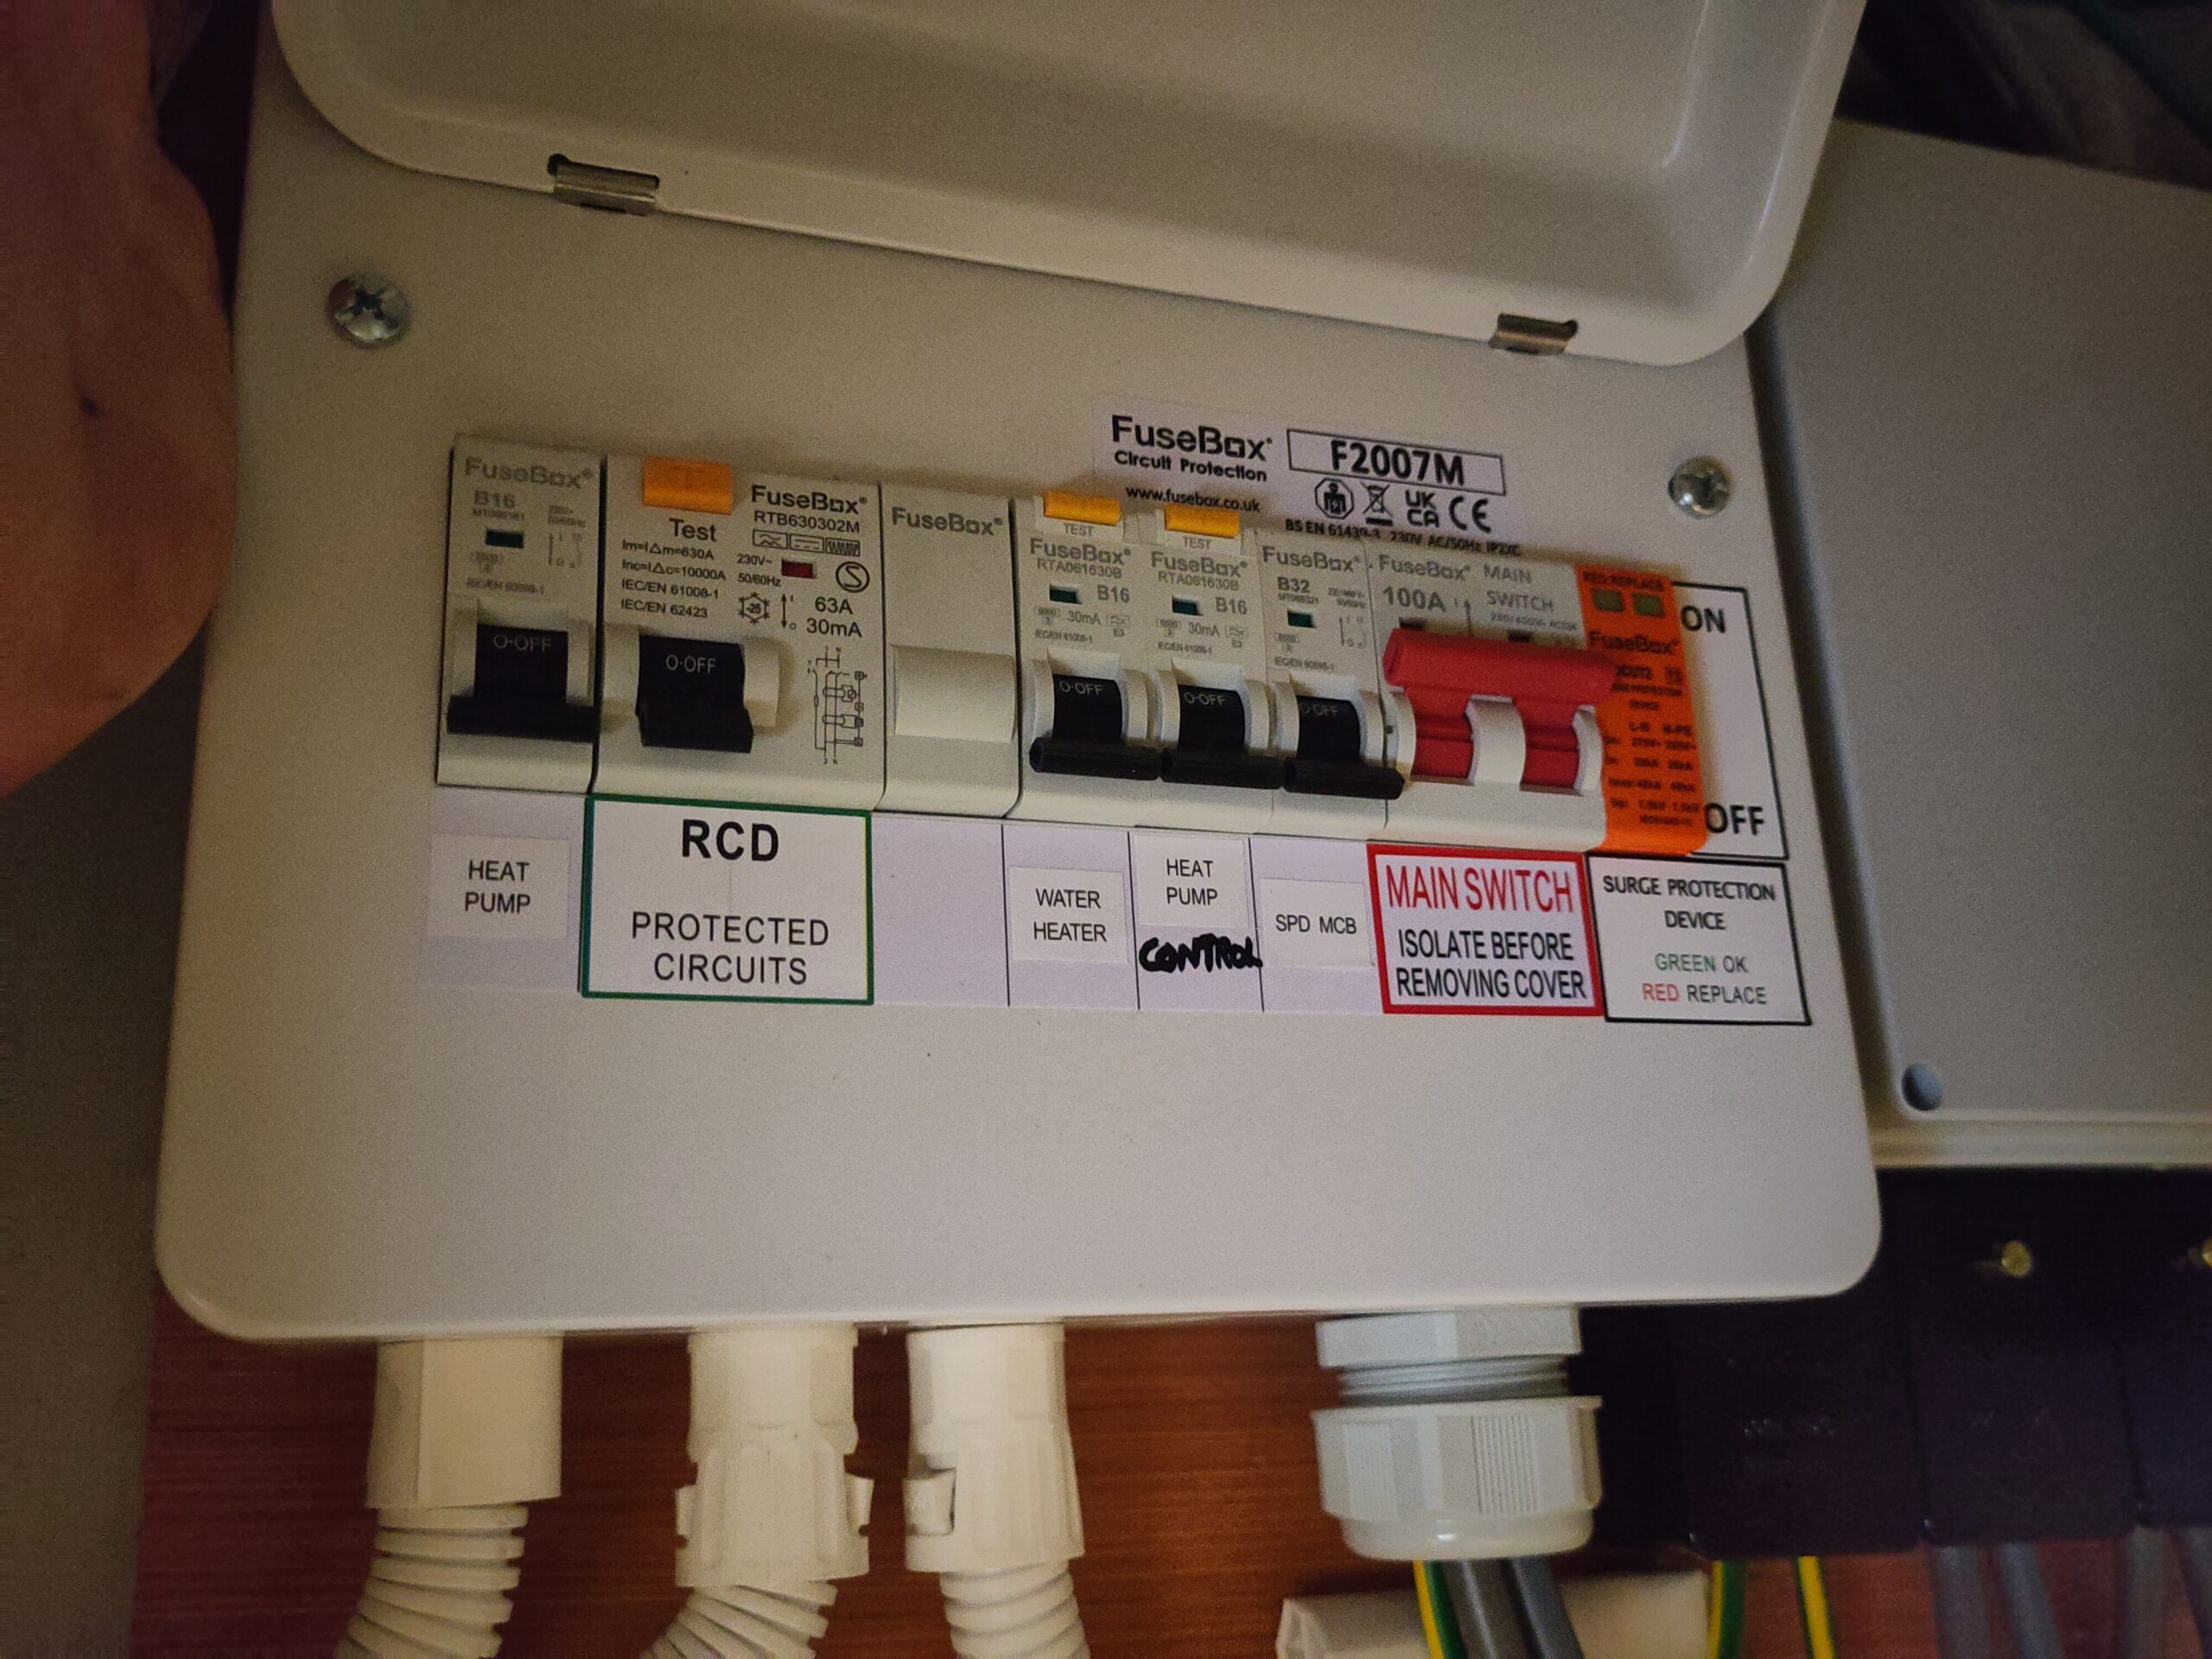
Day 1 was mostly removing the old gas boiler, draining the system, and preparation work. The concrete base stands for the heat pump were created. The new electrical sub board for the heat pump was installed, with the house power off for a short time to connect this in. Once the boiler was out in the morning we had no water from the hot taps.
We headed across the road to the swimming pool for a swim, and shower in the evening. Rather handy having a swimming pool so close to home and a monthly pass. With the gas boiler out, I emailed Octopus Energy to start the process to remove the gas meter.
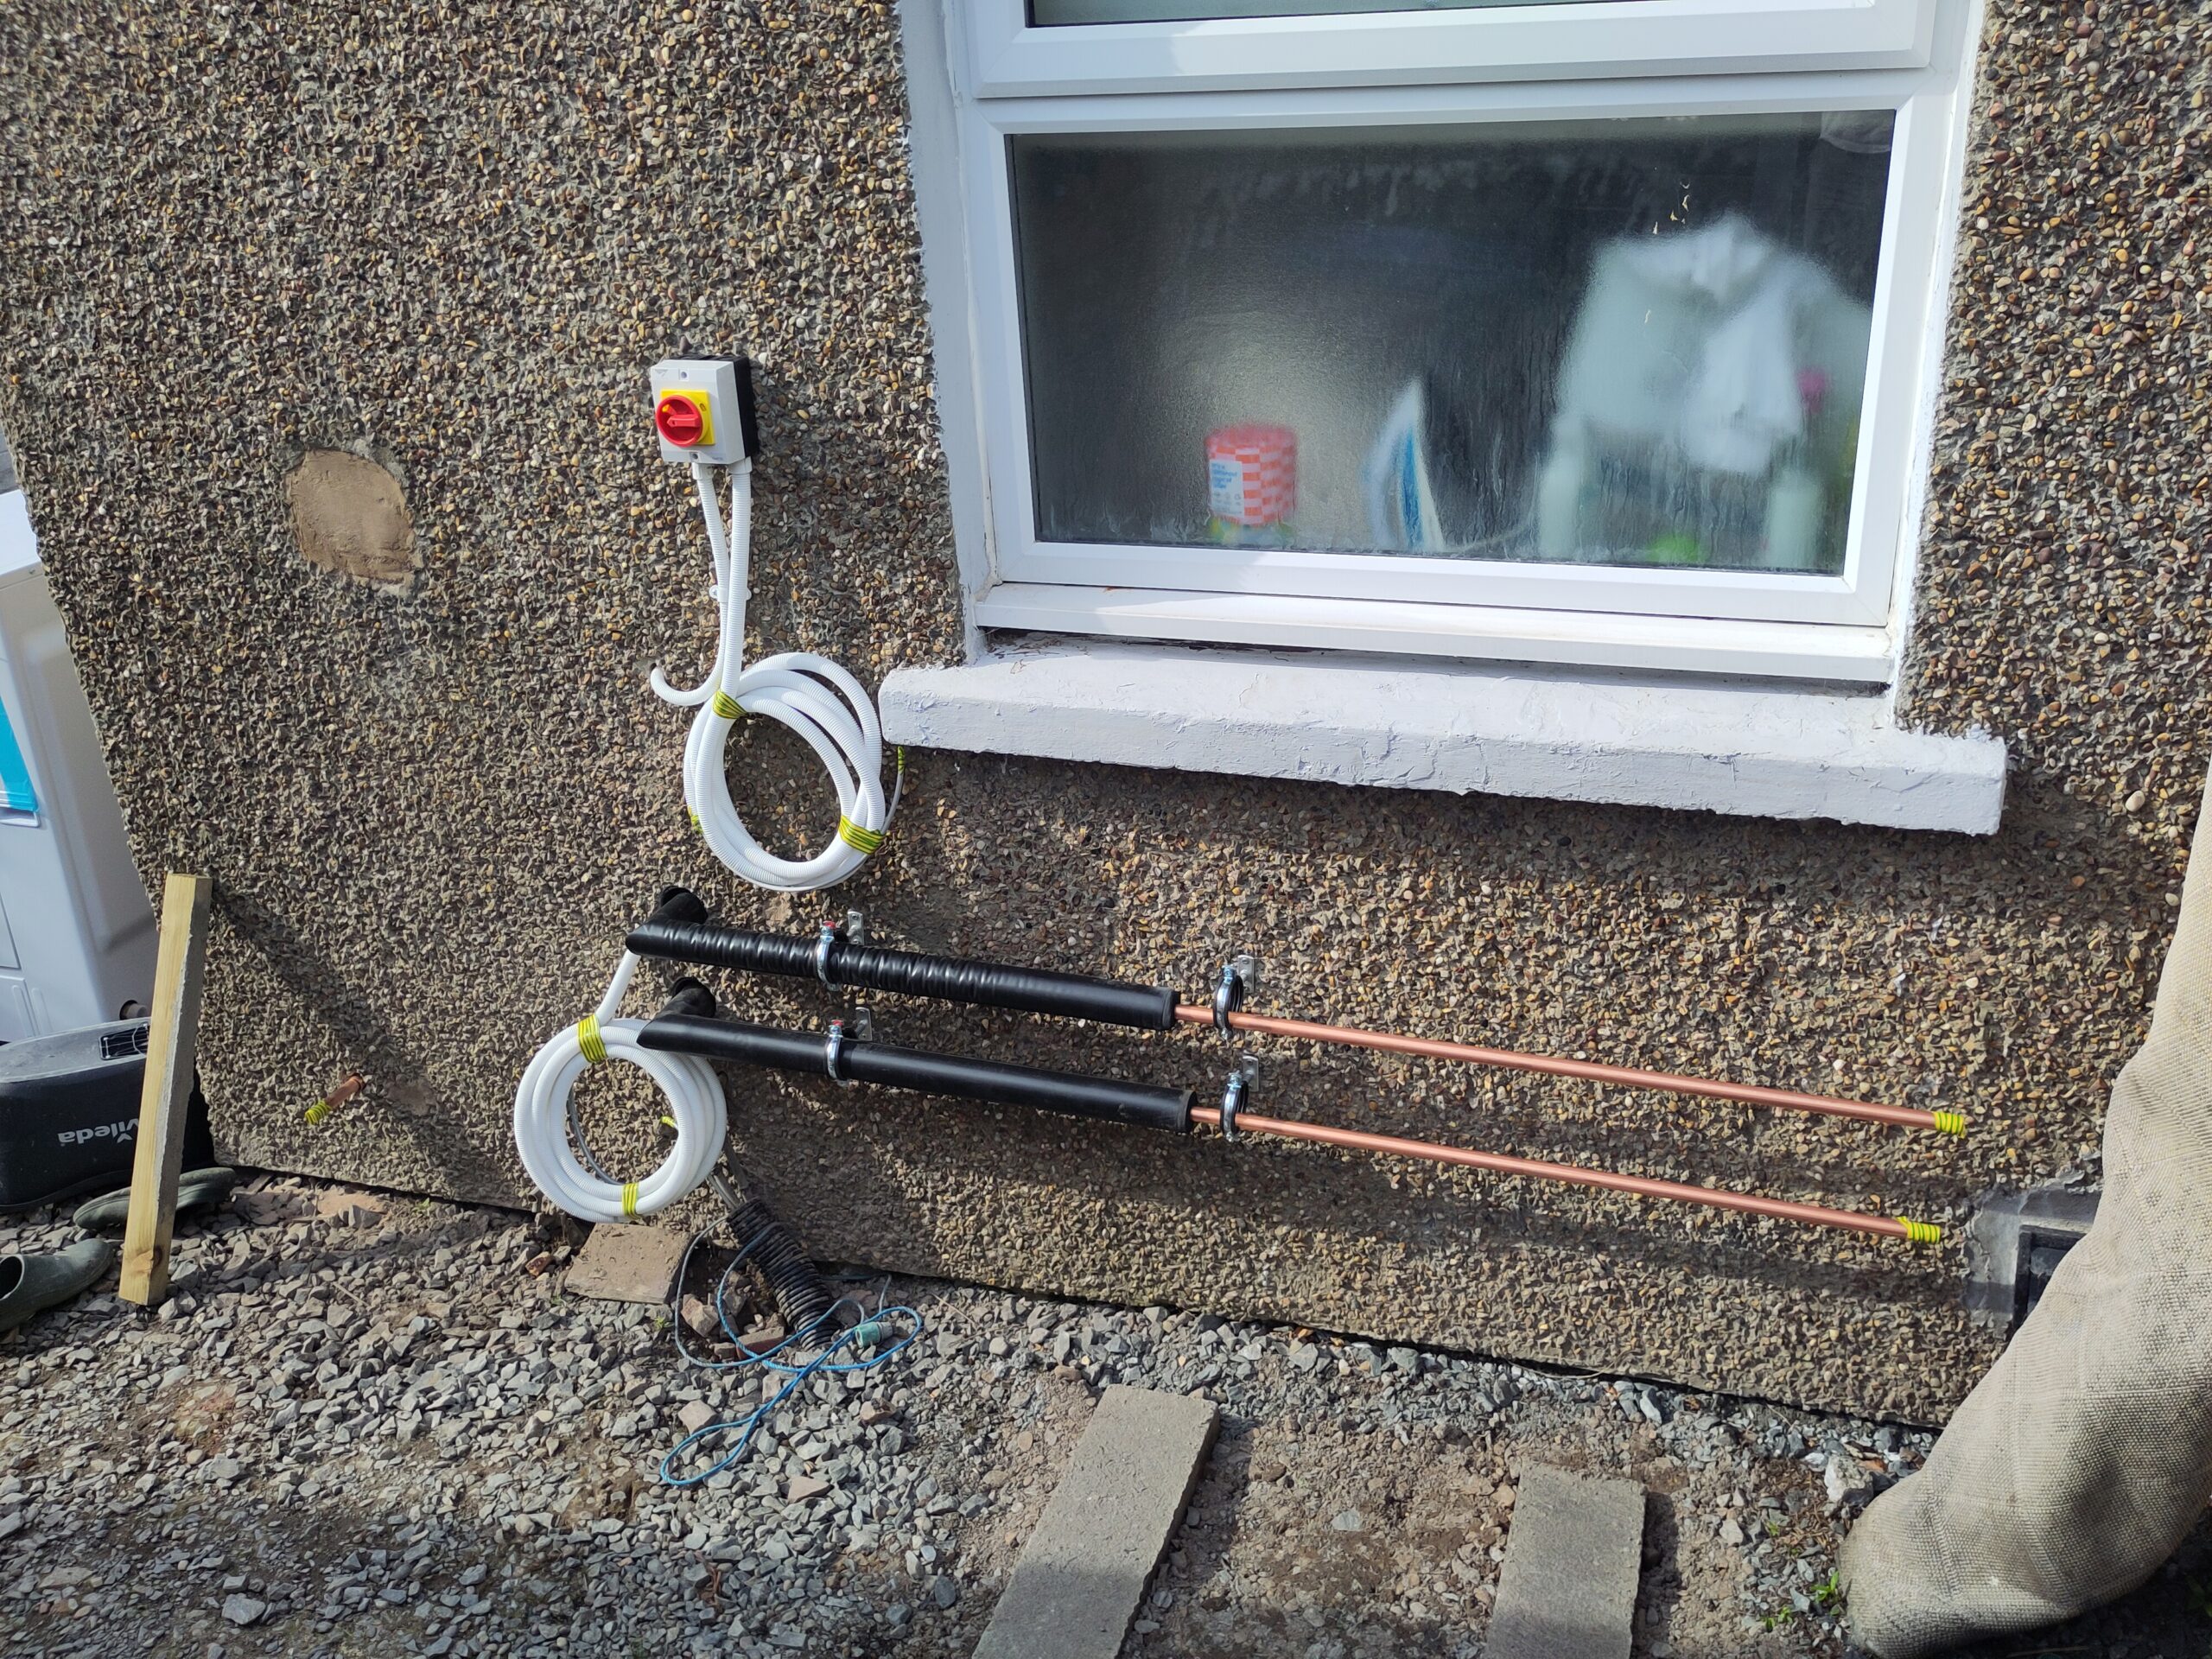
Day 2 was implementing the pipework changes and hanging some of the radiators that were changing. The external pipes and electrical cables were put in place, but not connected up.


Day 3 most of the radiators were hung by the end of the day, and the hot water tank was filled and connected up. The heat pump was moved into place and linked up. The hot water tank was filled (but not heated yet), so we could get water from the hot tap again. We were rather impressed that the pressure on the hot and cold taps was now equal, whereas with the combi boiler the hot water at the taps was noticeably lower pressure.
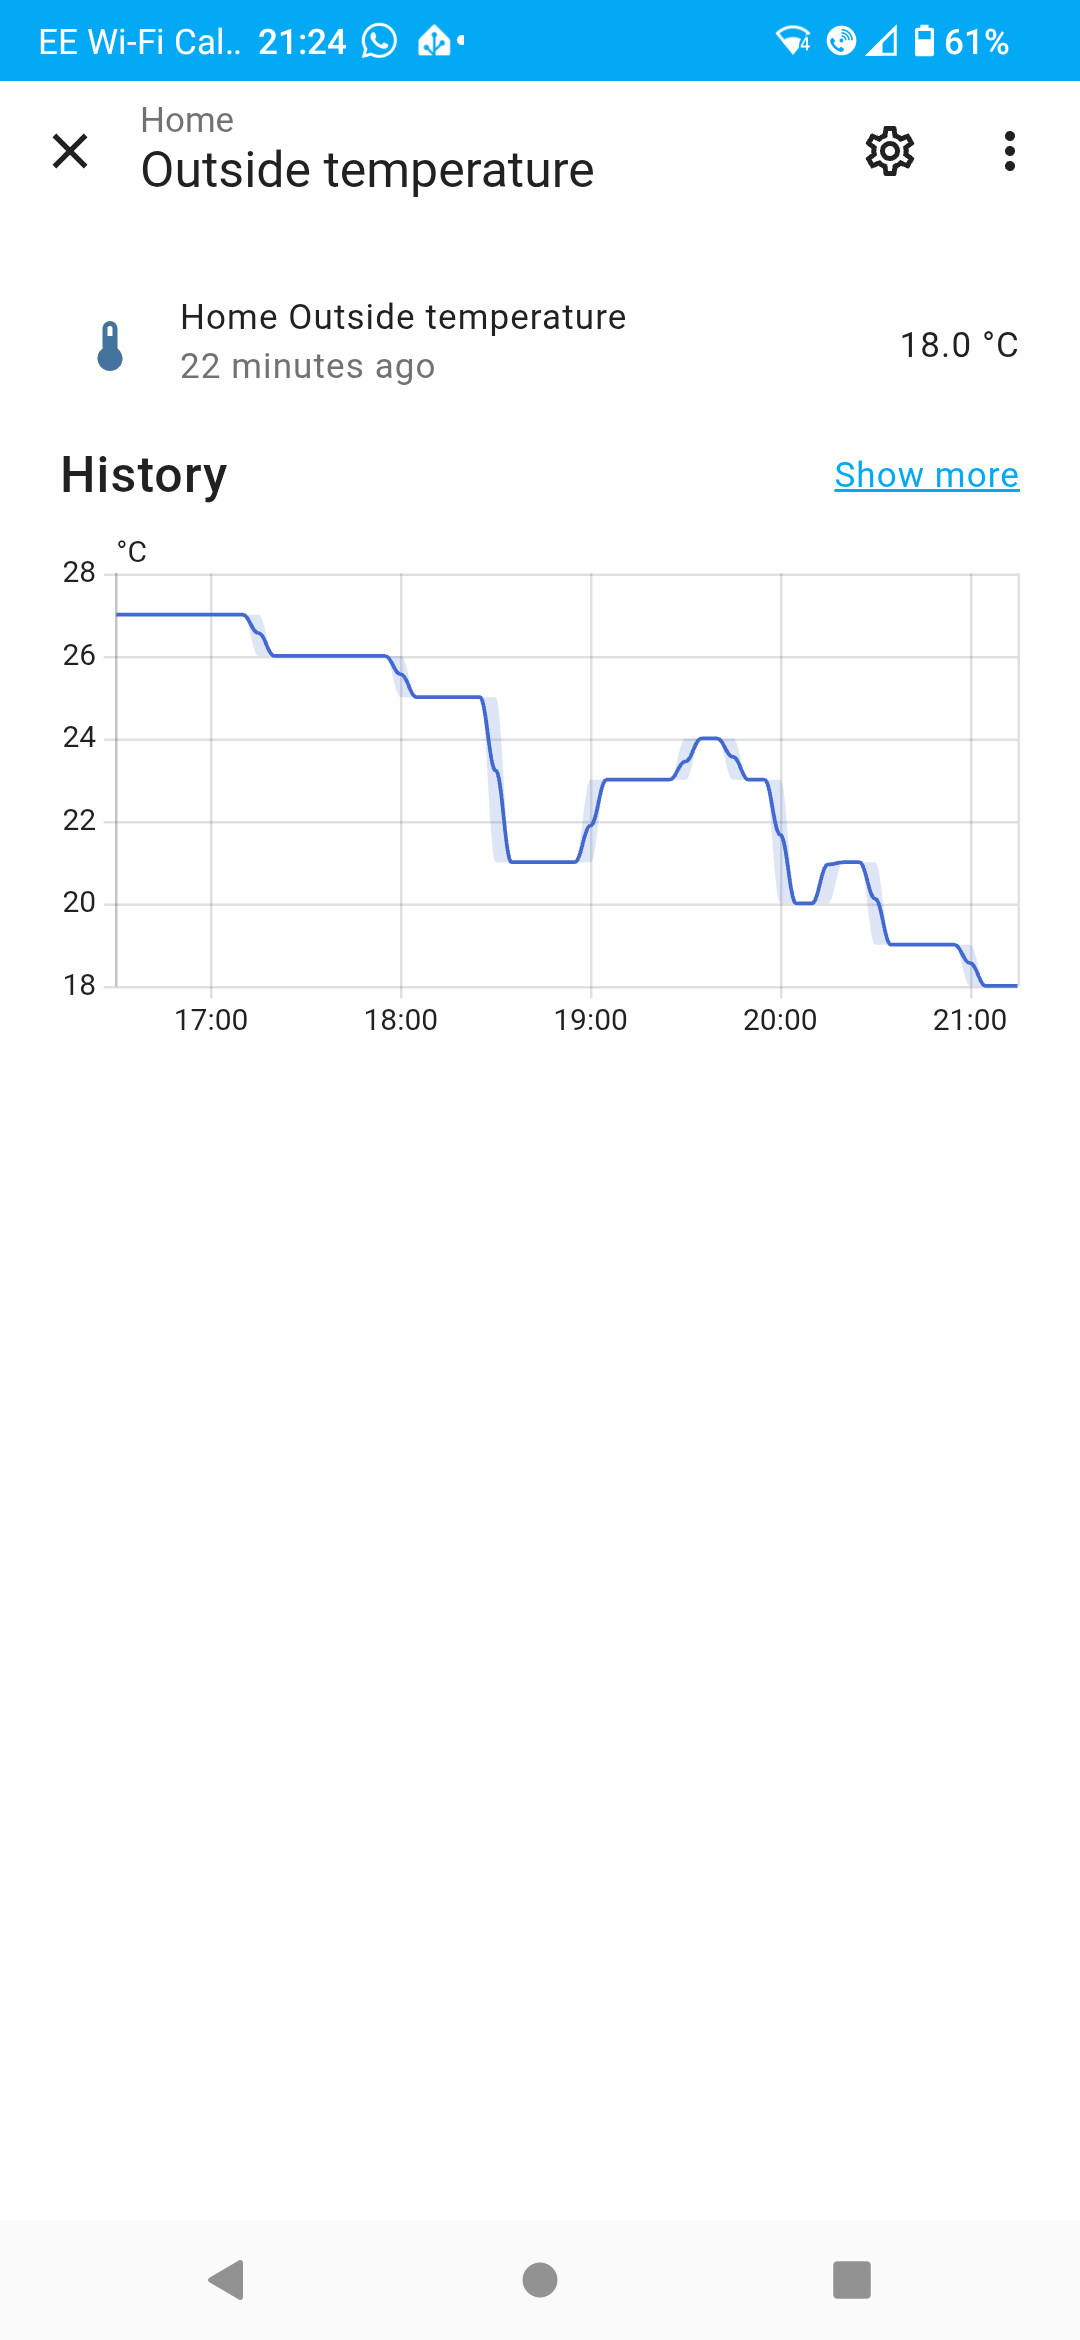
Day 4 was getting the system up and running, checking for leaks, bleeding radiators, learning the controls, connecting the heat pump to Melcloud (Mitsibushi’s cloud service), and then running the system overnight to start commissioning. With it being so warm, it was hard to keep the heat pump going all the time (on reflection, using a different mode from weather compensation, such as target flow may have worked better). With it being mostly new radiators, and the system being mostly clean anyway, it wasn’t too much of an issue. Once the heat pump was linked up to MelCloud I could also link the heat pump up to my Home Assistant install which runs on a Raspberry Pi. This meant I could record some details such as flow, return, and outside temperatures.

Day 5 was finishing up the install, flushing the system and re-filling it, putting the thermostats in place, and completing the insulation of the pipes. As they were doing that they spotted a minor leak on the small ball valves to one of the radiators that wasn’t changed, so replaced those with straight pipe. My kids spotted that the smaller kids bedroom had a bigger radiator and found it strange, however this is expected due to the extra external wall, thus greater heat loss in the smaller room.


The warranty for the Mitsibushi heat pump needs the paperwork submitted by the home owner rather than the installer as with other manufacturers. This was an easy process with the only hickup being that they could couldn’t find the serial number I entered on the form. They kindly asked for a photo via email and 3 weeks later I had an email confirming the manufacturer’s warranty. This was different to other heat pump manufacturers that our installer use where the installer submits the warranty documentation and passes it on to the customer.
The EPC was completed the following Friday evening, organised by the heat pump installer. It was a quick process as the installer had passed on the install details, so it was a case of verifying and taking photos of the relevant details.
The EPC went from a mid E to a high D, only just missing out on the C rating by one point. Some more insulation, solar PV, and a battery should get that improved further.
With the EPC stating that we’ve got the heat pump, and the invoice, I could then send off to Home Energy Scotland for the funding payment having started the application process prior to the works starting (very important). The payment came through within a week or two, so was pretty quick, I was then able to pay this on to the heat pump installer.
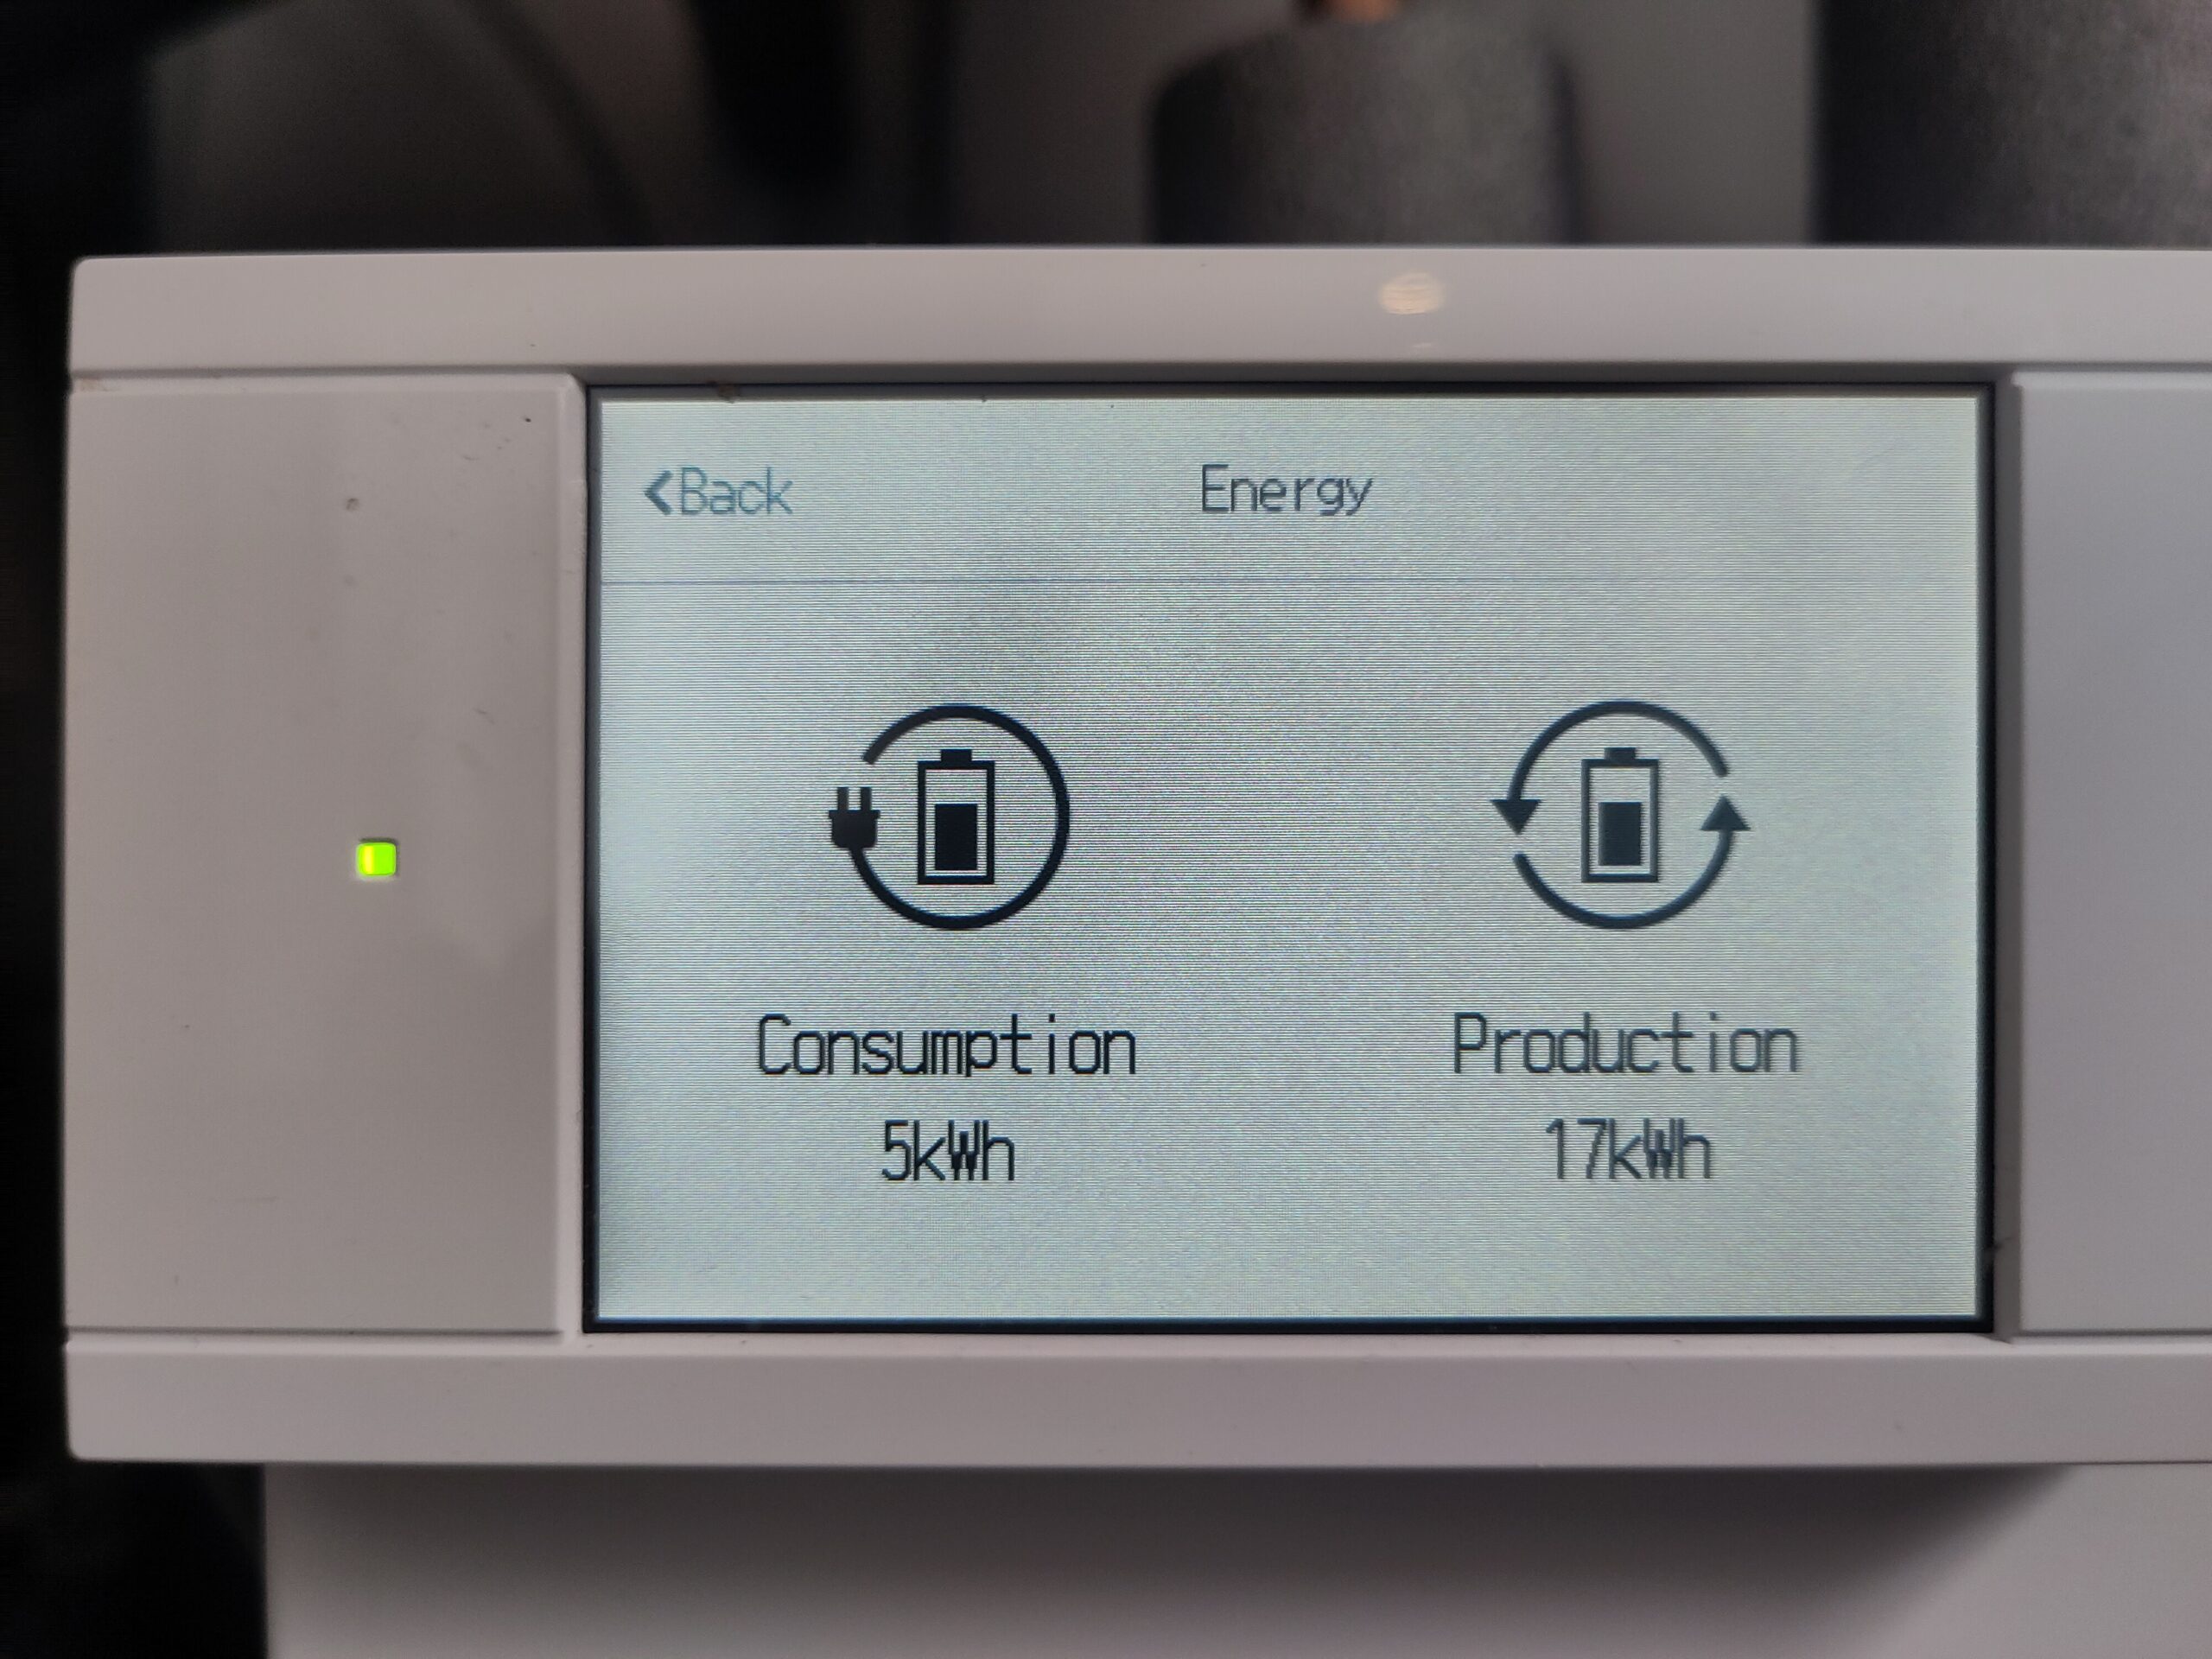
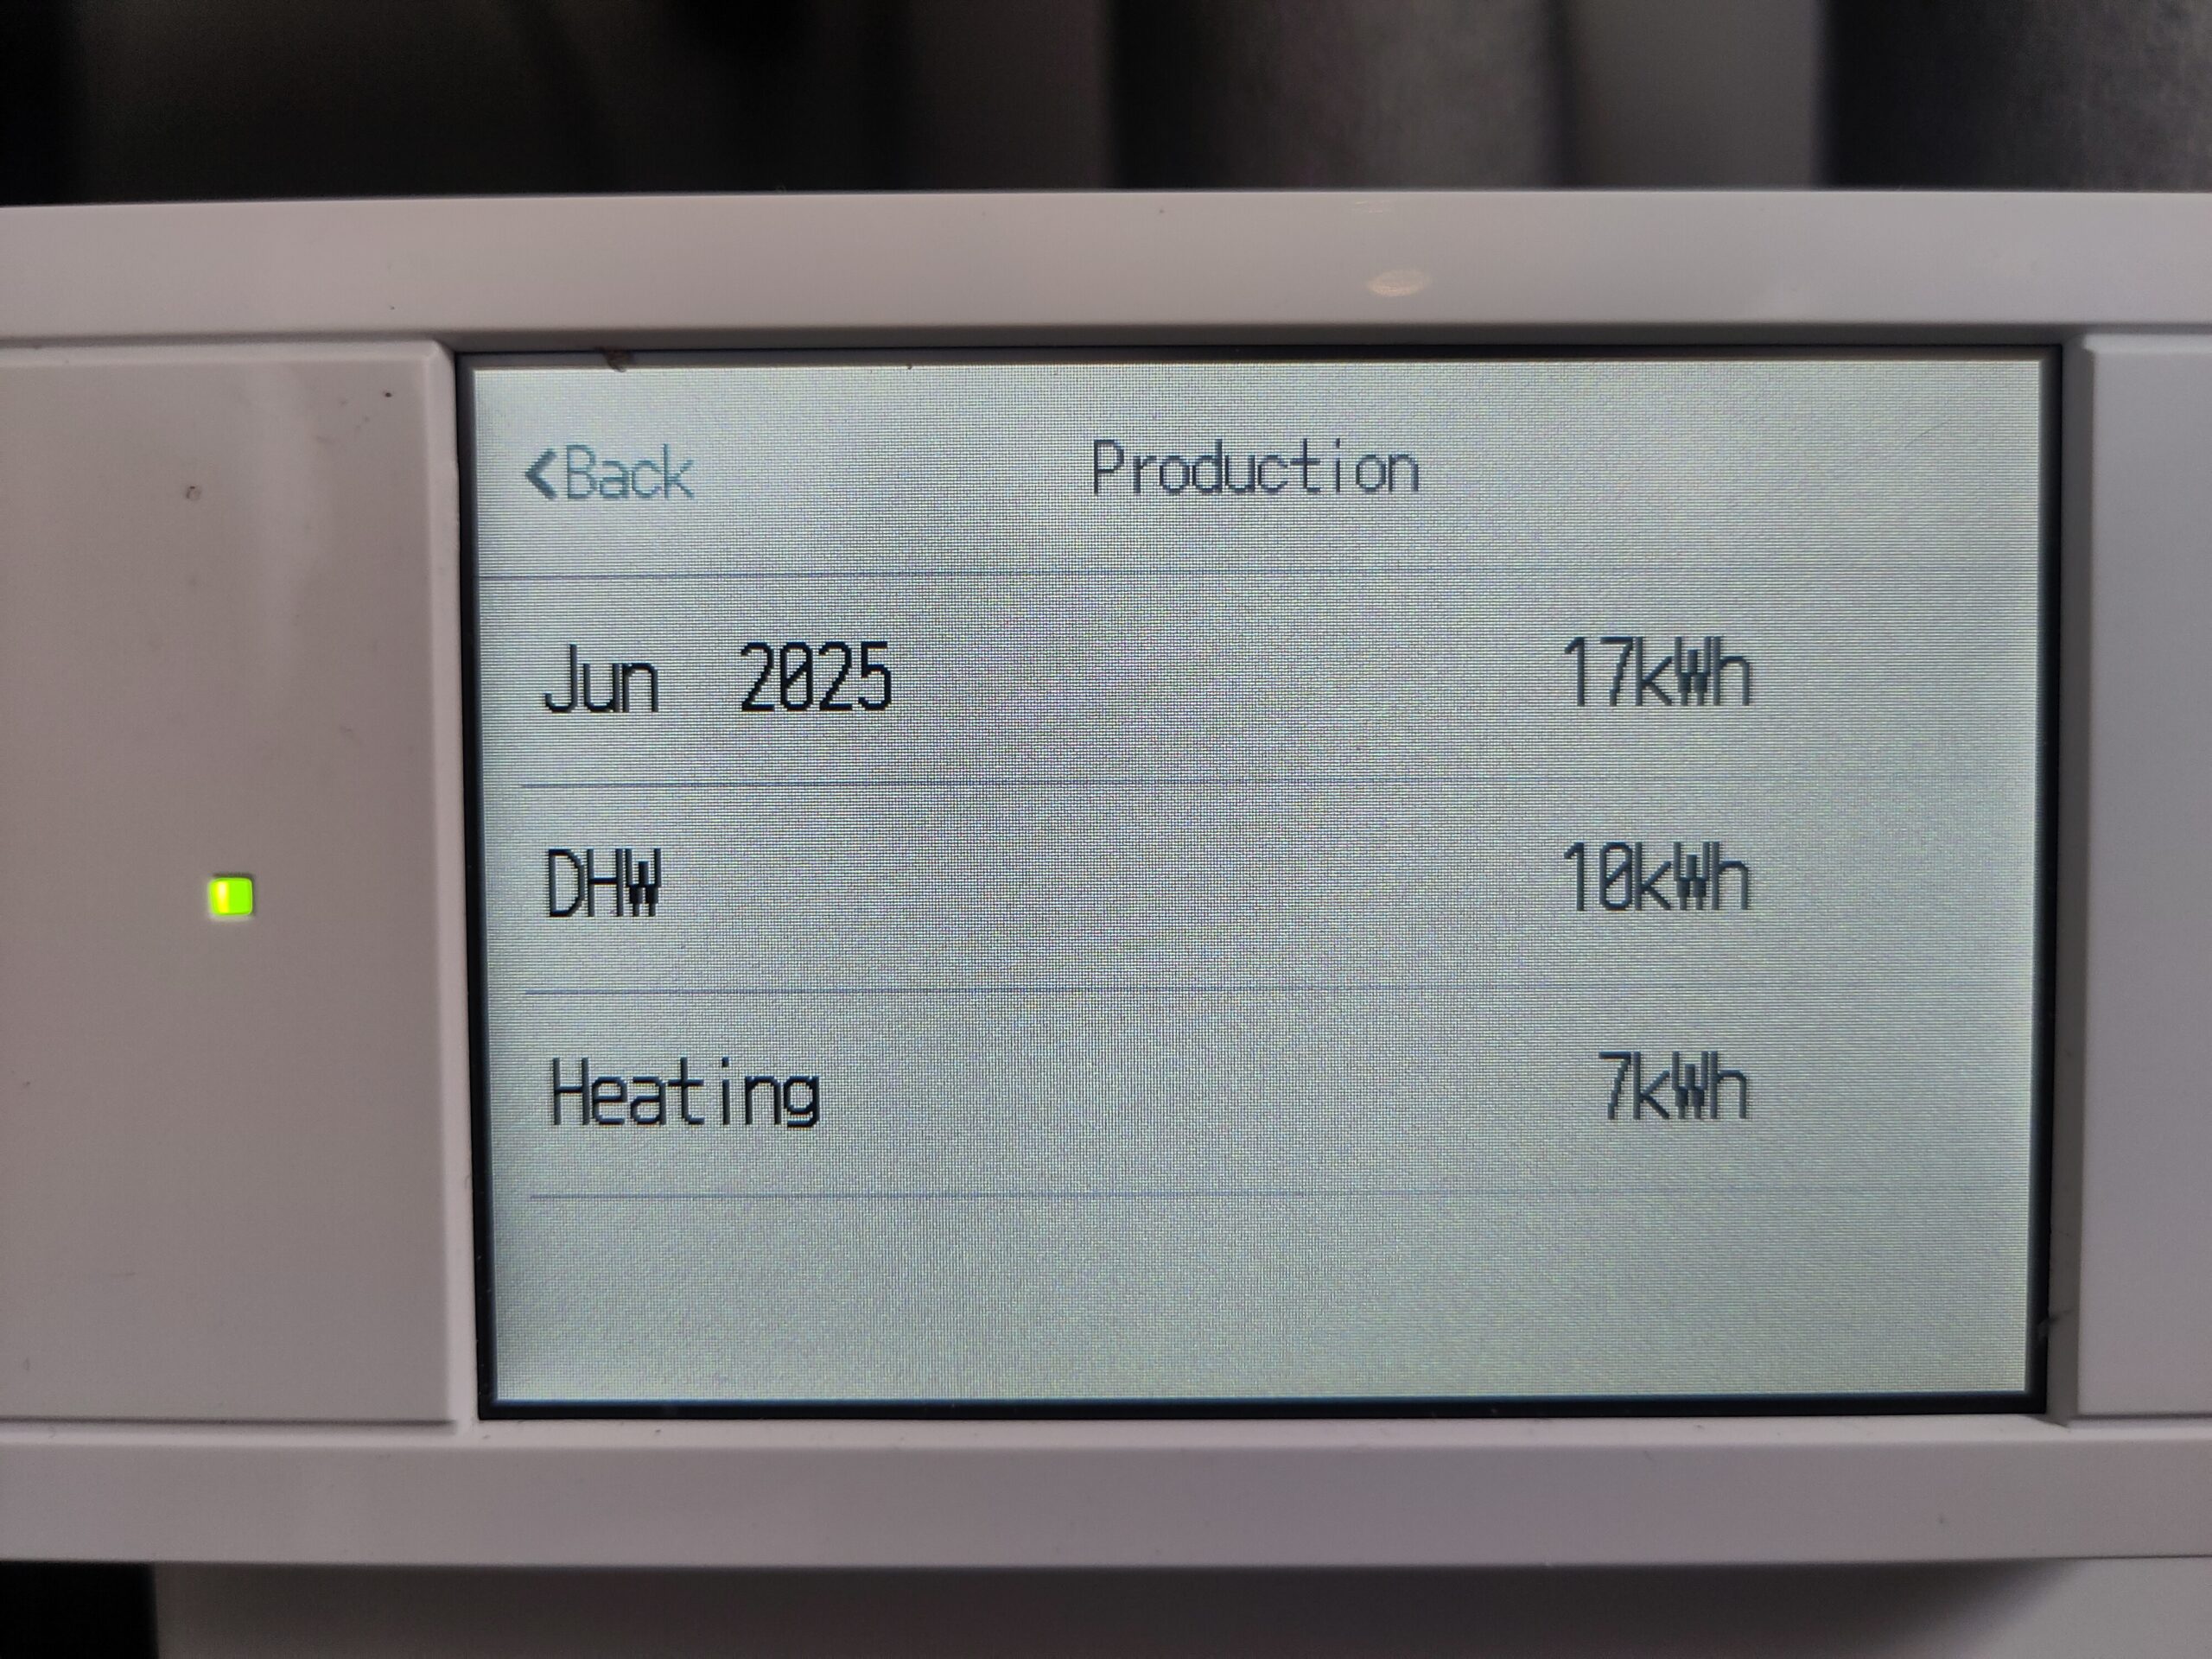
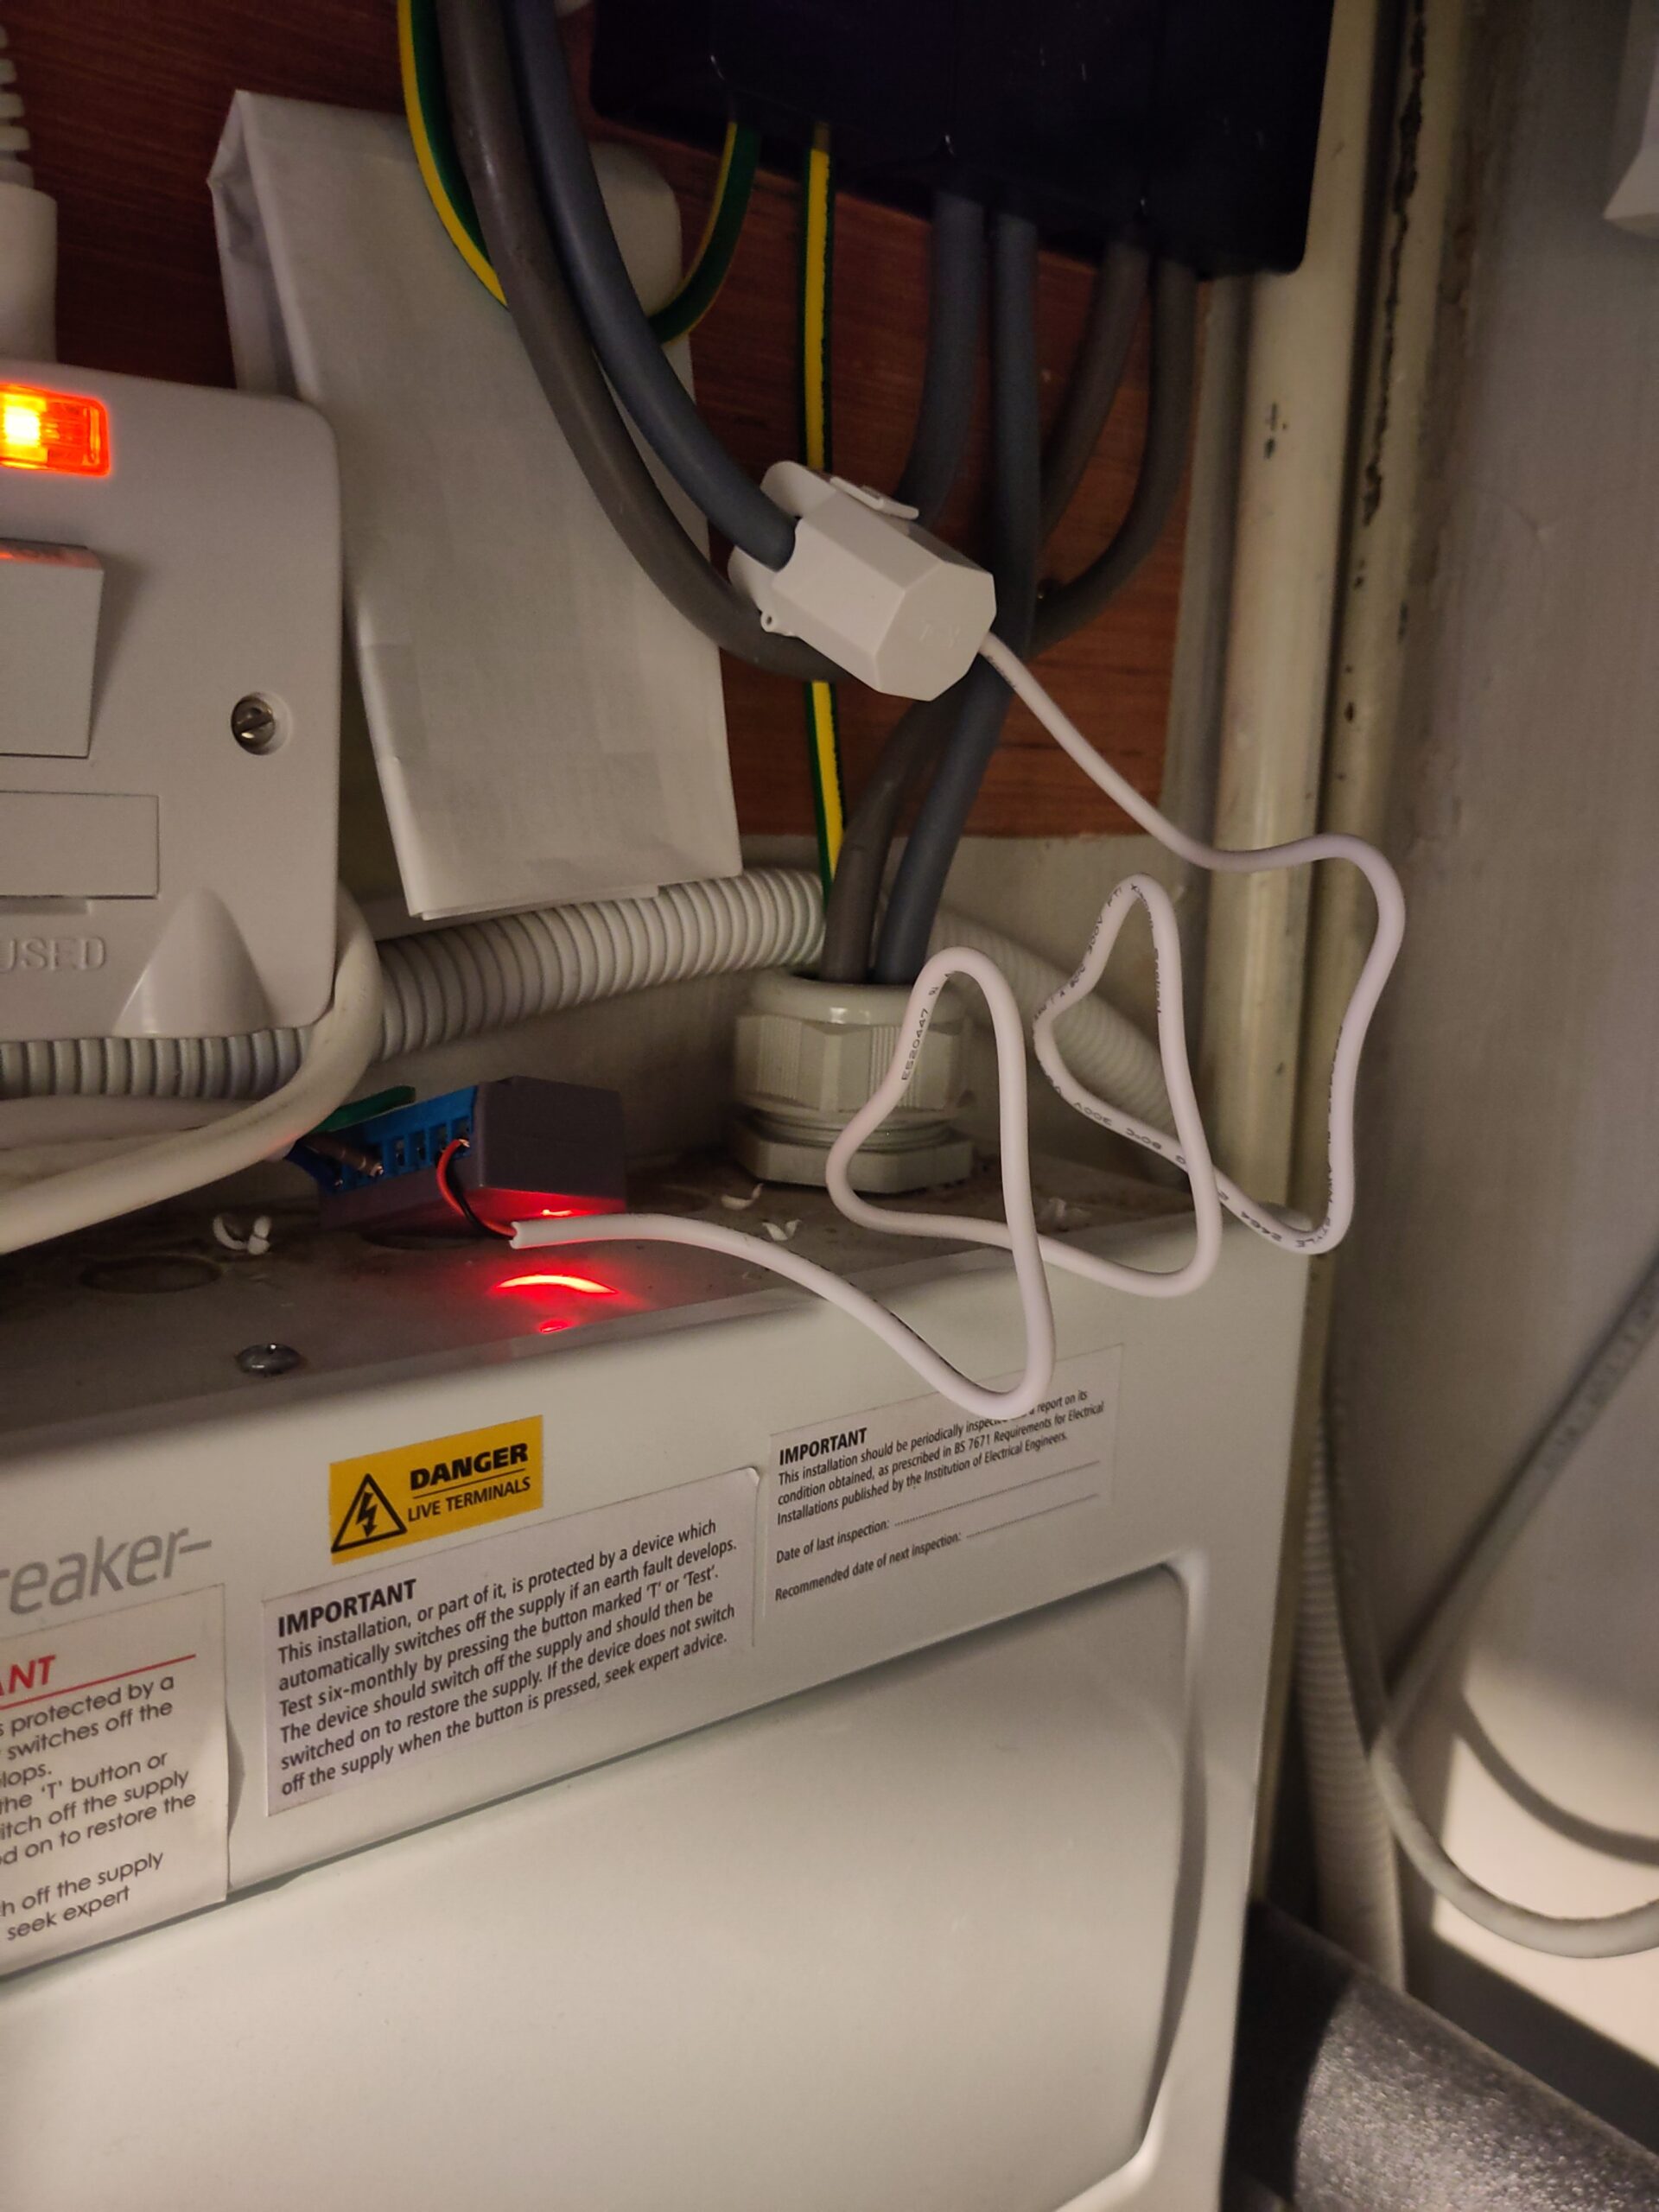
The basic energy monitoring on the Mitsubishi isn’t particularly accurate, and is rounded to the down to the whole kWh. So I added a Shelly EM with a CT clamp to get some more accurate and live monitoring, and connected it up to Home Assistant.
A week after the install of the heat pump was completed, an Octopus engineer came and removed the gas meter, and capped the gas supply. Another week later and my account was updated that the meter was removed and final bill produced and sent a few days after that.

I found the pure weather compensation and dumb thermostat hasn’t worked so well, as it’s hard to find an exactly optimum heating curve, for example when it’s wet and windy I found a slightly higher flow rate was needed. I also got annoyed with the hot water occasionally heating up during the Octopus Agile peak time, so have setup Havenwise, which uses the energy tariff and weather to optimise the heating. This has produced a much more stable temperature, as it’s able to lower the flow temperature when approaching the set temperature, and raise it for example when the back door has been left open and let the cold air in, thus getting back to temperature much quicker compared to pure weather compensation. It reduces some of the cycling I seen in some weather conditions if I didn’t have the weather compensation right for that wind and rain condition. Having a cap of 45˚C flow temperature in the Havenwise system has really helped to avoid too high a temperature, and massively overshooting the target temperature. The design flow temperature is 45˚C at -5.6˚C.
So far, comparing our total energy costs to the previous year for each month has shown that we are saving some money. The original quote suggested we’d be roughly similar cost to before, so a small reduction in cost whilst getting a warmer house with better hot water is a lovely quality of life improvement. Still have the coldest months to go, to really tell how well it will work.
To confirm my direct debit for energy is set right I take the previous 12 months cost and divide it by 12, and can then tweak the direct debit also taking account of the current balance. At the point of the install in June the total prior year cost was £180 per month. Now at the end of December we’re at £153 per month. We’re on the Octopus Agile tariff and use Havenwise to time the hot water by the heat pump for the times that are cheapest, and set appropriate flow temperatures based on heat demand.